United Kingdom (GBP)
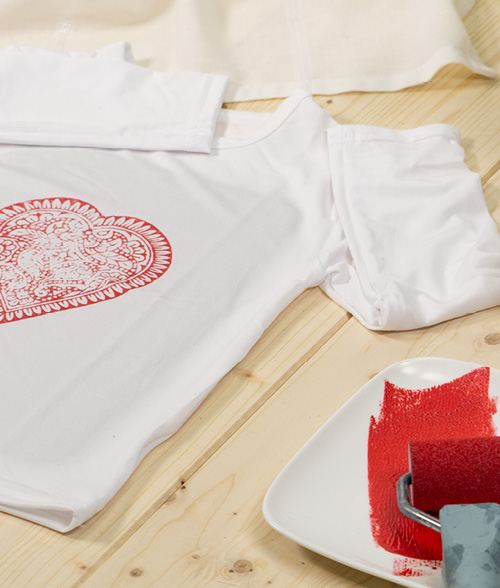
Painting on fabric is a creative way to make unique clothes, accessories, interior details or gifts with your own personal touch. Whether you are a beginner or have painted before, fabric can become your new canvas, it is all about letting your imagination run free! In this step-by-step guide, we go through everything you need to know, from choosing materials and preparing the fabric to techniques and finishing touches. Start by washing the fabric to remove dirt and dust, then sketch your design with a pencil before the fun begins with fabric paint or fabric pens!
What do I need for painting on fabric?
Here is a list of materials that will come in handy for your project.
- Fabric. You probably have plenty at home ready for a refresh! It could be a garment, a t-shirt, tablecloth, jeans, cushion cover, toiletry bag or something else. Further down, we go through the pros and cons of the most common materials.
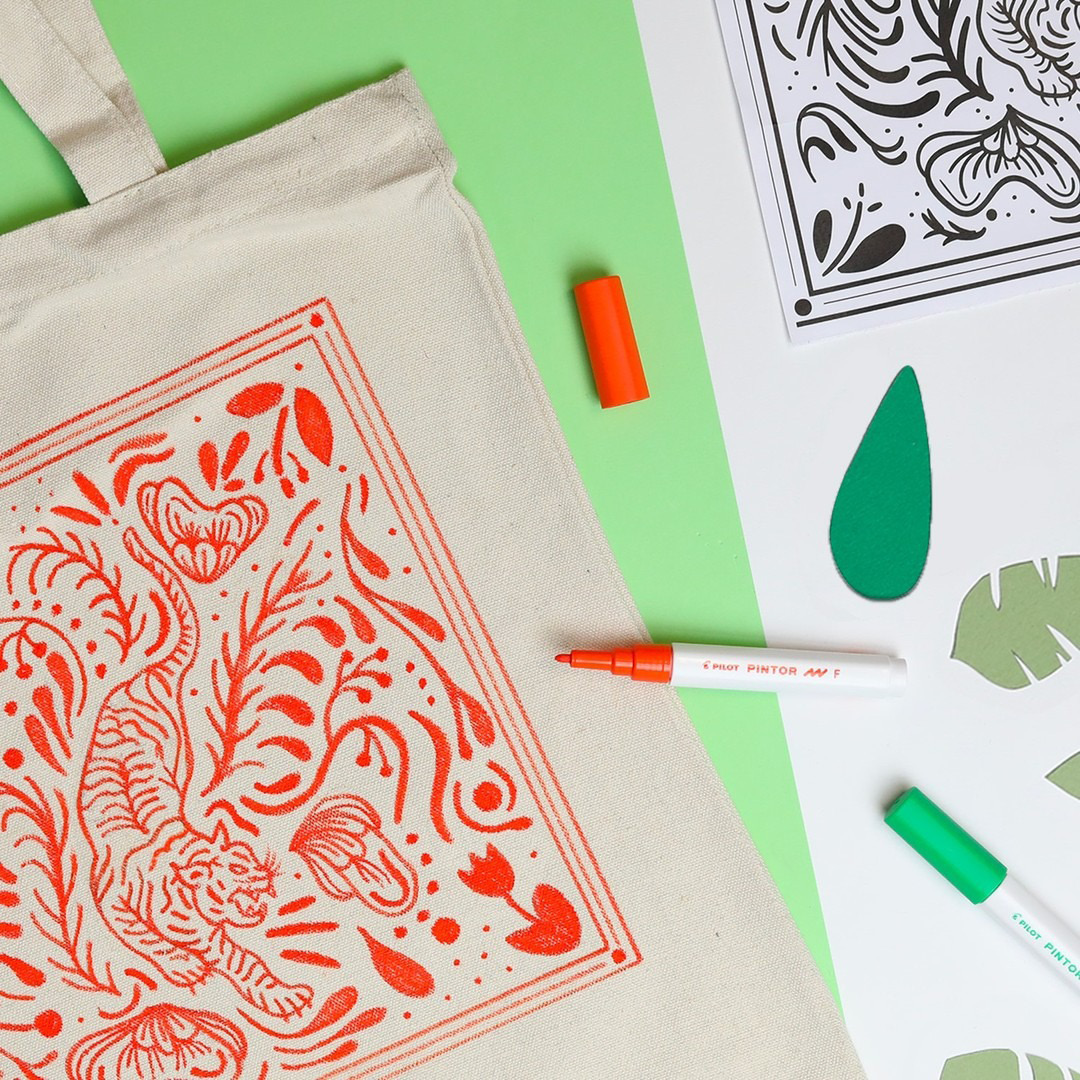
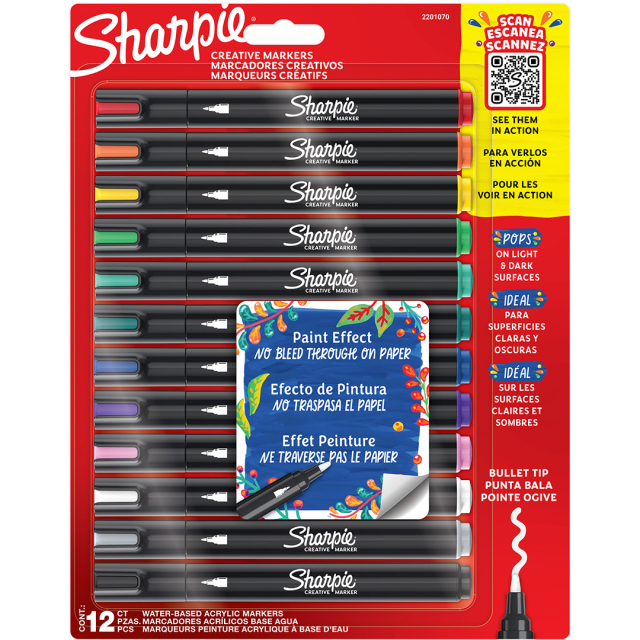
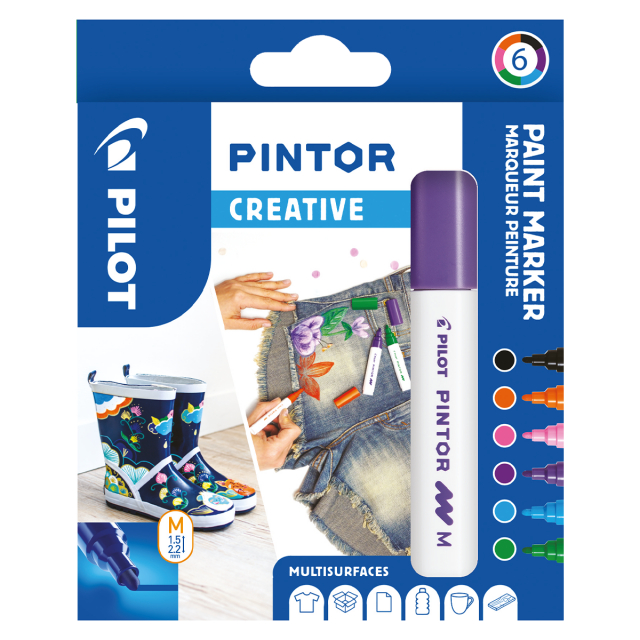
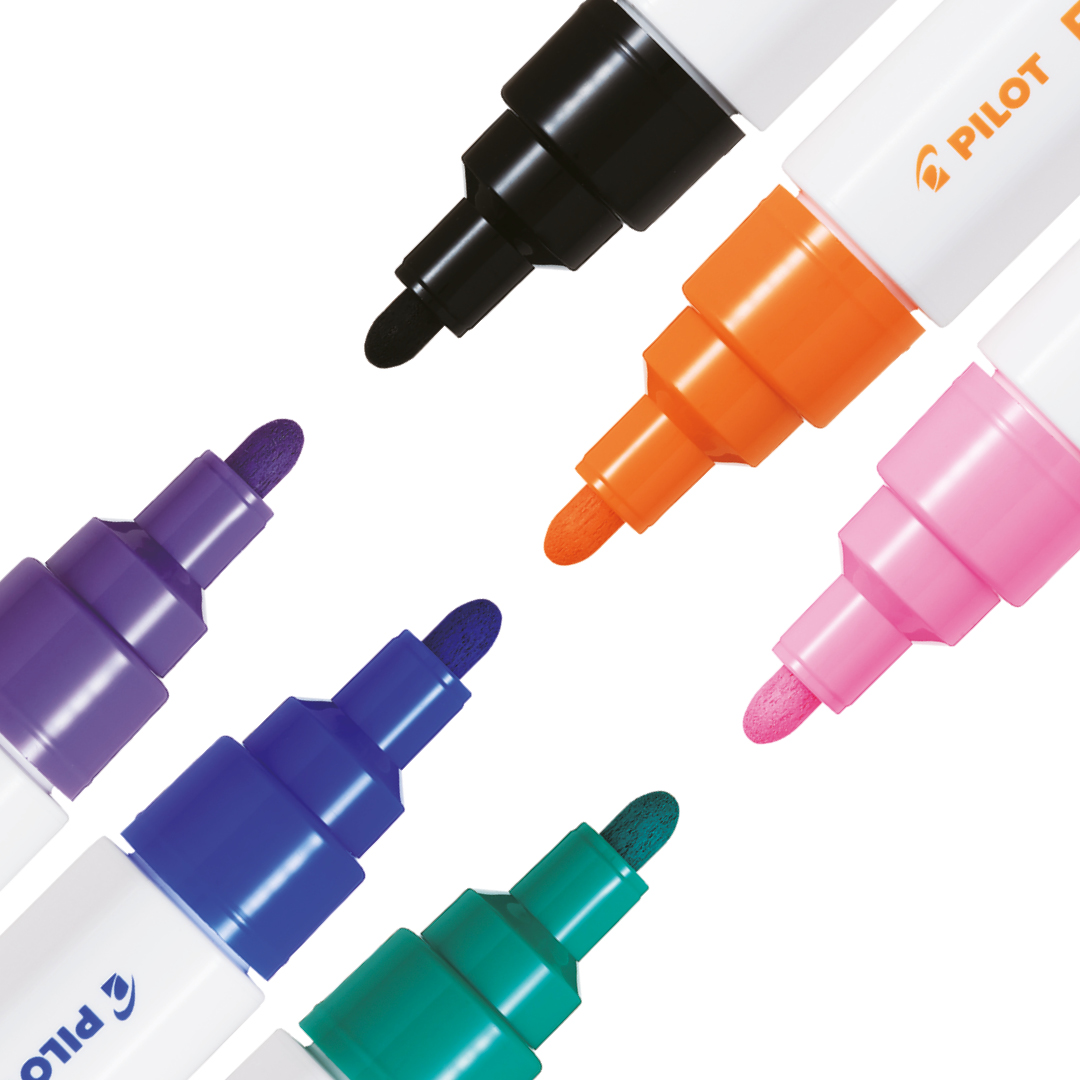
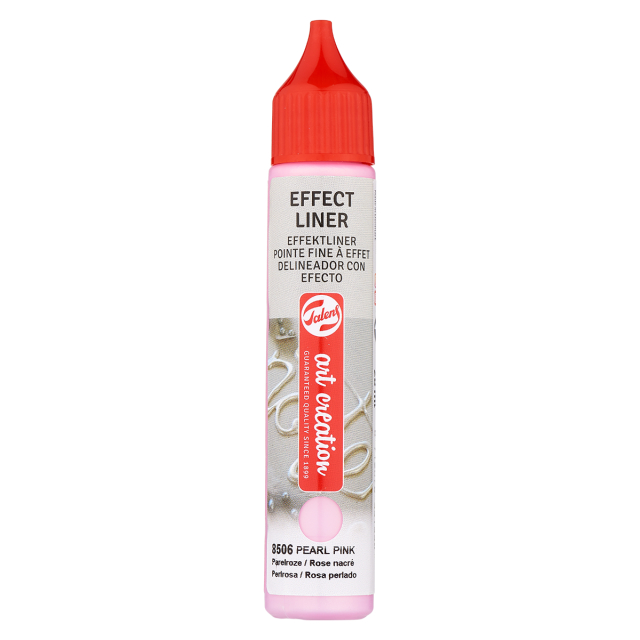
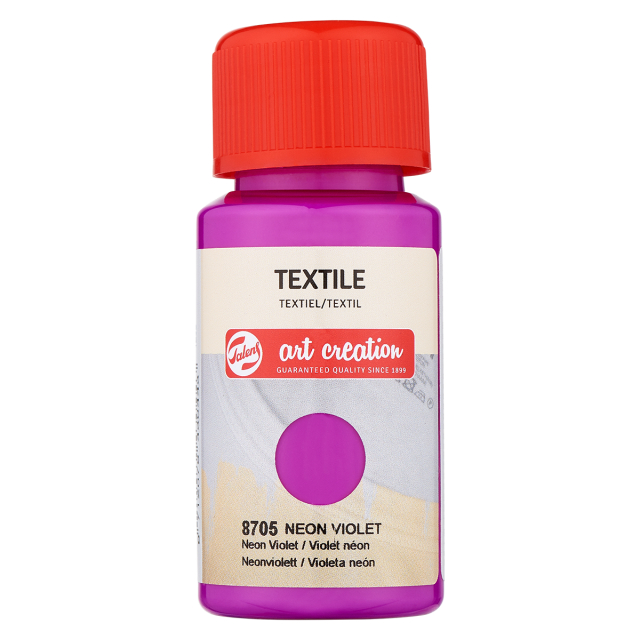
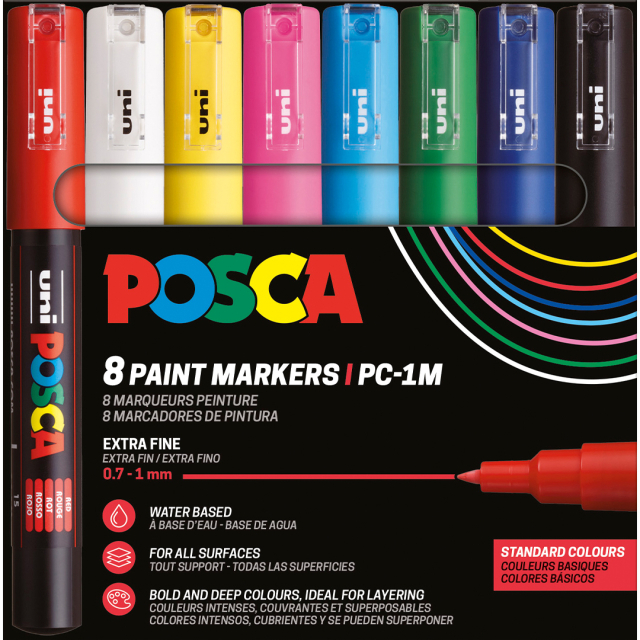
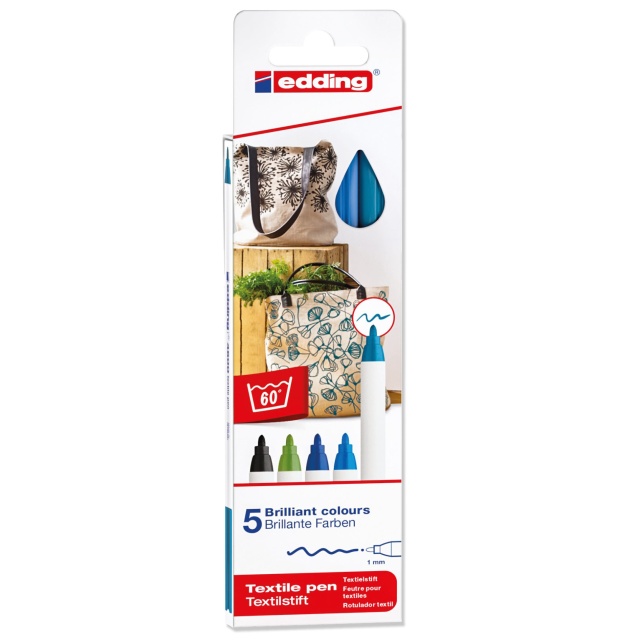
- Fabric paint. Choose the fabric paint you want to use. There are liquid fabric paints and fabric pens depending on whether you want to cover large areas or create fine details. We will also cover this in more detail further down.
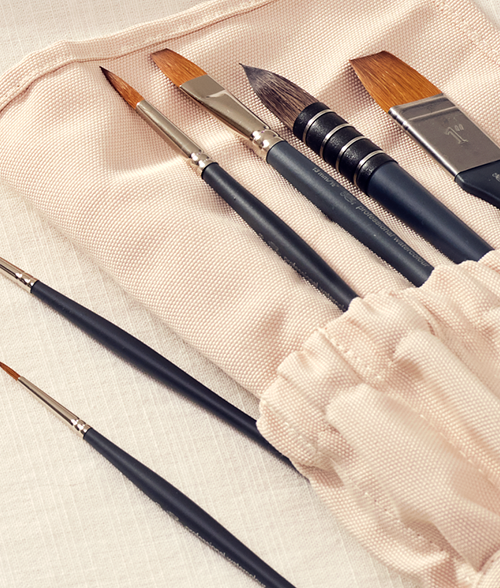
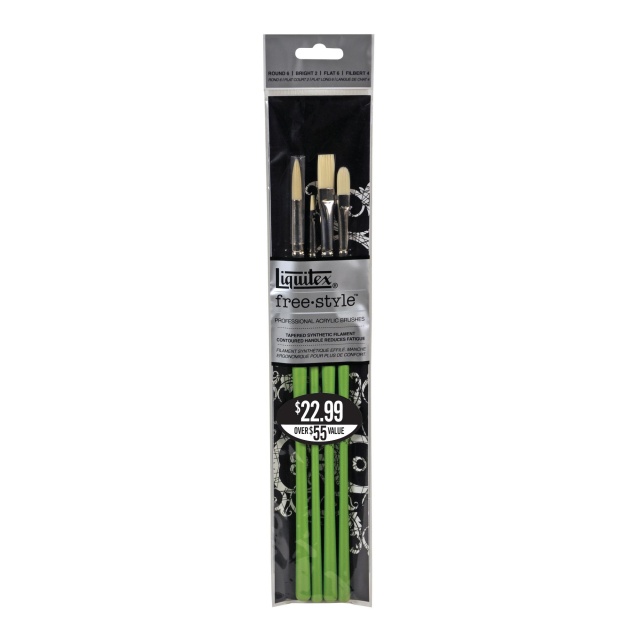
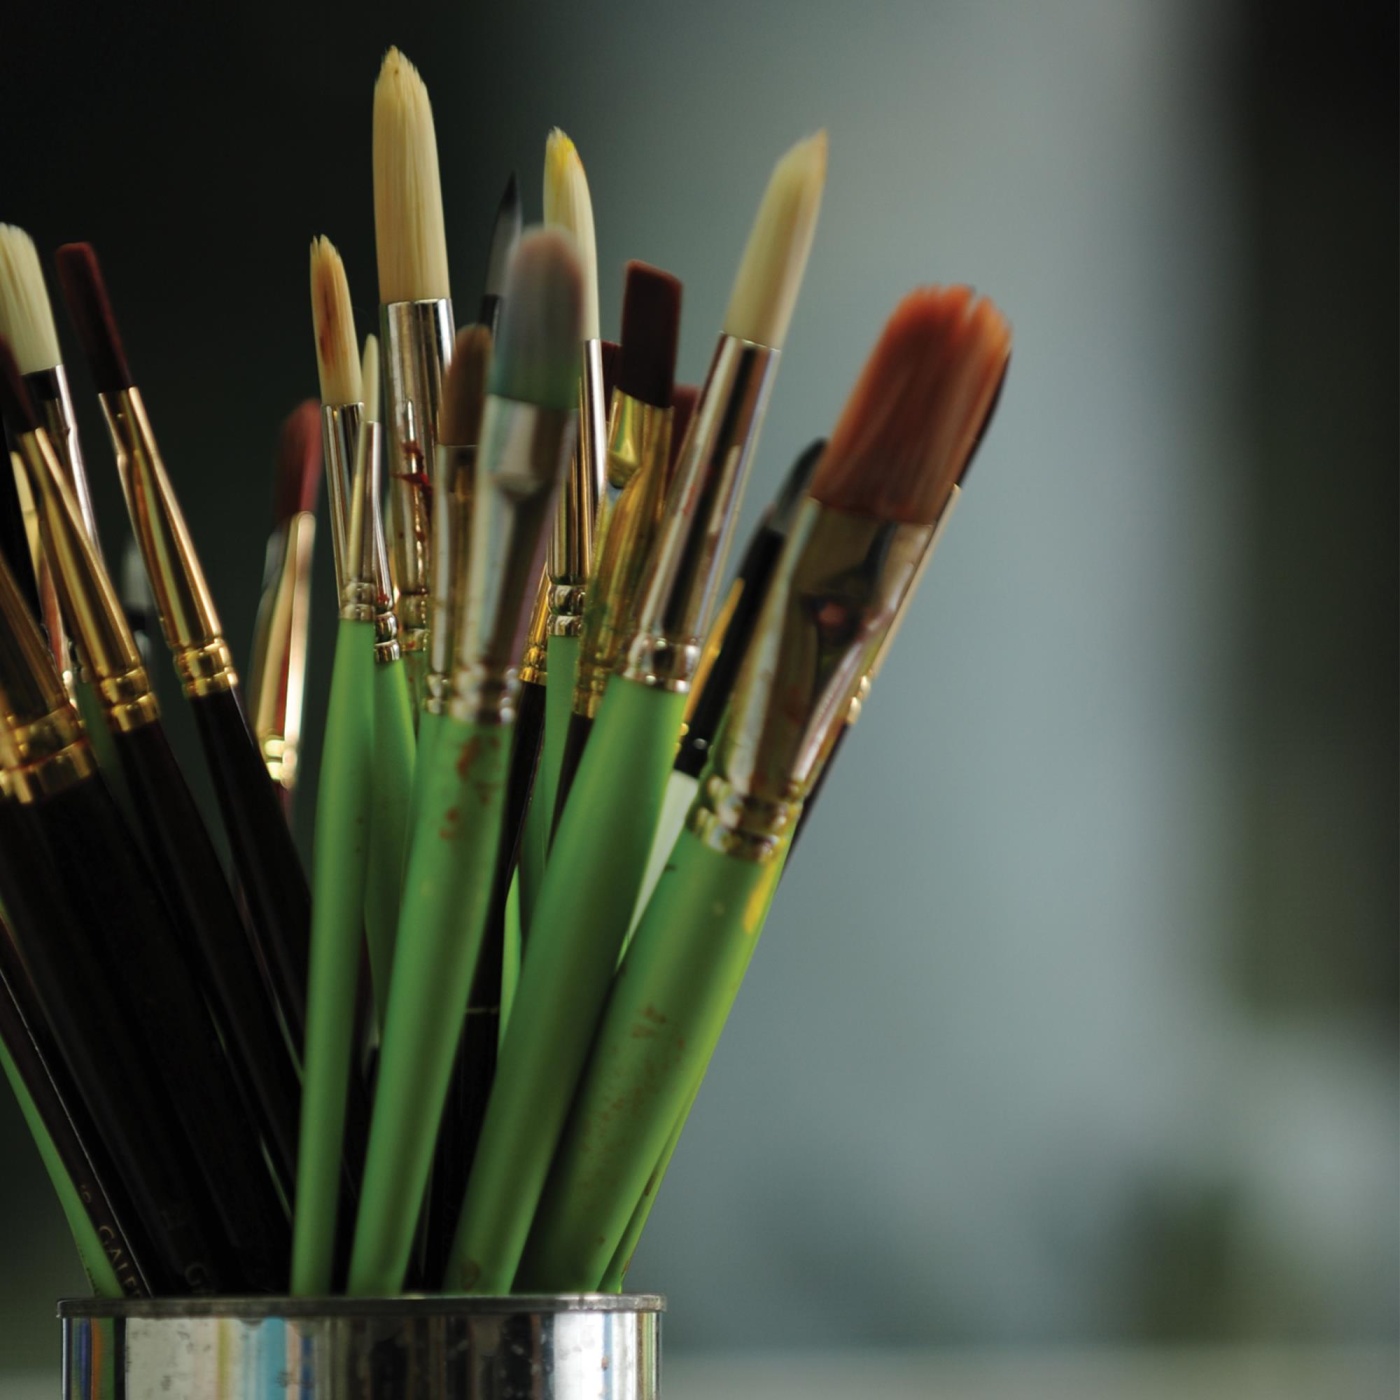
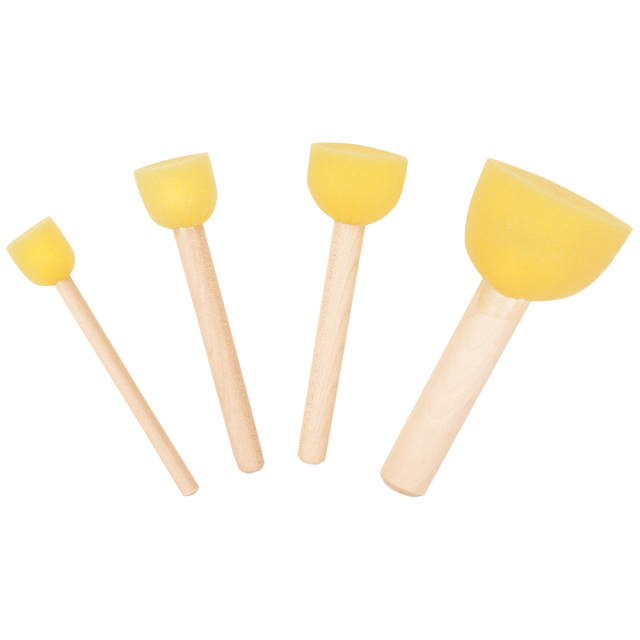
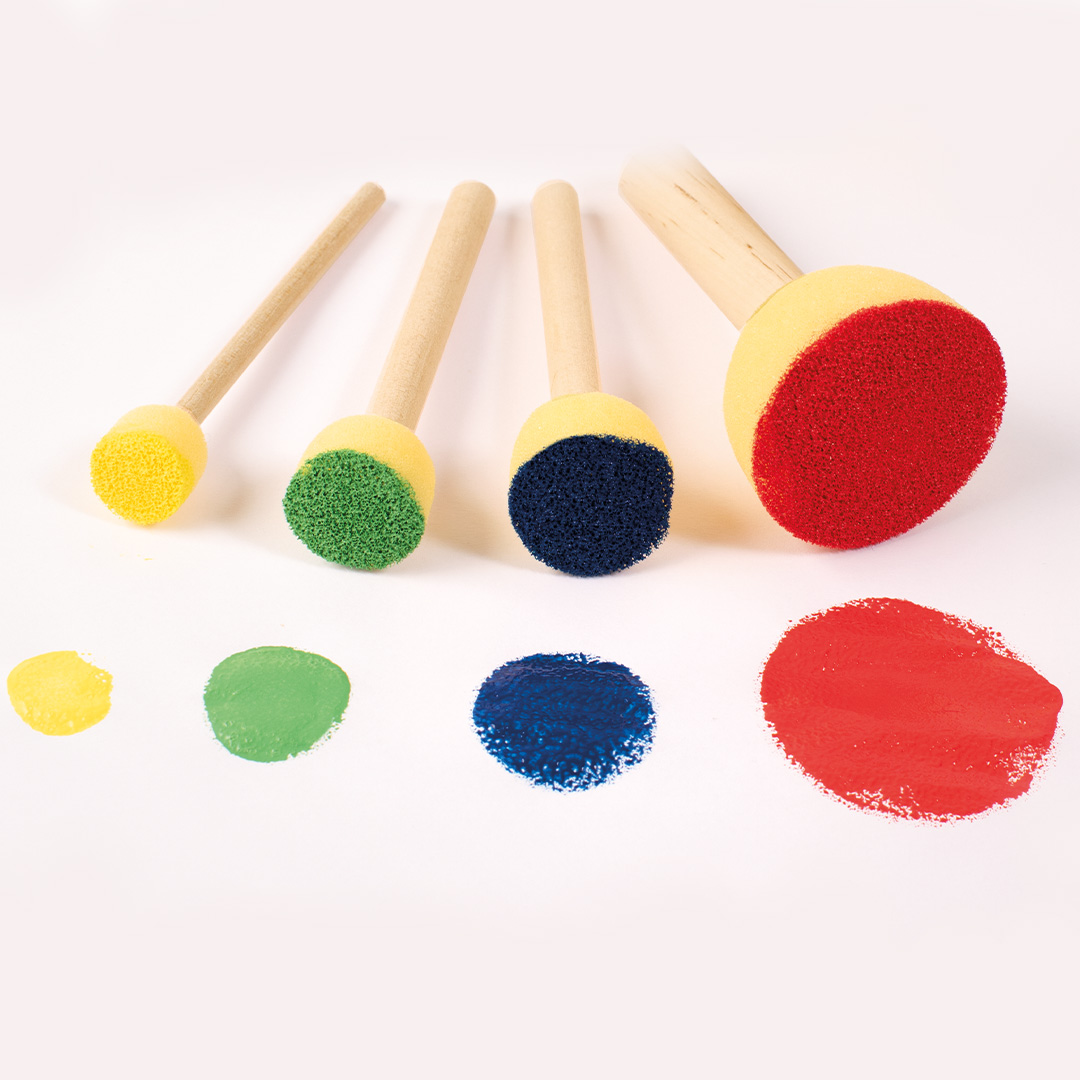
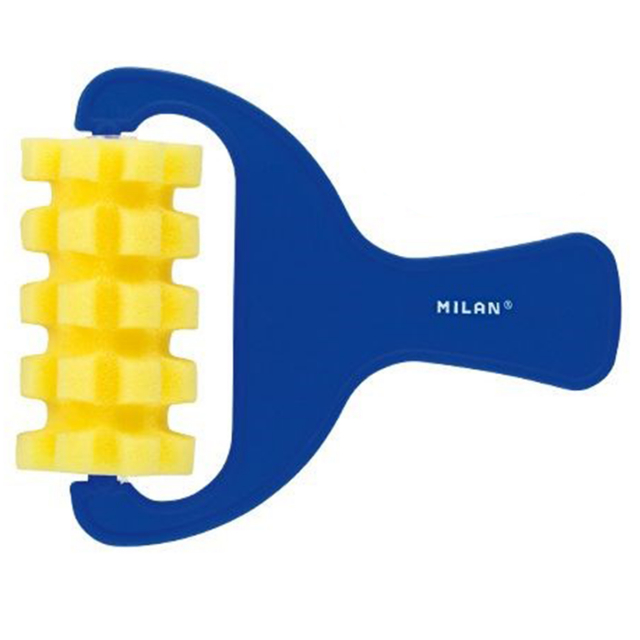
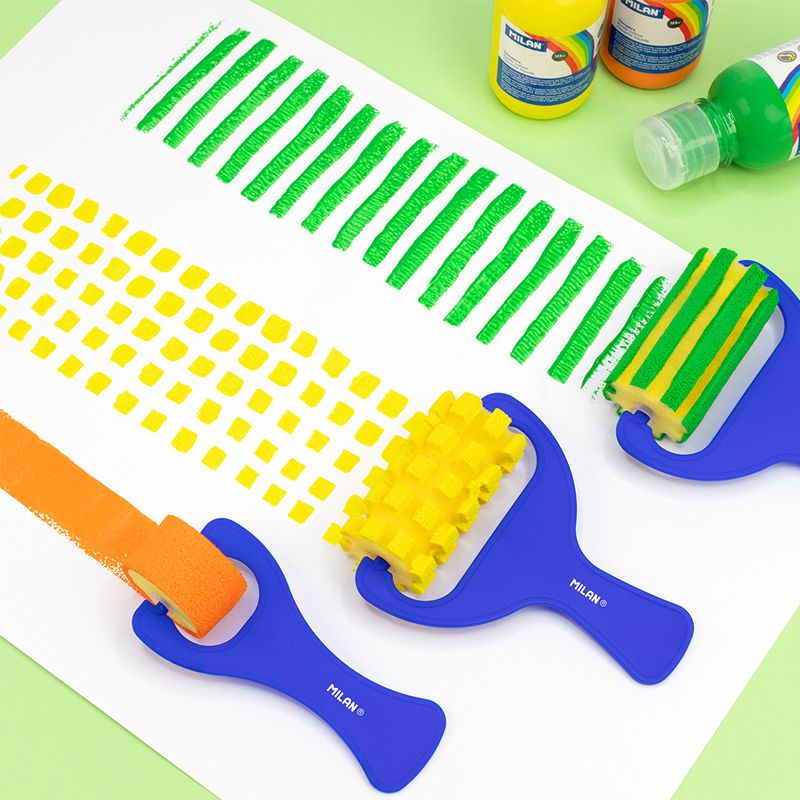
- Brushes or sponge. If you are using liquid fabric paint, you will need something to apply it with. Synthetic brushes work perfectly, but it can also be fun to experiment with different rollers and sponges to create patterns and effects.
- Palette. A palette for mixing your paint.
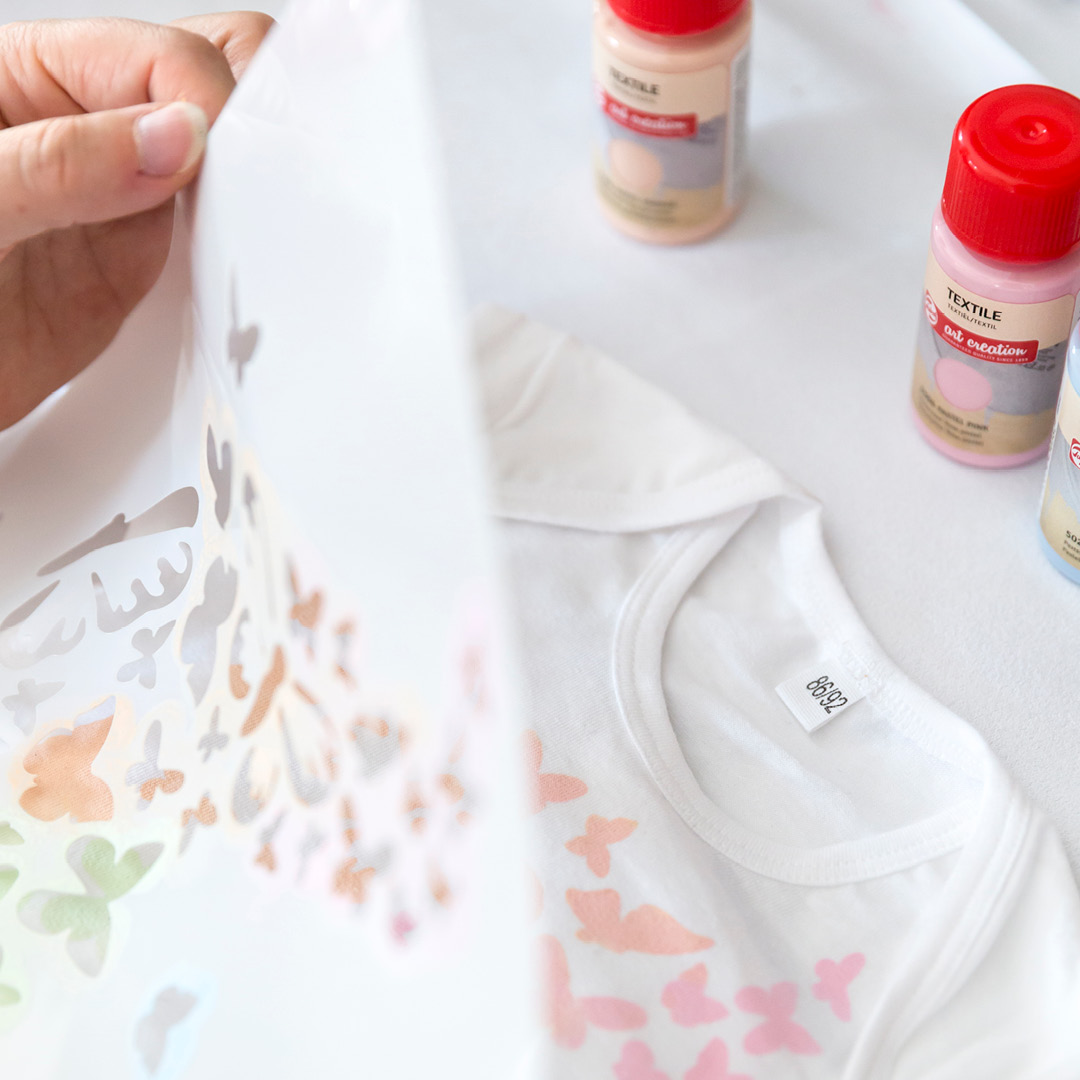
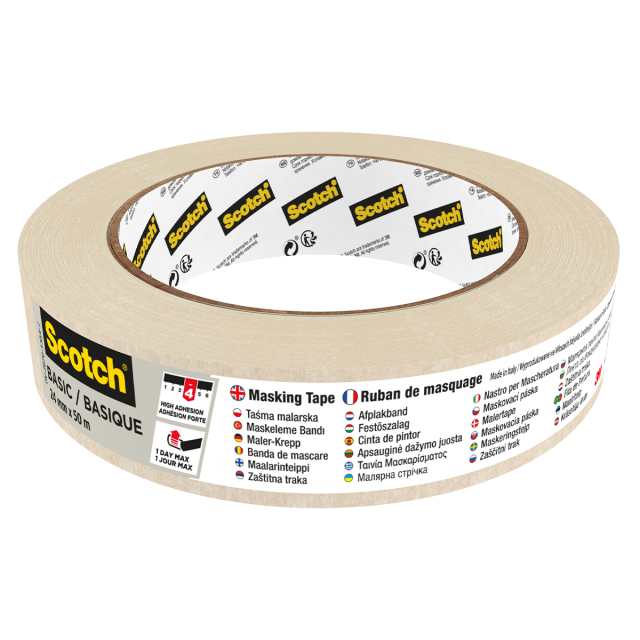
- Masking tape or stencils. If you want to create sharp edges or patterns, use masking tape or make your own stencils from paper.
- Paper / pencil / scissors / craft knife. If you want to sketch out your design or use templates.
- Cloth or wet wipes. Keep a damp cloth or wet wipe nearby so you can quickly correct misplaced paint or wipe your brushes clean.

Paint on fabric in 7 simple steps
Now that you know what materials you need, it is time to get started. Here, we guide you through the entire process, from the first preparations to a finished design that will last over time.
Step 1: Choose a fabric
All textiles behave differently when you paint on them. Some materials absorb colour quickly and are easy to work with, while others require more preparation or specialised paints for the result to last over time. Here are the most common materials and what you need to know before getting started.
Painting on cotton – the easiest choice for beginners
Cotton is usually the easiest material to work with when painting on fabric. Because the fibres absorb colour effectively, you get even coverage and the paint generally adheres very well. This makes cotton a great choice if you want to paint t-shirts, tote bags, sweatshirts or cushion covers.
The main thing to keep in mind is that the paint often soaks through the fabric. Always place cardboard or paper between the layers so the back does not become stained.
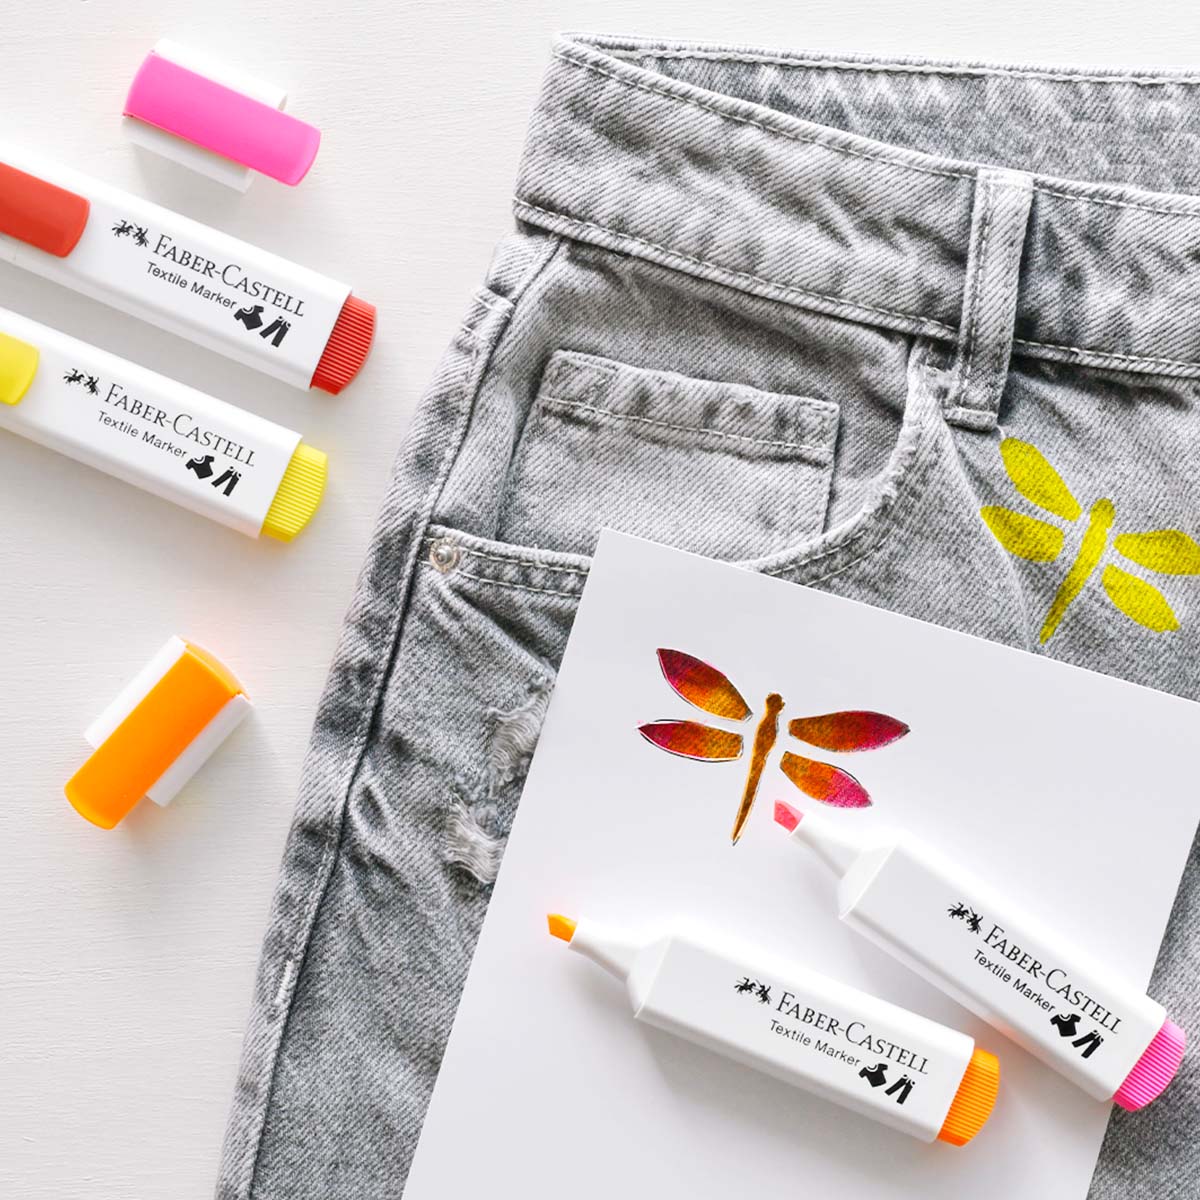
Painting on jeans and denim – requires opaque paint
Denim works brilliantly for painting if you want to refresh denim jackets or jeans, but the material differs quite a lot from thinner cotton fabrics. Because denim is tightly woven and often darker than other textiles, you will usually need more heavily pigmented or opaque paints for the design to stand out properly. Denim garments are also exposed to a lot of bending and washing, so it is best to choose flexible paints that can be heat-set for better durability.
Painting on linen – creates a more natural and textured finish
Linen is a natural fibre just like cotton, which means paint usually adheres well. The difference is that linen has more texture on the surface, which can affect how detailed fine lines and small designs appear. It is especially suitable if you want to create a more handmade and organic feel, for example on tablecloths, napkins or other home décor. Since linen is rarely bright white, colours can sometimes look slightly different compared with painting on cotton. The material is simply a bit more unpredictable and lively.
Painting on polyester - slightly harder for paint to adhere properly
Polyester does not absorb paint as well as natural materials because the fibres are synthetic. This means the paint often sits more on the surface rather than soaking into the fabric. That can make the material a little harder to work with, especially if you want a permanent result that can withstand washing.
If you are painting on polyester, it is especially important to check that the paint or pen is compatible with synthetic materials. Standard fabric paints do not always perform optimally here.

Step 2: Wash and prepare the fabric
For the paint to adhere properly, the fabric needs to be clean and free from dust, dirt and chemical treatments that may remain from manufacturing. Always start by washing the fabric according to the care instructions, ideally without fabric conditioner.
Allow the fabric to dry completely and, if possible, iron it before you begin. A smooth surface makes it easier to paint accurately and reduces the risk of uneven lines. If you are painting on clothing or multiple layers of fabric, place paper or cardboard in between so the paint does not bleed through.
Step 3: Choose between fabric paint and fabric pens
Before you start painting, you need to decide which tool best suits your project. The most common options are liquid fabric paint and fabric pens, and your choice will affect both the working process and the final result.
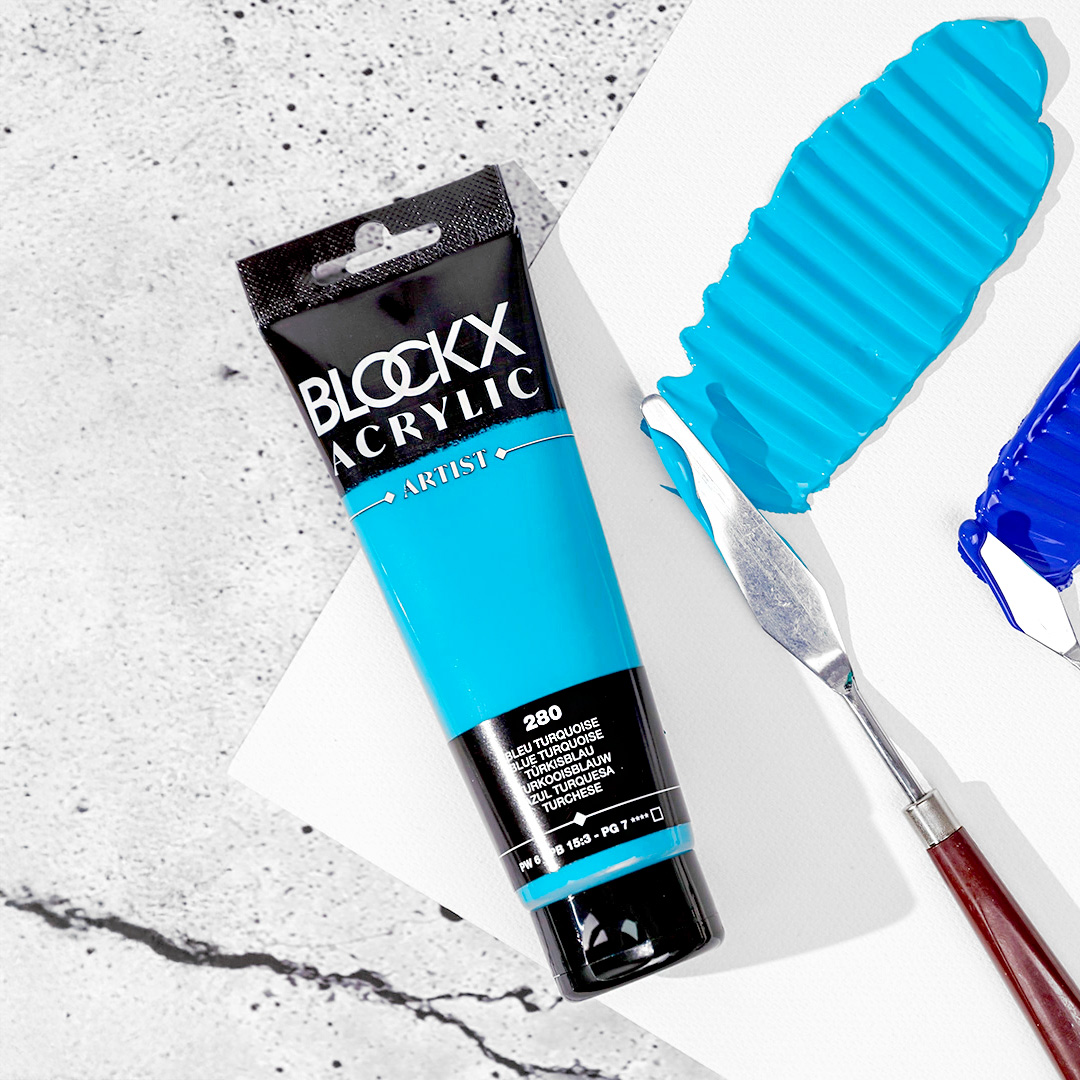
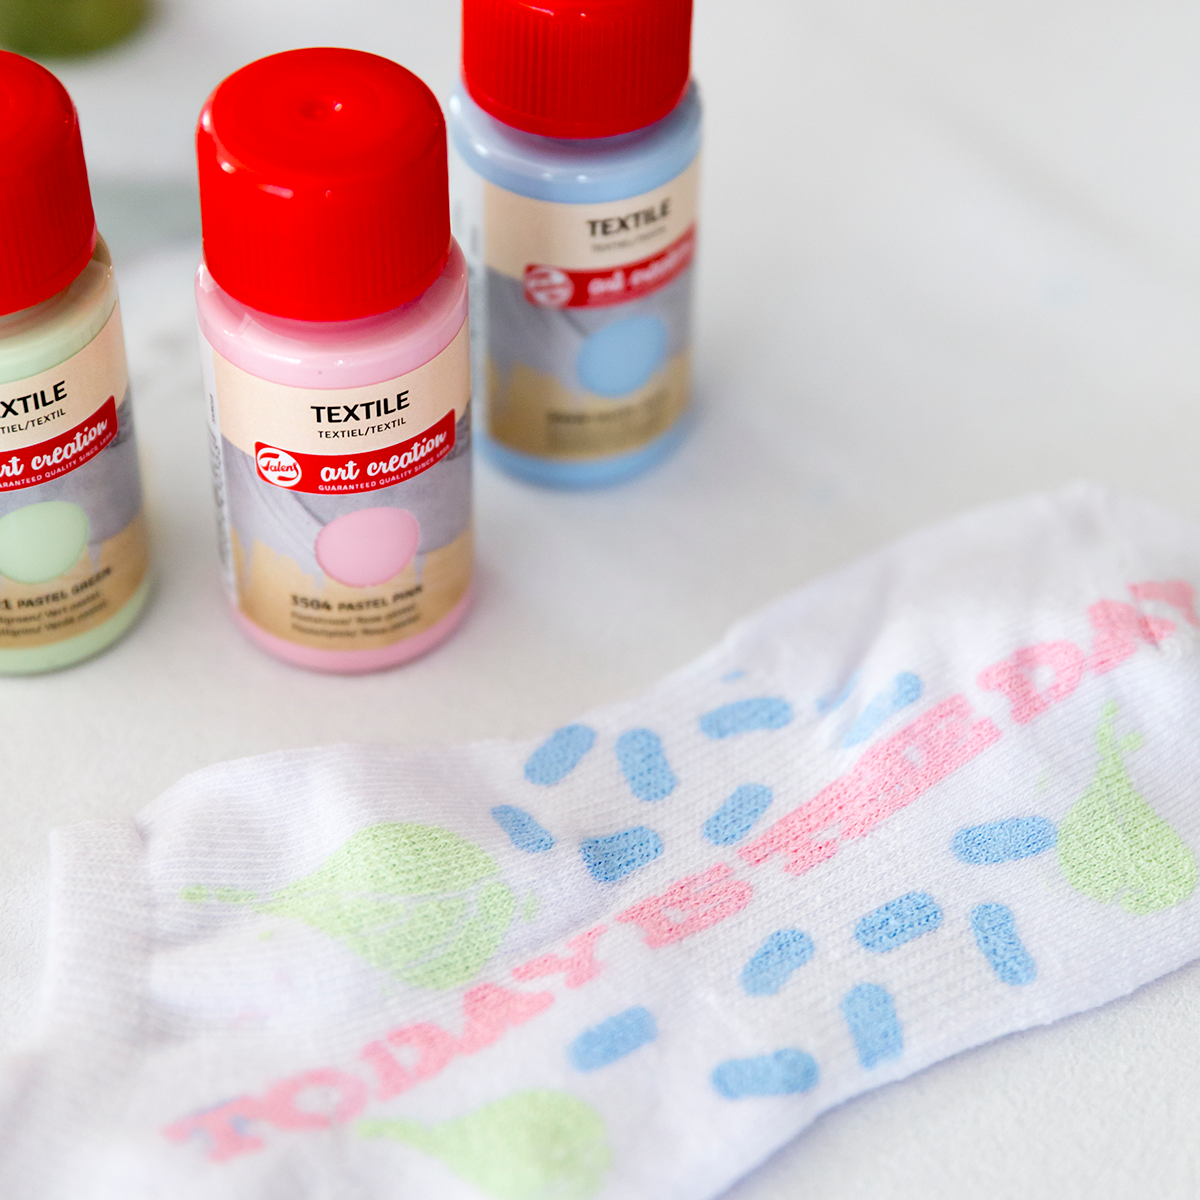
Painting with fabric paint
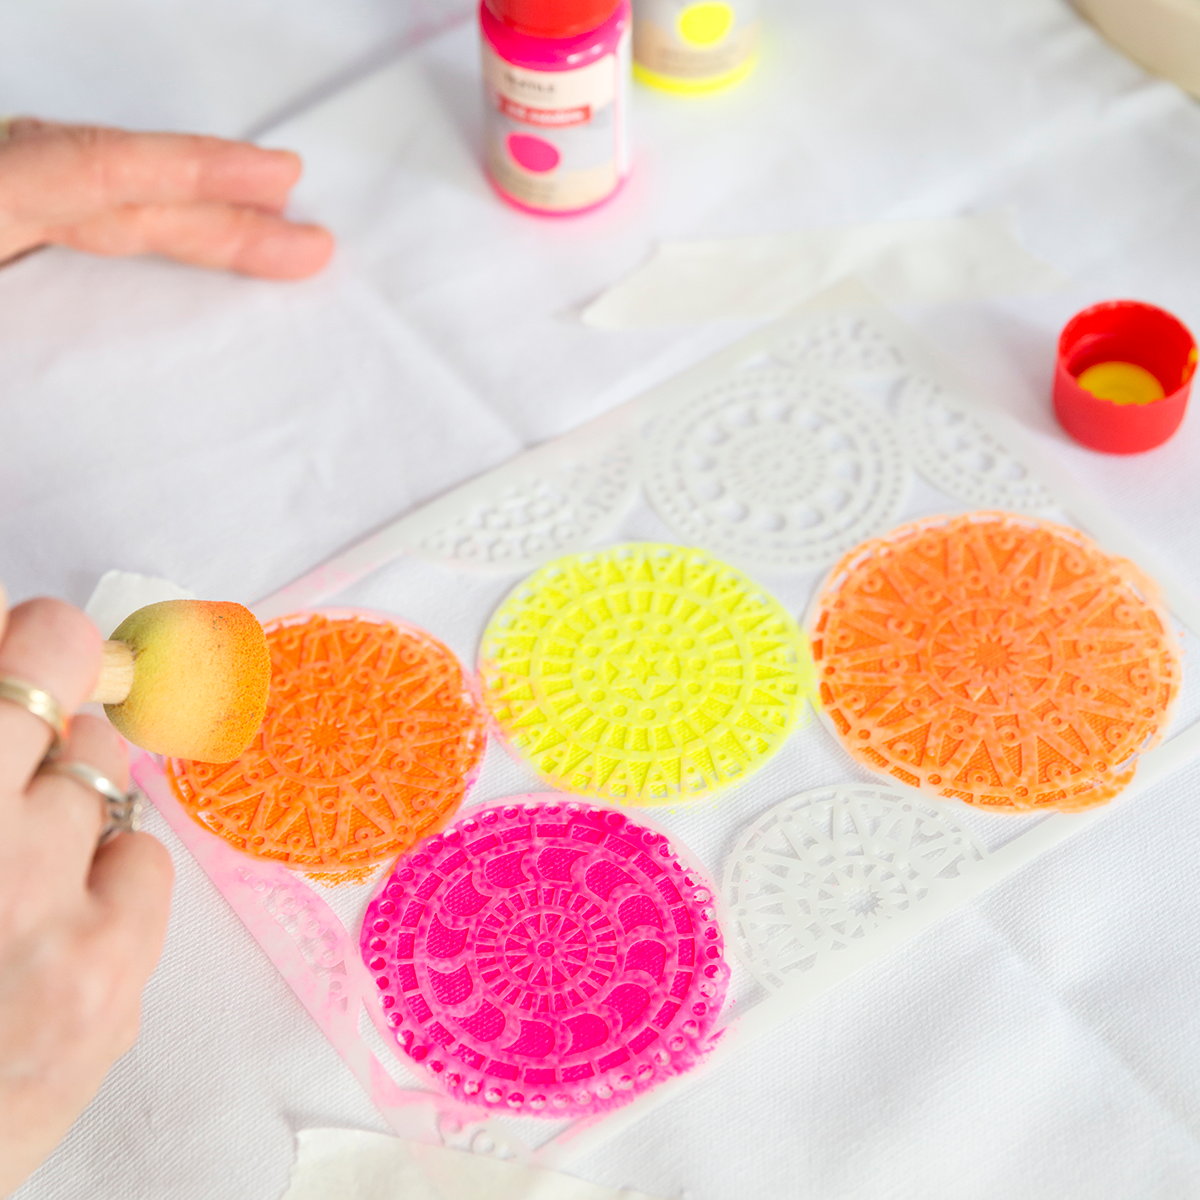
Liquid fabric paint works best when you want to cover larger areas or create effects such as gradients and paint splatters. You can use brushes, sponges, stamps or stencils, and you can also mix colours to create your own shades. Liquid fabric paint is generally more affordable compared with fabric pens.
Best for: larger designs, backgrounds, colour blocks and stencil work.
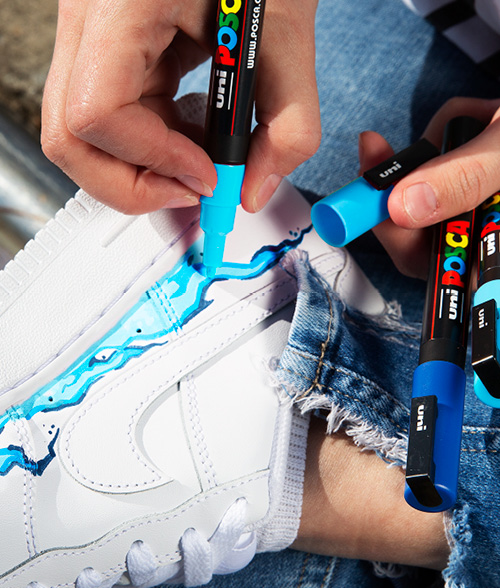
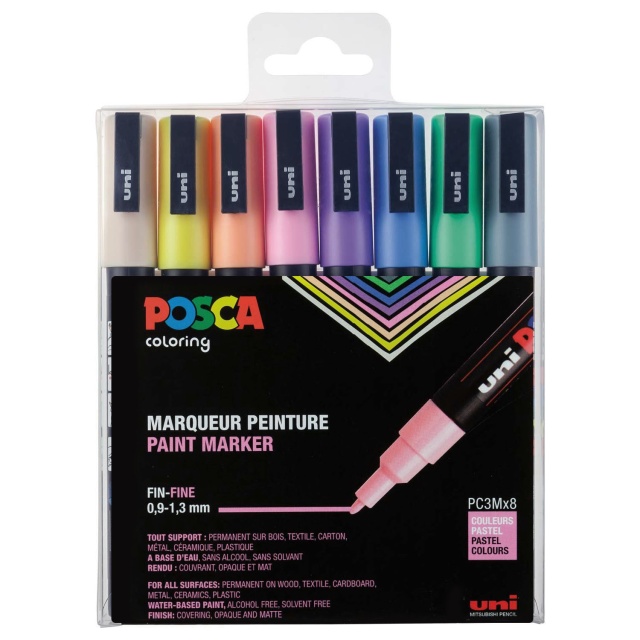
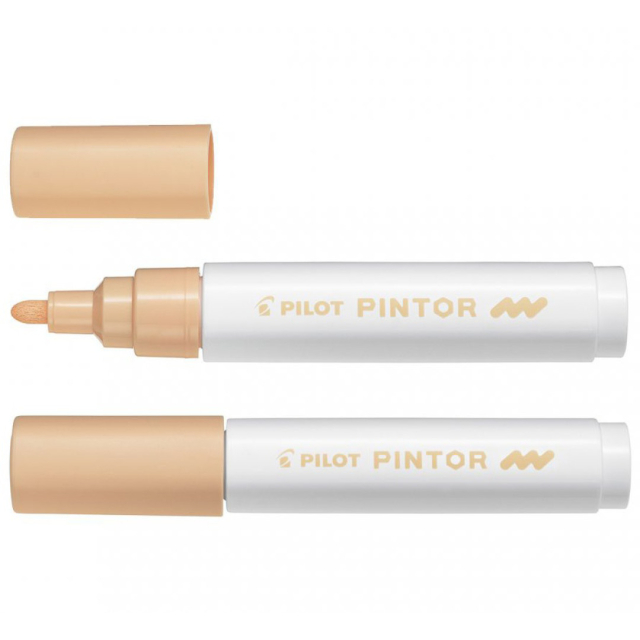
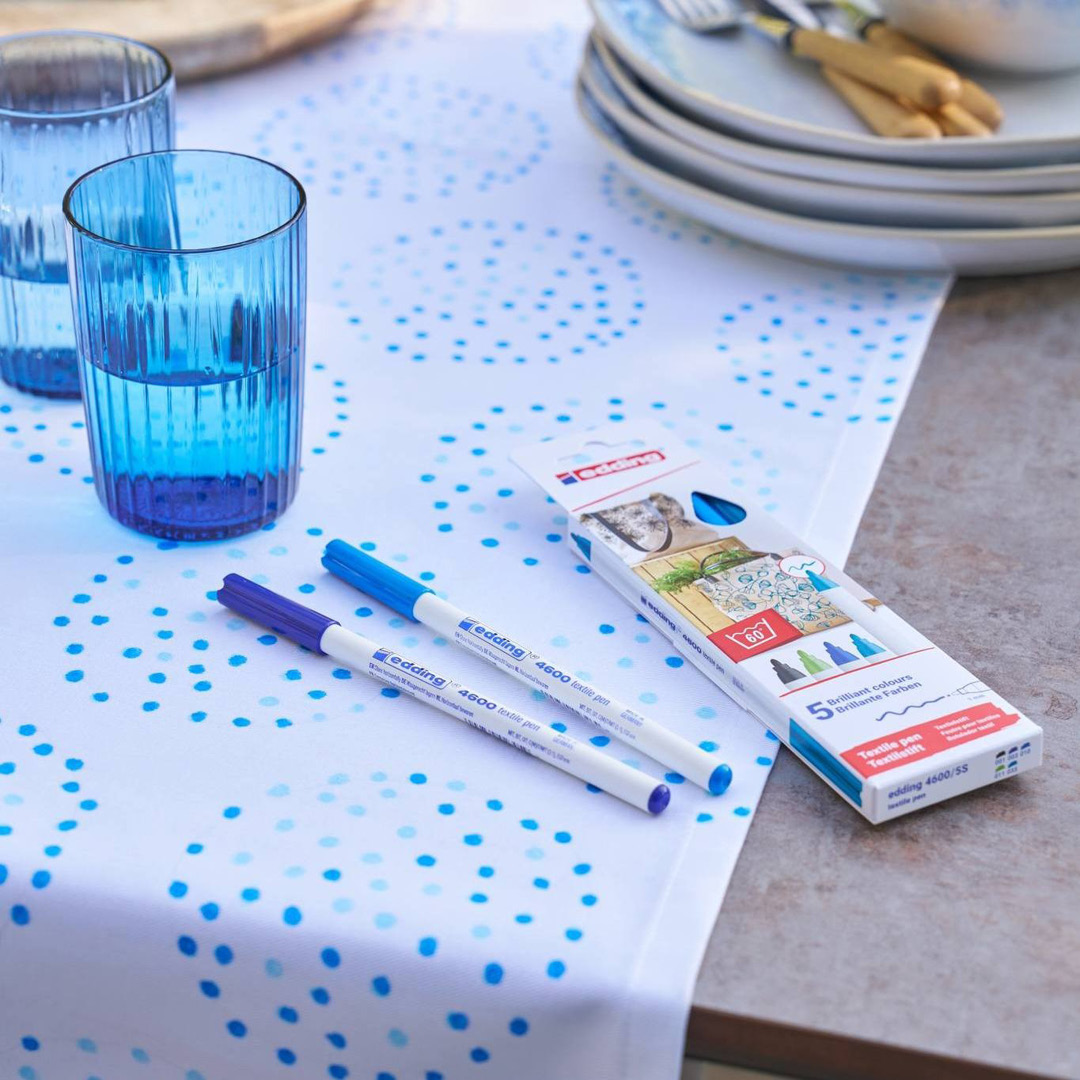
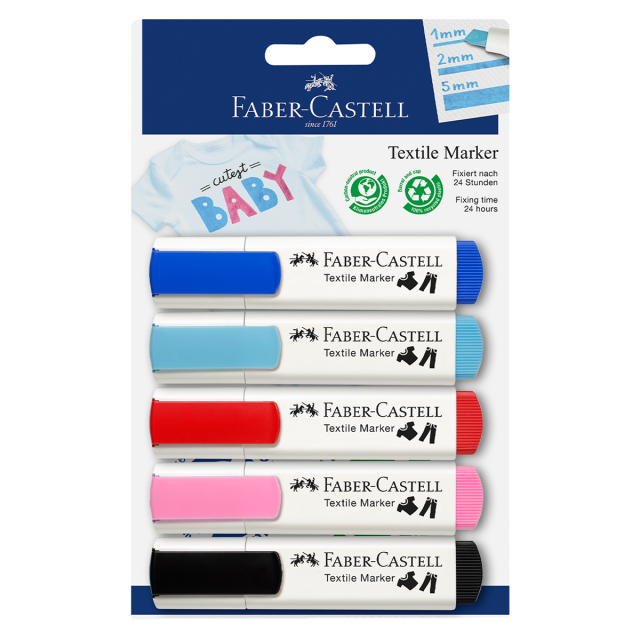
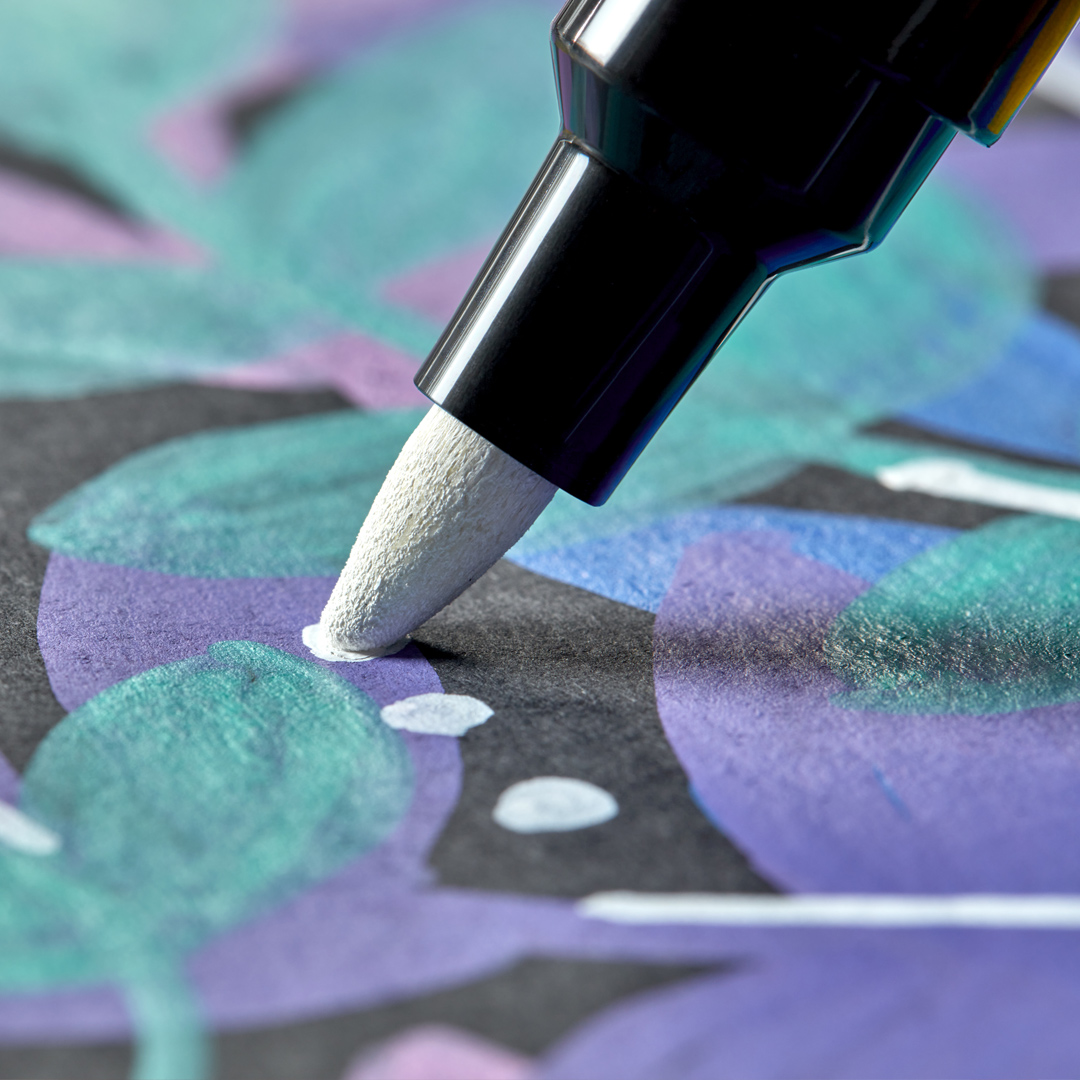
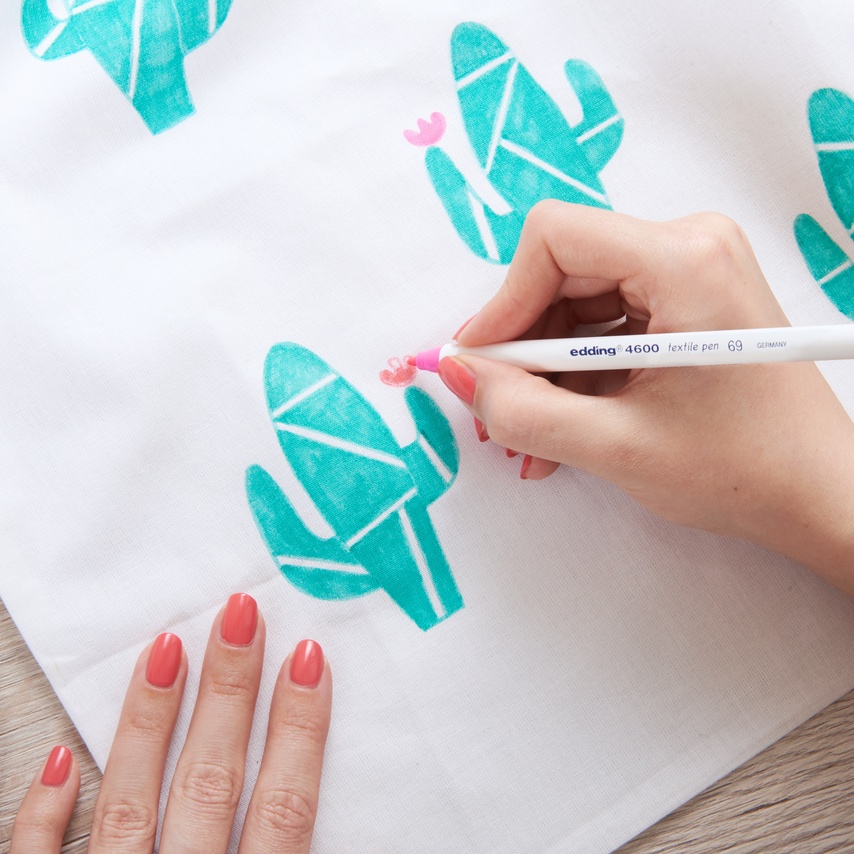
Painting with fabric pens
Fabric pens provide greater precision and are perfect for detailed work where you want full control over lines and smaller shapes. If you prefer drawing rather than painting, fabric pens are often the easiest option.
Best for: details, line work, lettering, smaller illustrations and outlines.
Can you combine both?
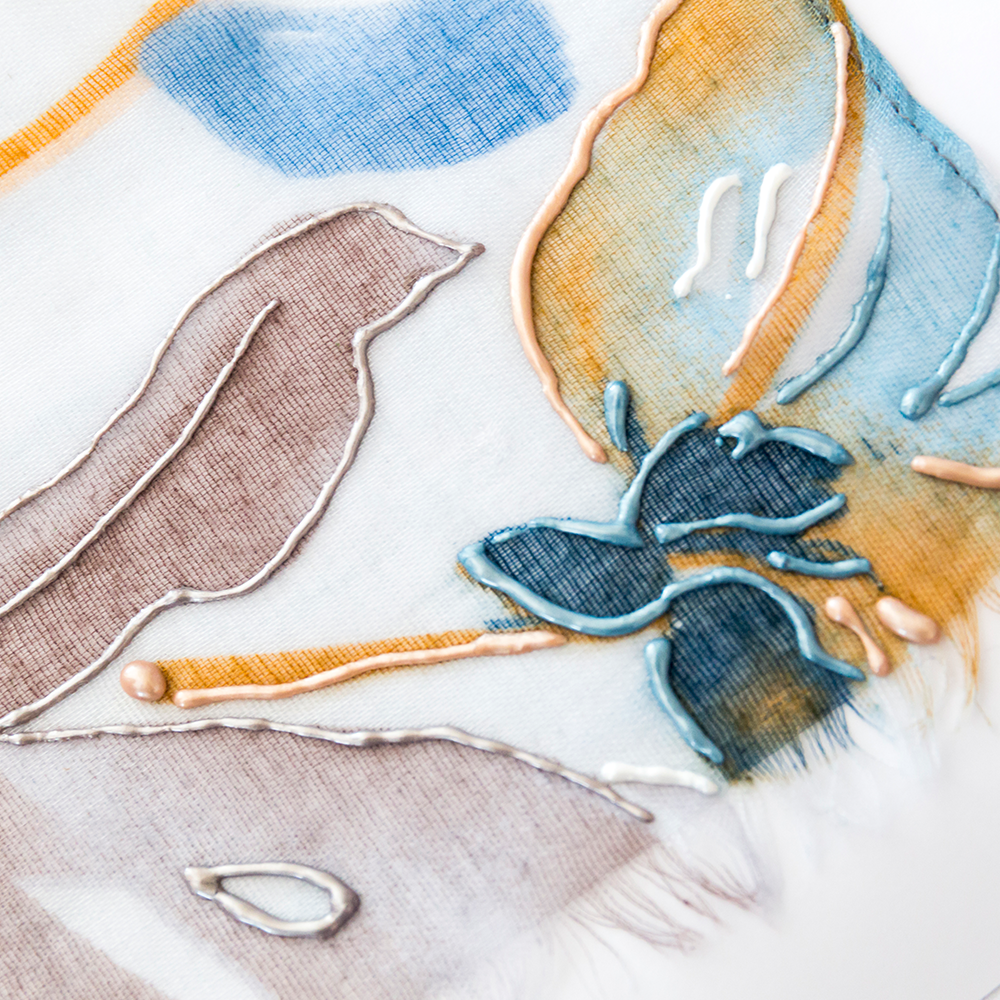
Absolutely. Many people use liquid fabric paint to fill larger areas and then use fabric pens afterwards for details, outlines or smaller decorative elements.
Step 4: Plan and sketch your design
Once you have chosen your colours and tools, it is time to plan what you want to create. Sketching out your design beforehand makes it easier to position everything correctly and reduces the risk of mistakes once you begin painting.
Start by lightly drawing your design with a pencil or another washable pen that disappears once the work is complete. If you want to create symmetrical patterns, clear shapes or text, it can also be useful to use stencils or masking tape as a guide.
If you are unsure how the paint will behave, it can be a good idea to test paint on a spare piece of fabric first. This gives you a feel for how the material absorbs the paint before starting on your final project.
Step 5: Paint the fabric
Now comes the fun part, time to start painting! Whether you are working with a brush, fabric paint or fabric pens, it is best to work methodically and build up the design step by step rather than trying to make everything perfect straight away.
Here are a few helpful tips:
- Work in thin layers. Start with a thinner layer of paint and gradually build up the intensity. This often gives a more even result and reduces the risk of the paint cracking when the fabric bends.
- Allow the paint to dry between layers. If you apply new paint before the first layer has dried, the colours may blend together or create uneven patches.
- Start with larger areas first. If your design contains both large colour blocks and small details, it is usually easiest to paint the larger sections first and finish with details and outlines.
- Use masking tape or stencils when needed. If you want to create sharp lines, geometric shapes or repeating patterns, tape or stencils can make the process both easier and more precise.
Step 6: Let the paint dry and set it
Once you have finished painting, the paint needs to dry properly before being set. Many fabric paints and fabric pens require heat in order to bond permanently with the fabric and withstand future washing, but always check the instructions for the specific product you are using, as different brands work in different ways.
If the paint needs heat-setting, this can usually be done with a standard iron.
How to set the paint with an iron:
- Allow the design to dry completely before you begin
- Turn the fabric inside out, or place a protective cloth or baking paper over the design.
- Use an iron without steam on a medium heat setting.
- Iron for a few minutes according to the manufacturer’s recommendations.
- Avoid ironing directly on the painted surface.
Step 7: Care and washing
Once the paint has dried and been properly set, your project is finished, but to keep the design looking good over time it is important to care for the fabric correctly. Always wash according to the instructions for the paint or pen you have used, as different products may have different recommendations. As a general rule, painted textiles last best when washed gently.
Here are a few simple tips:
- Wait before the first wash if the manufacturer recommends it
- Turn the garment inside out before washing to protect the design
- Wash at a low temperature or according to the product instructions
- Avoid bleach and harsh detergents
- Never iron directly on the painted surface

Fabric Markers →
Brushes →
Palettes →