United Kingdom (GBP)
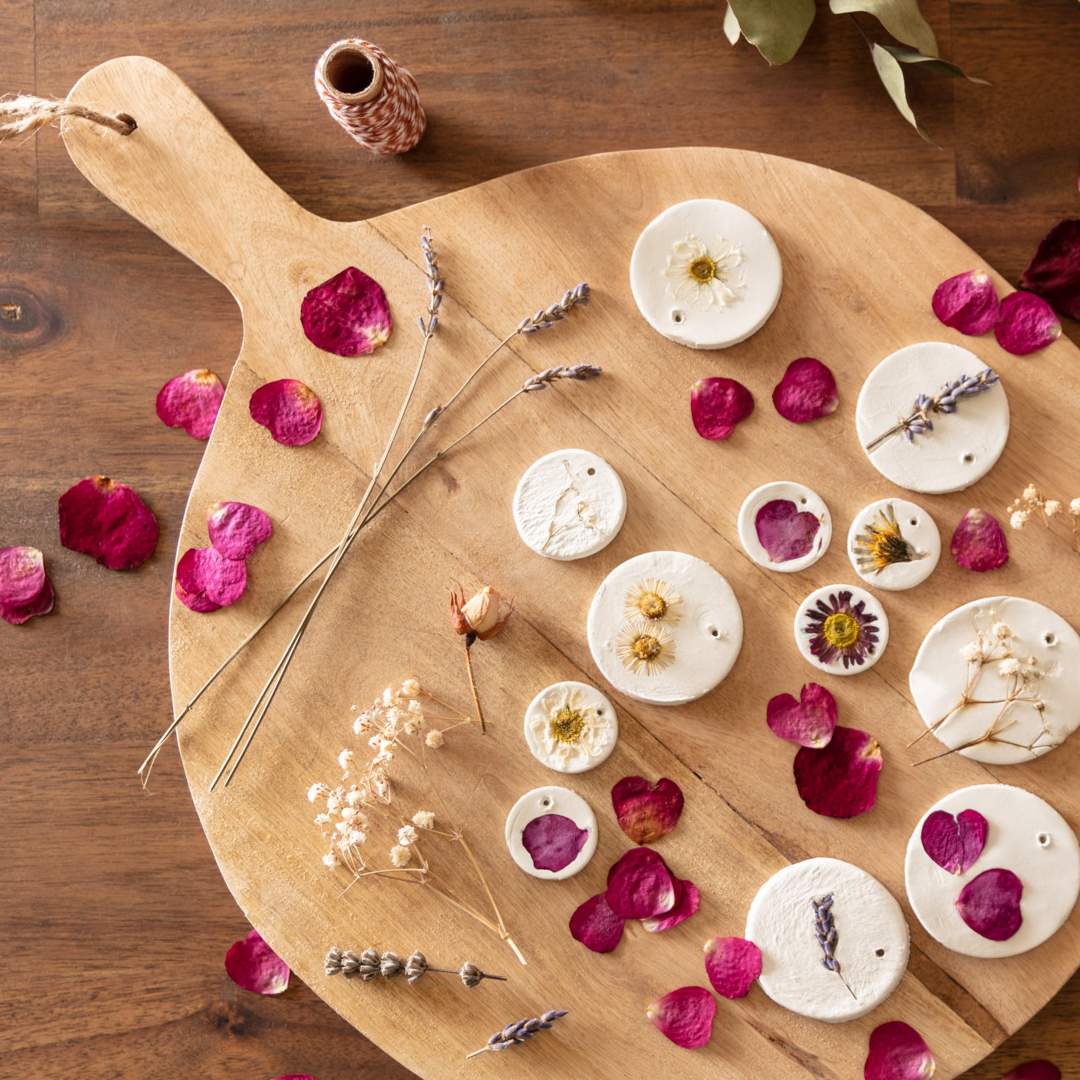
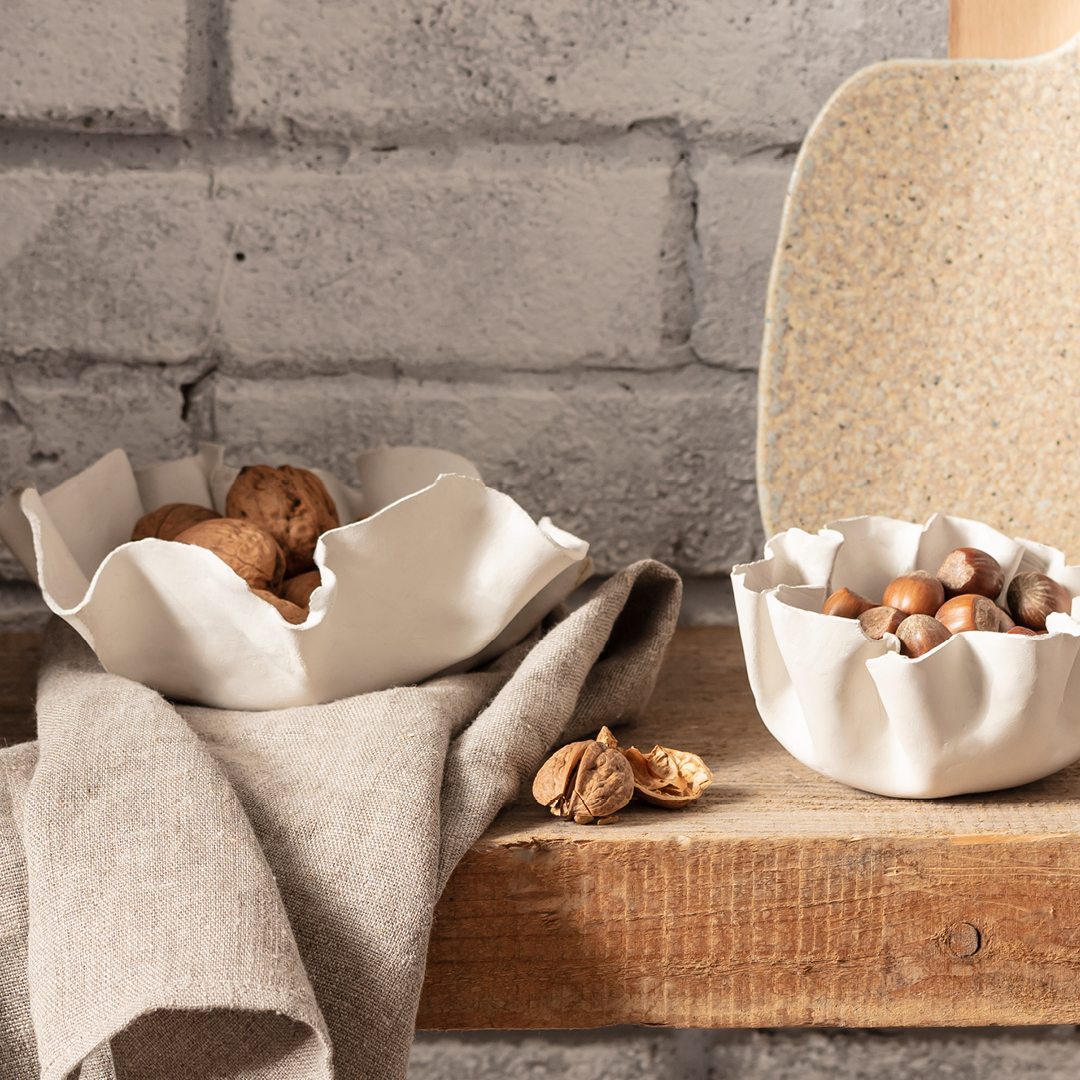
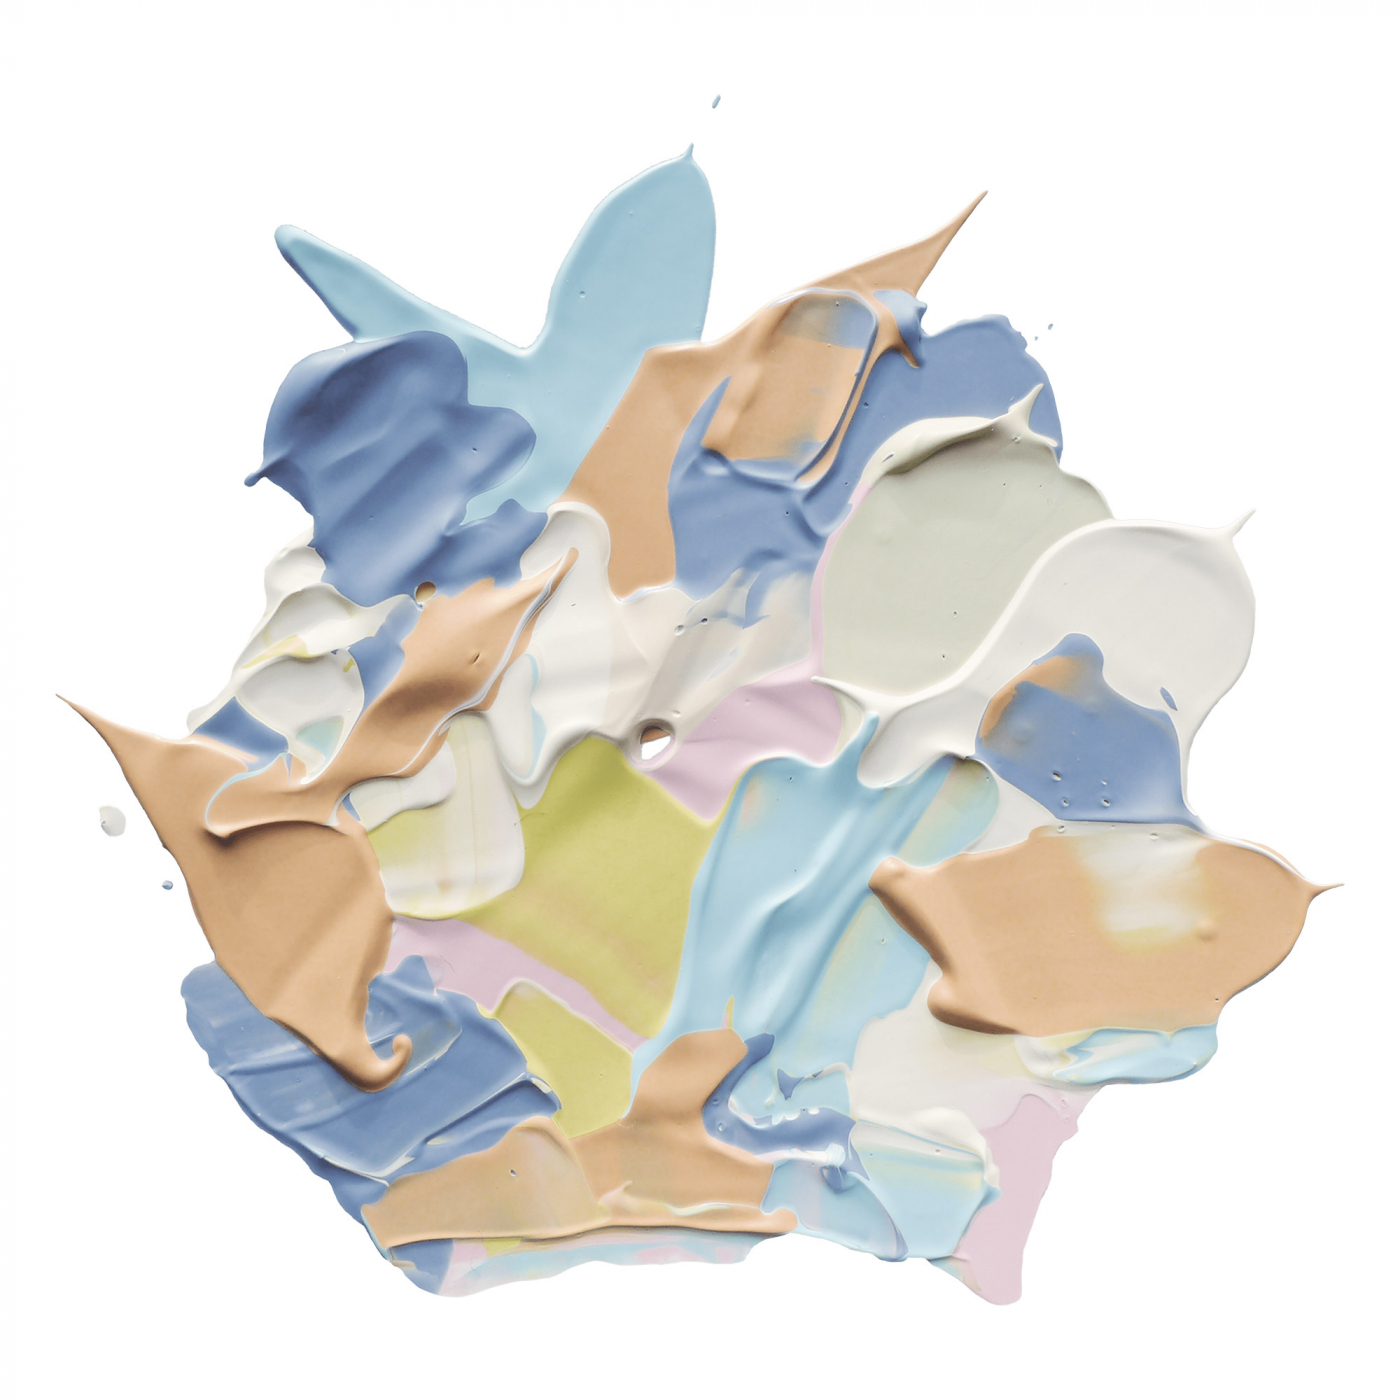
Air-dry clay is a huge trend right now, and we understand the hype! With just clay and your hands, you can hand-build stylish home décor, ornaments and jewellery that rival ceramic quality, all without a kiln. So roll up your sleeves, let your imagination run wild and follow our guide to creating masterpieces with air-dry clay!

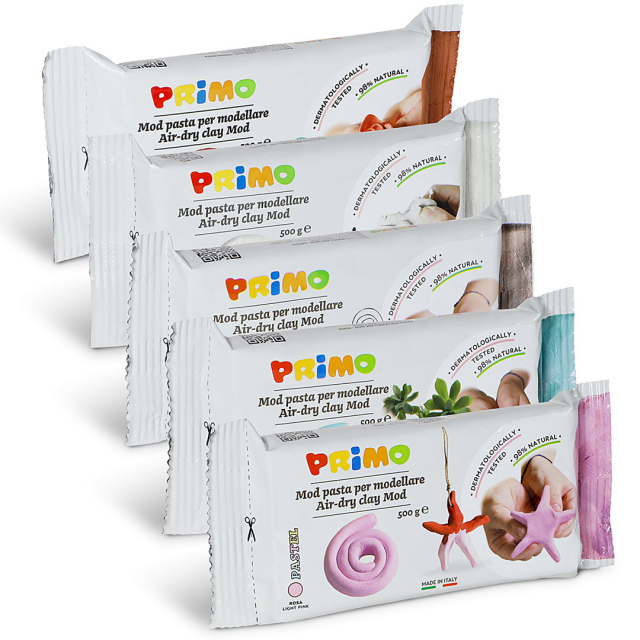
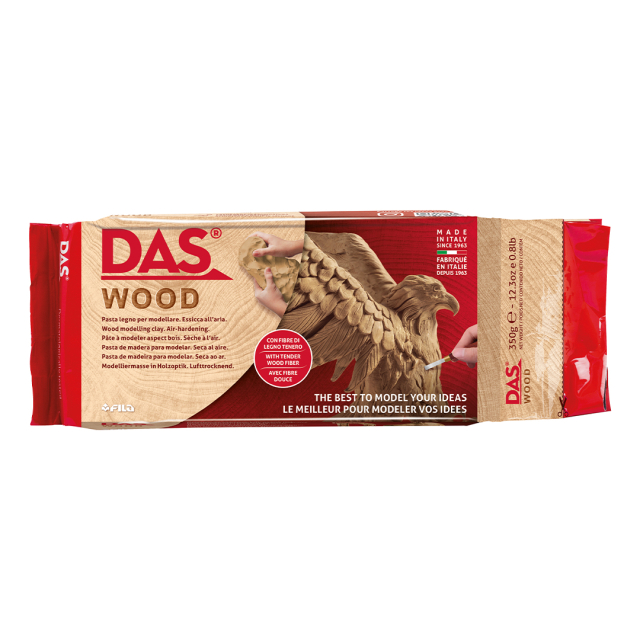
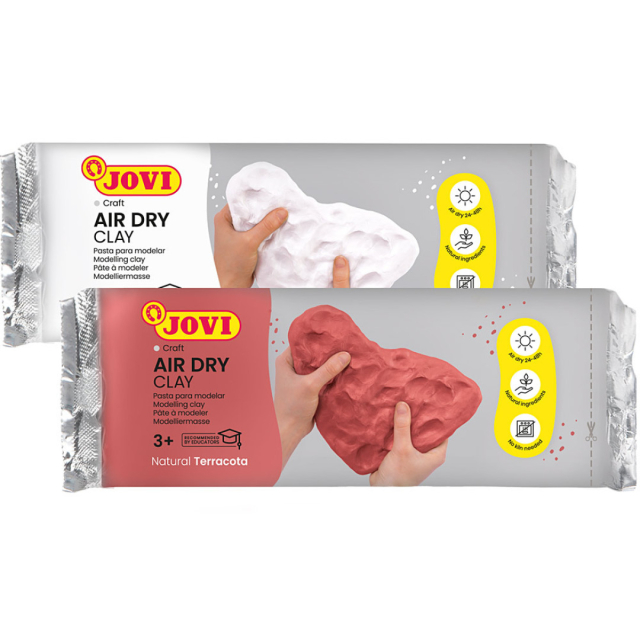
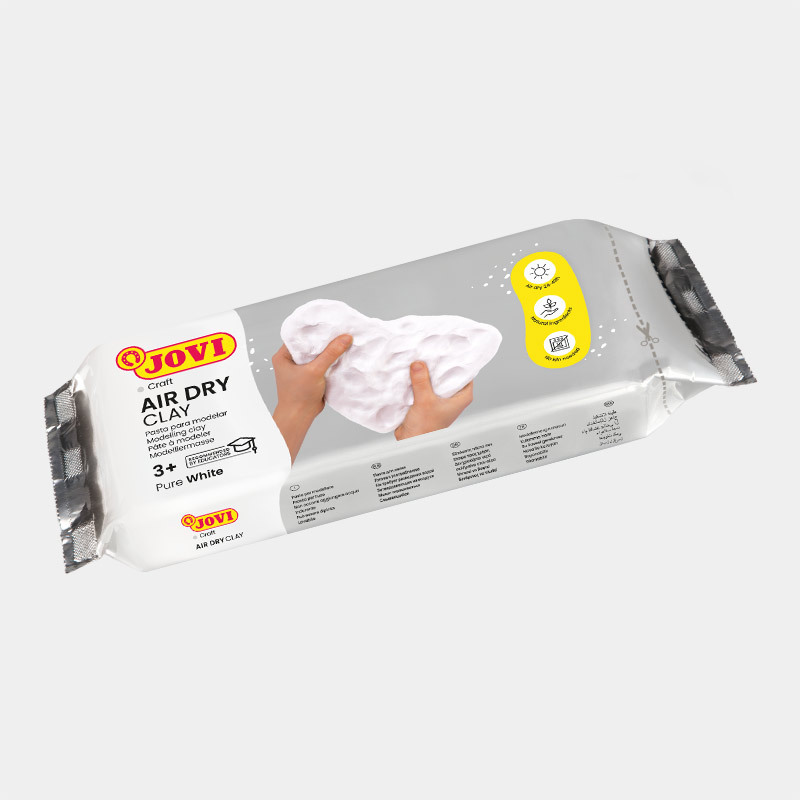
Choose Air-Dry Clay
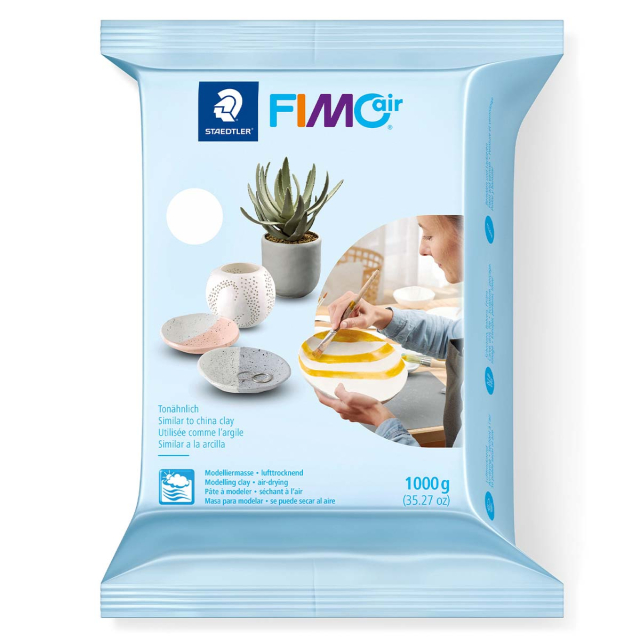
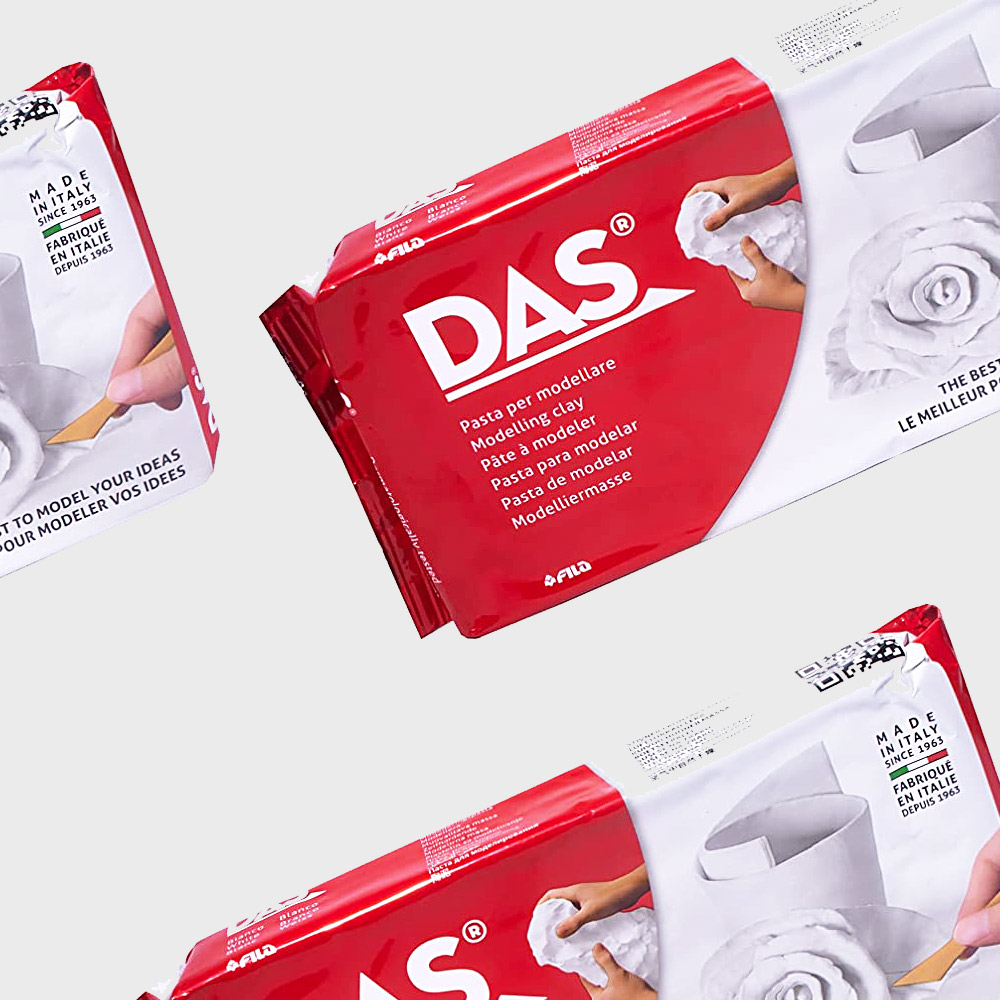
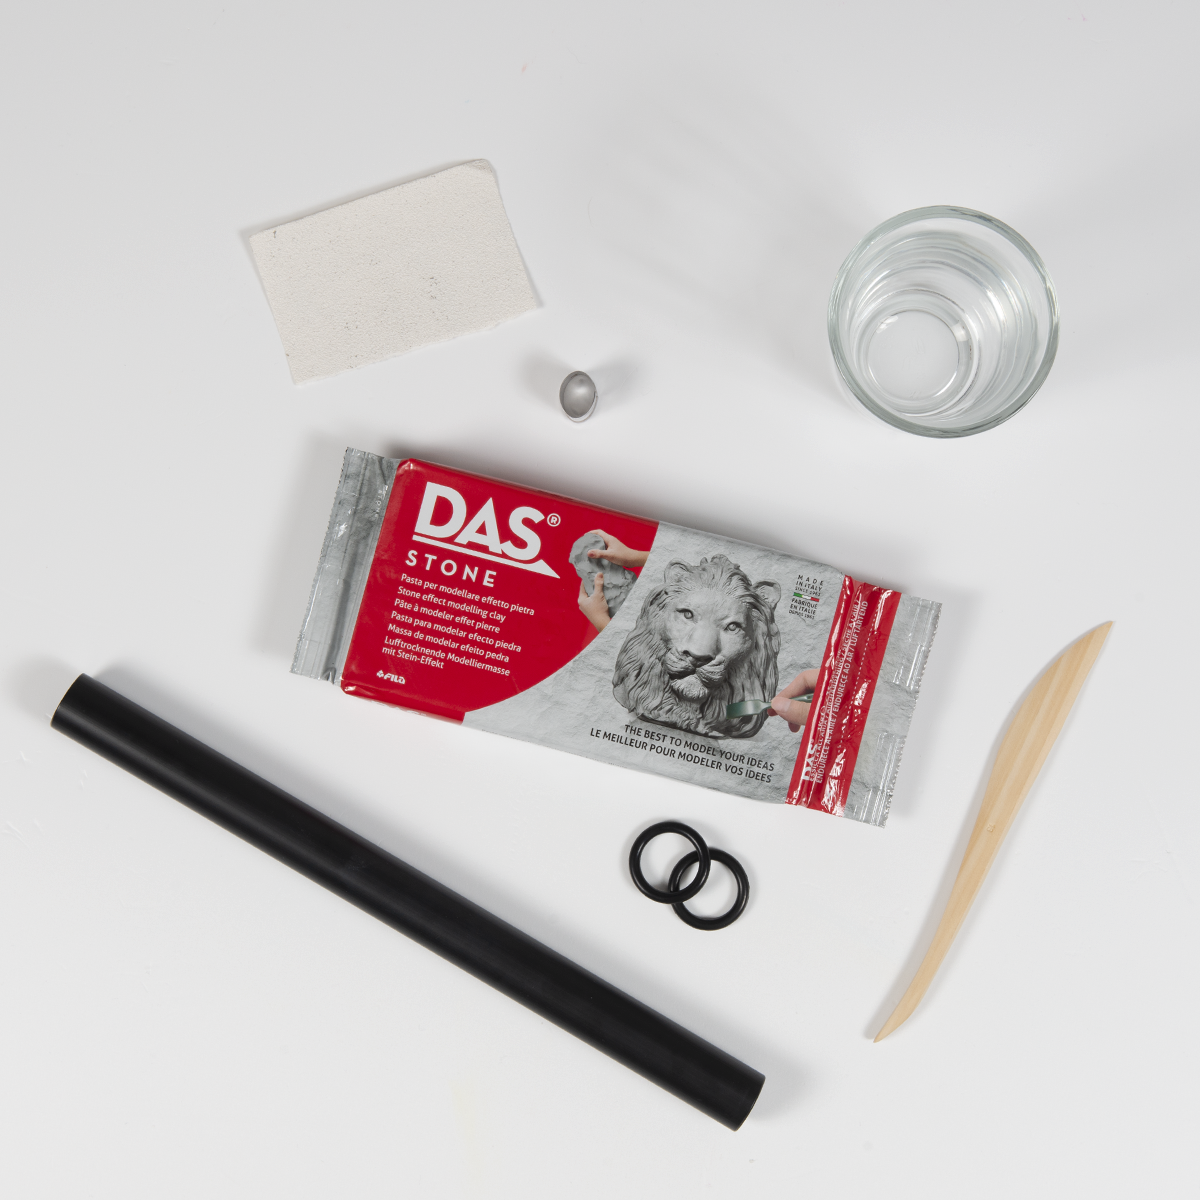
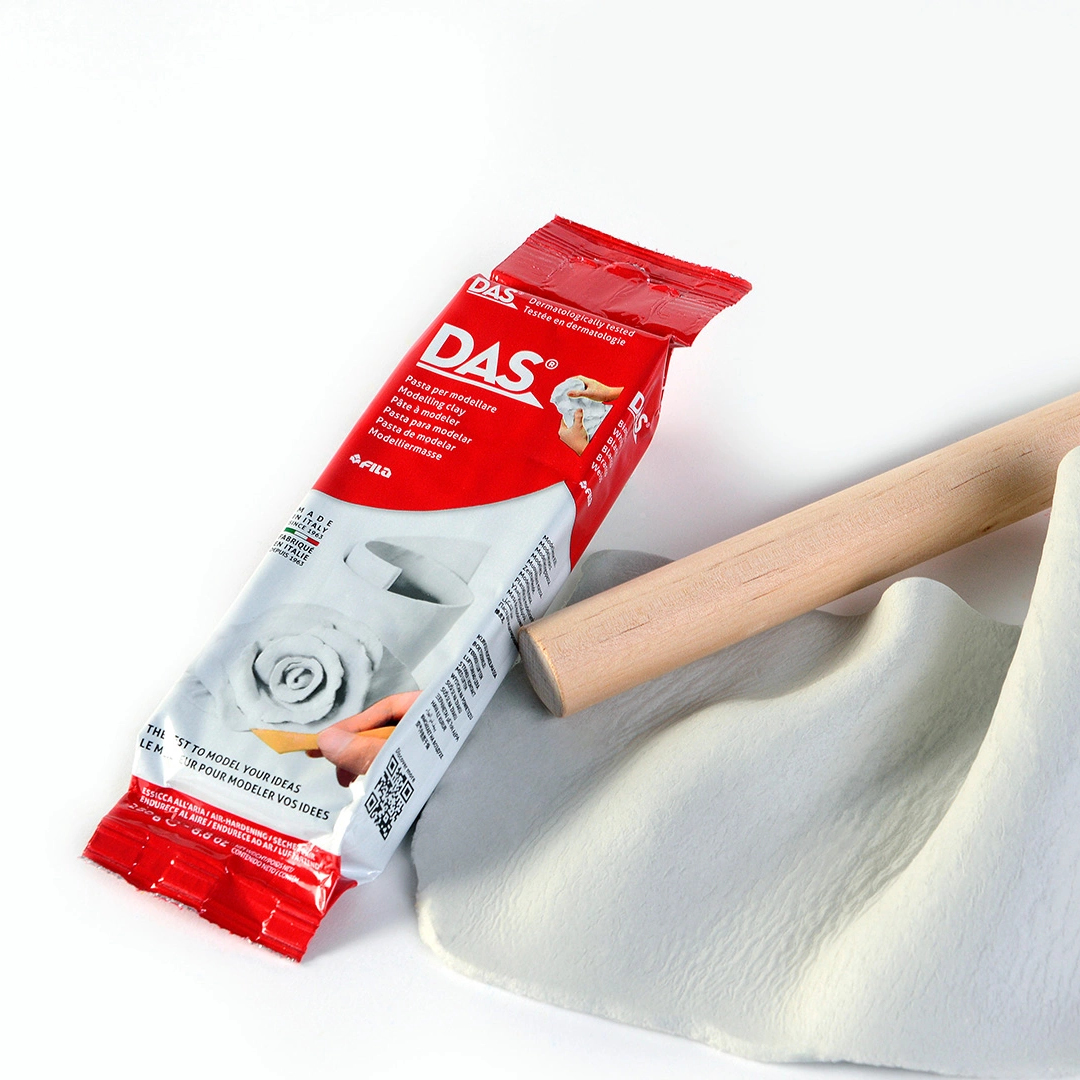
The first step to creating with air-dry clay is, of course, to get the clay itself. There is a wide range of air-dry clays from various brands, and all the ones we sell are of high quality. Read our buying guide to explore different types and brands, and find the right clay for your next project.
Buying Guide: Best Air-Dry Clay →

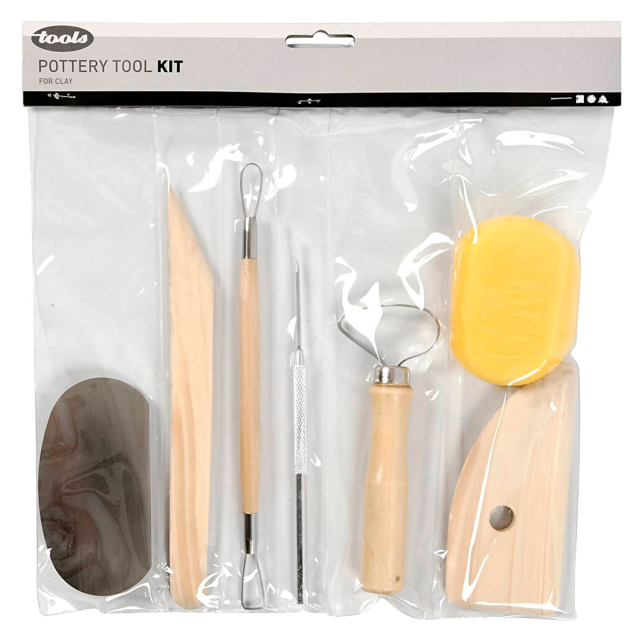
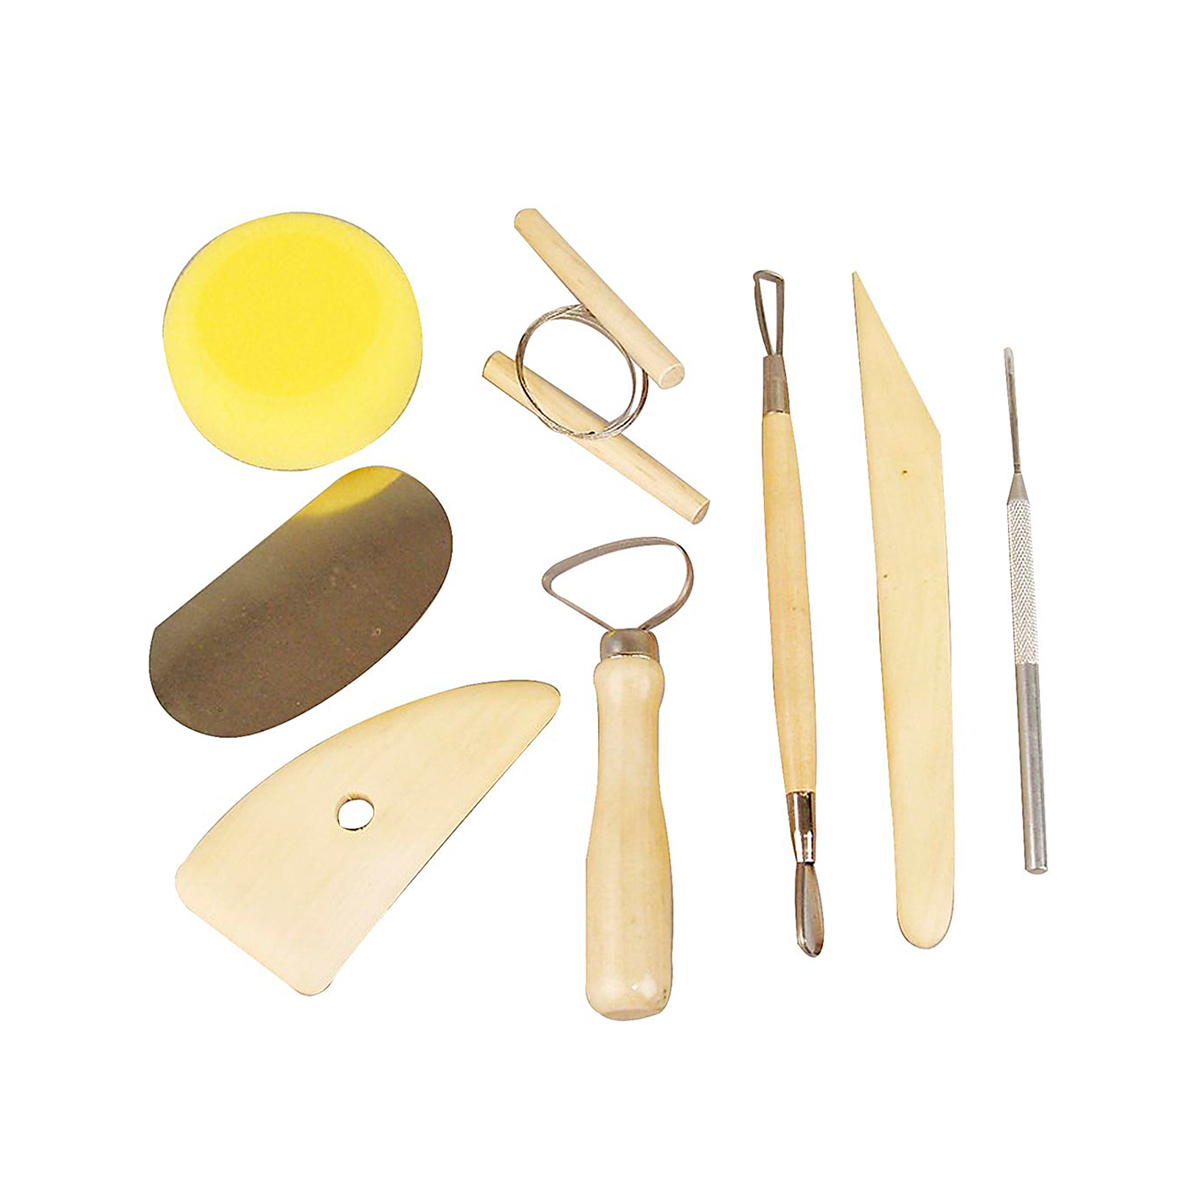
What tools do you need for air dry clay?
Working with air-dry clay doesn’t require advanced tools, but the right materials can make the process both easier and more enjoyable. Here’s a look at the most important materials and tools you’ll need to get started.
Bowl of Water
Water is used to moisten and smooth the clay while you work. It also helps join different parts of your sculpture and prevents the clay from drying out too quickly. Dip your fingers or a brush into the water and apply gently where needed.
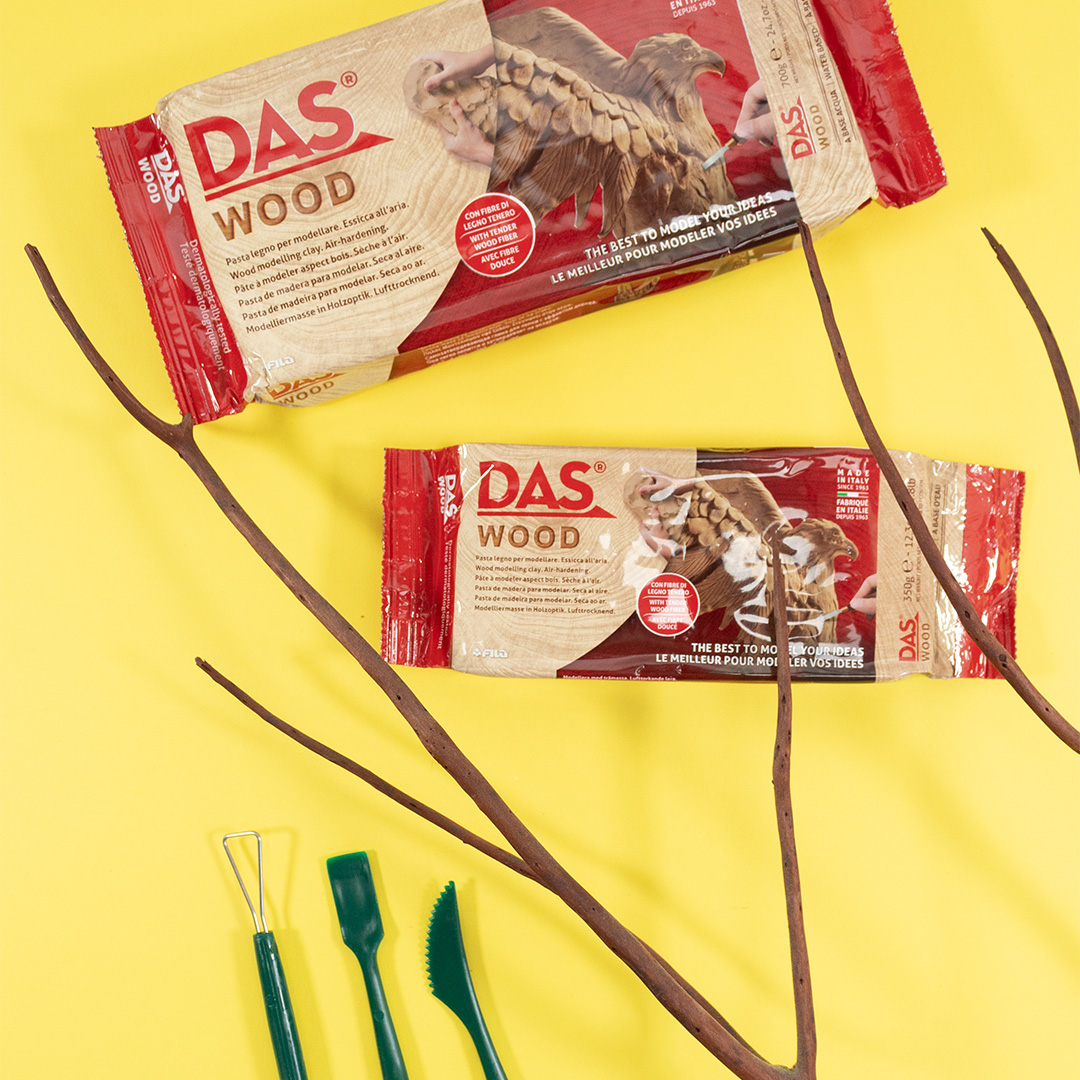
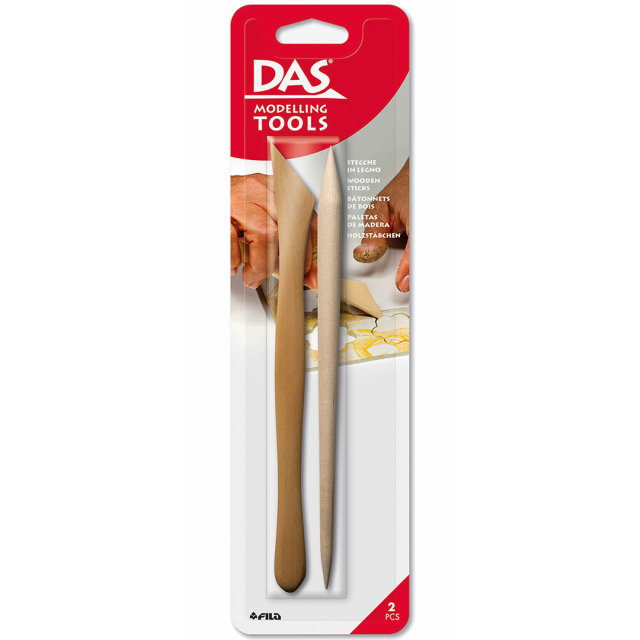
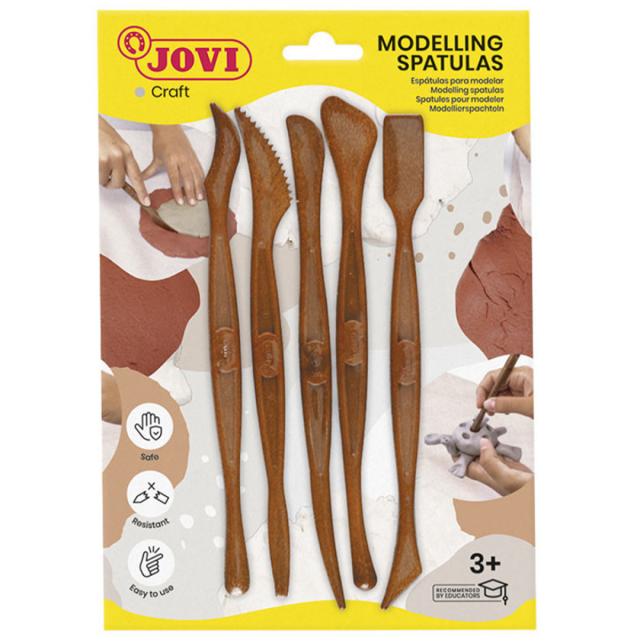
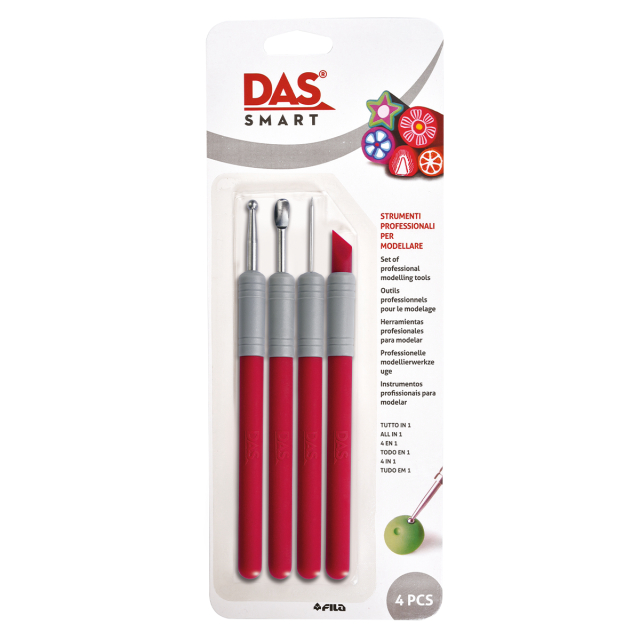
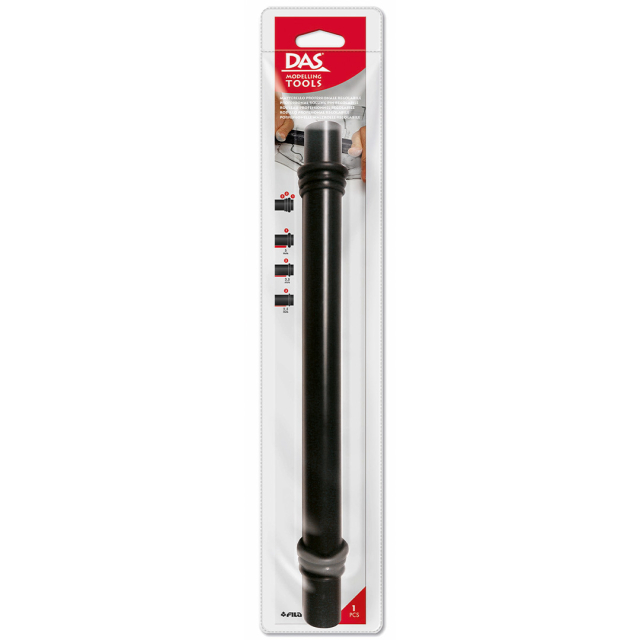
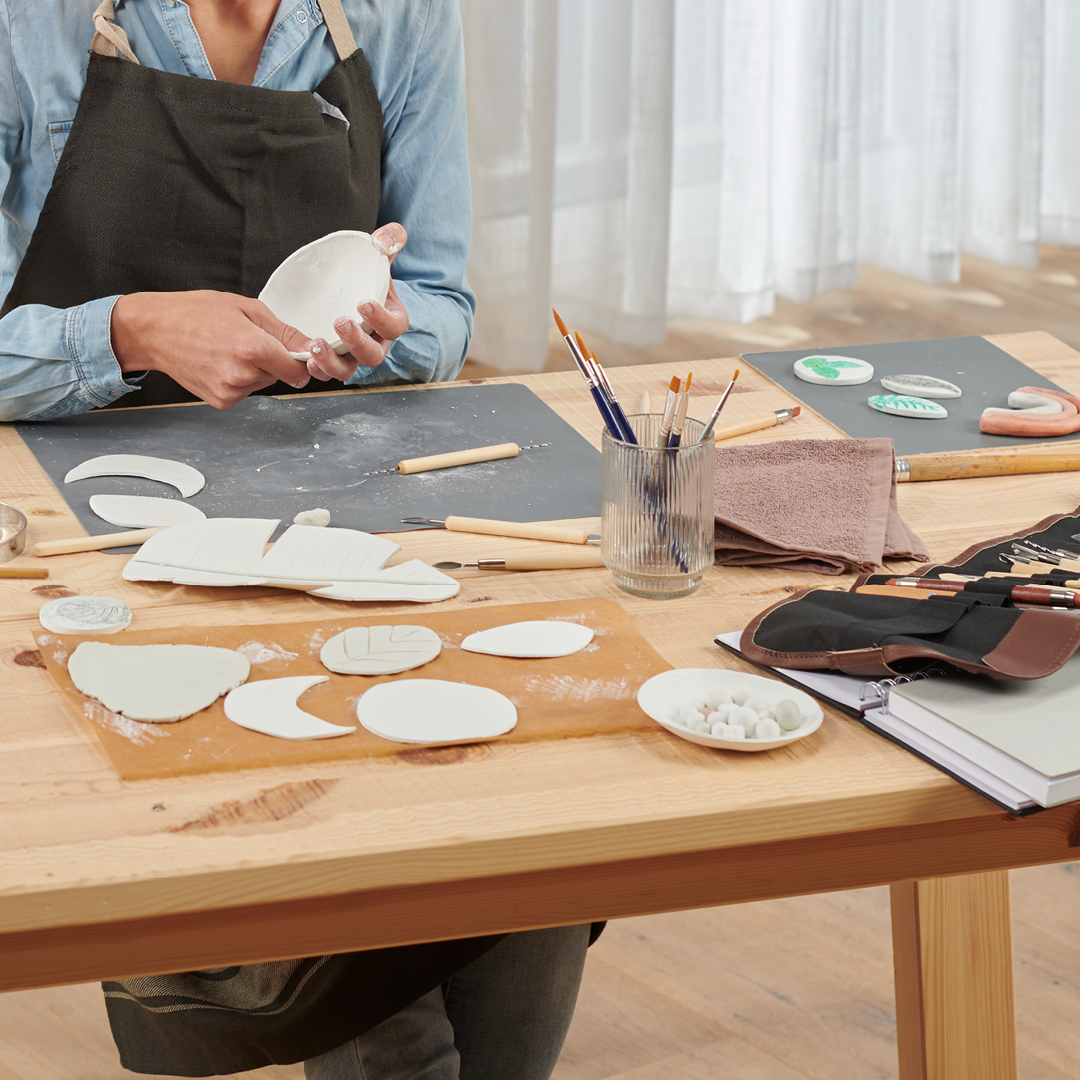
Modelling Tools
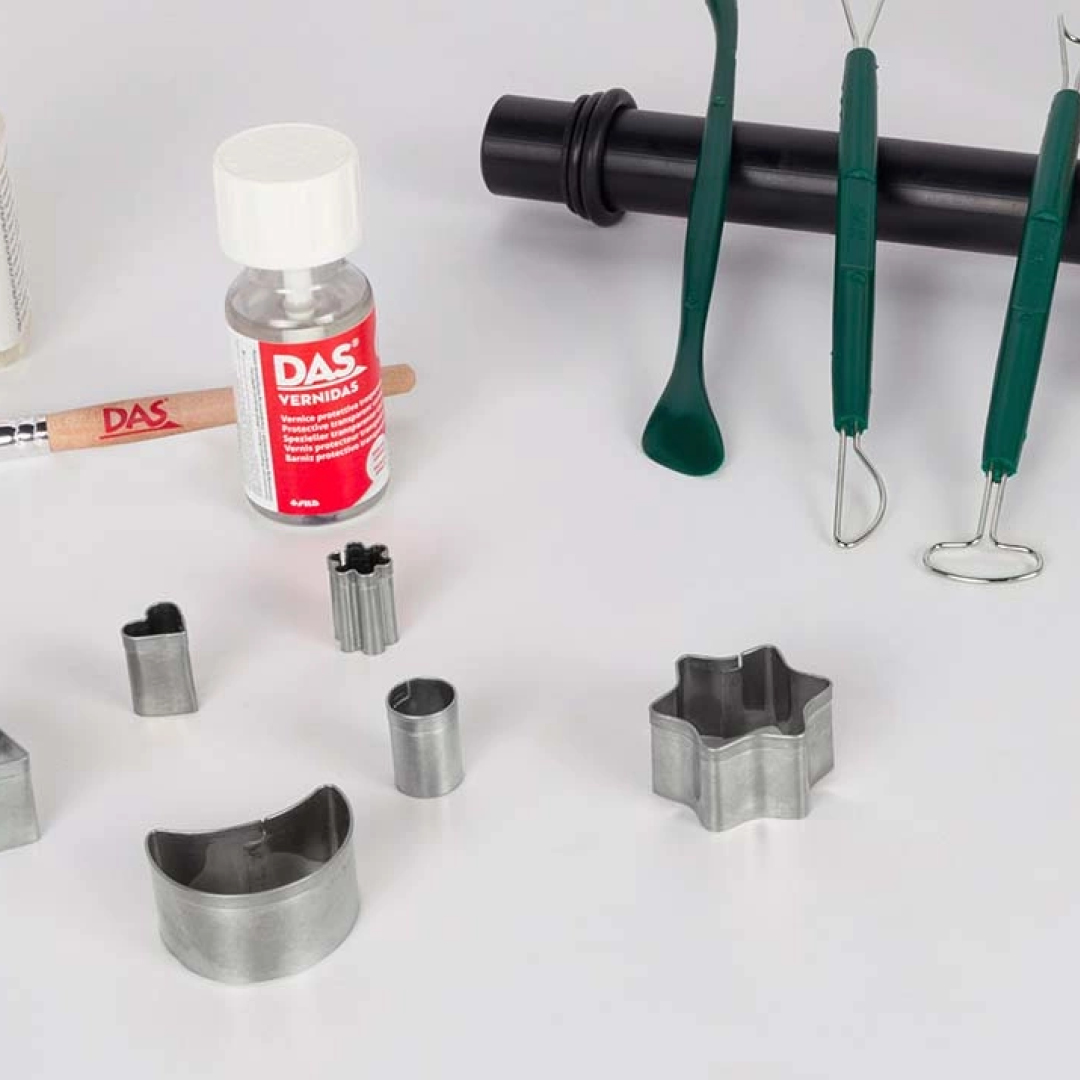
Using modelling tools is optional, but they can be extremely helpful for creating sharp edges, smooth surfaces, textures and details in the clay. Here are some popular tools and their functions:
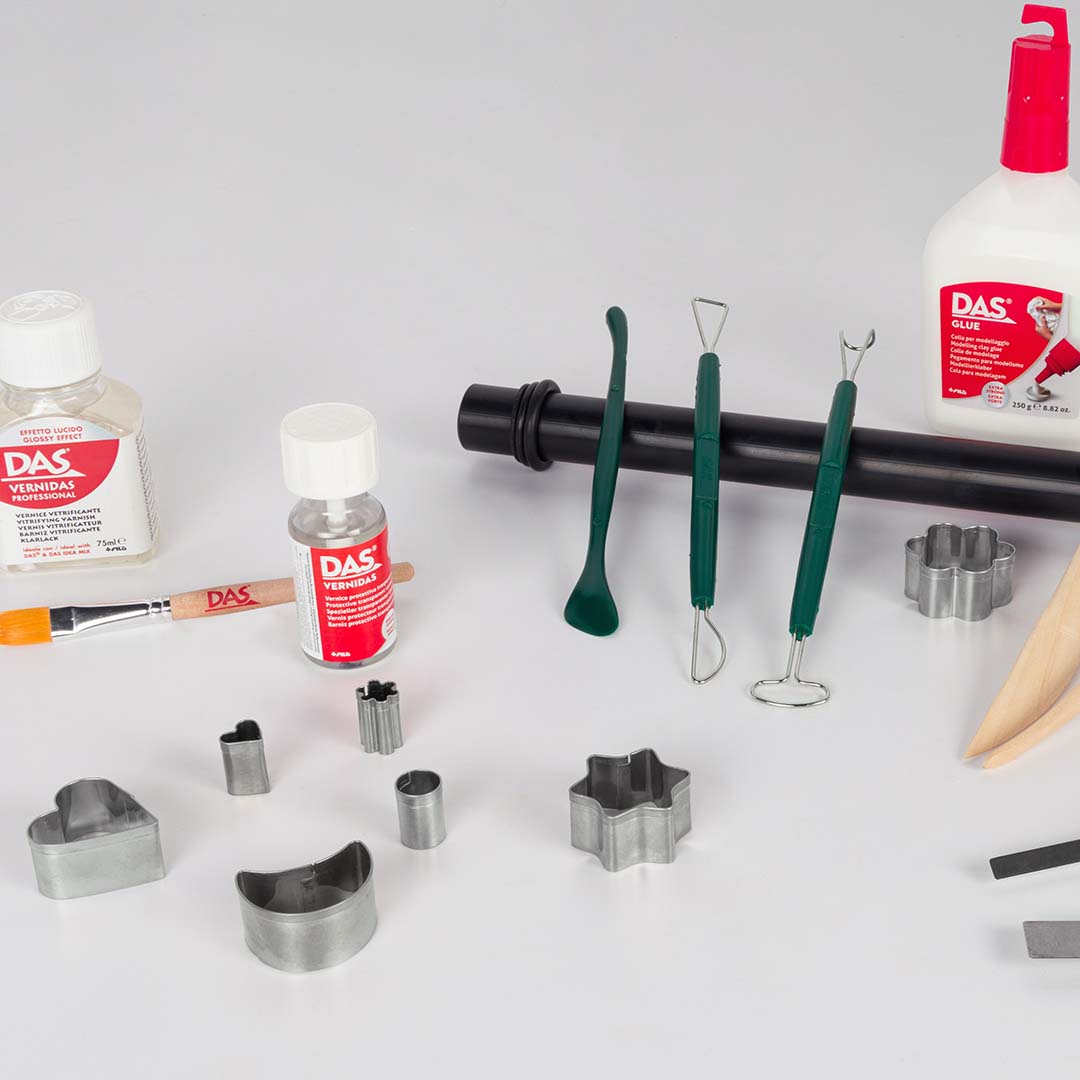
- Sponge: Helps smooth the surface and remove unwanted texture. Dampen the sponge and glide it over the clay for a smooth, polished finish.
- Metal Loop: Also called “ribbon tools”. Perfect for carving out clay, creating hollows, or removing excess clay.
- Wooden Tools: Butter-knife-shaped wooden sticks with pointed ends, used for scraping, smoothing and cutting the clay.
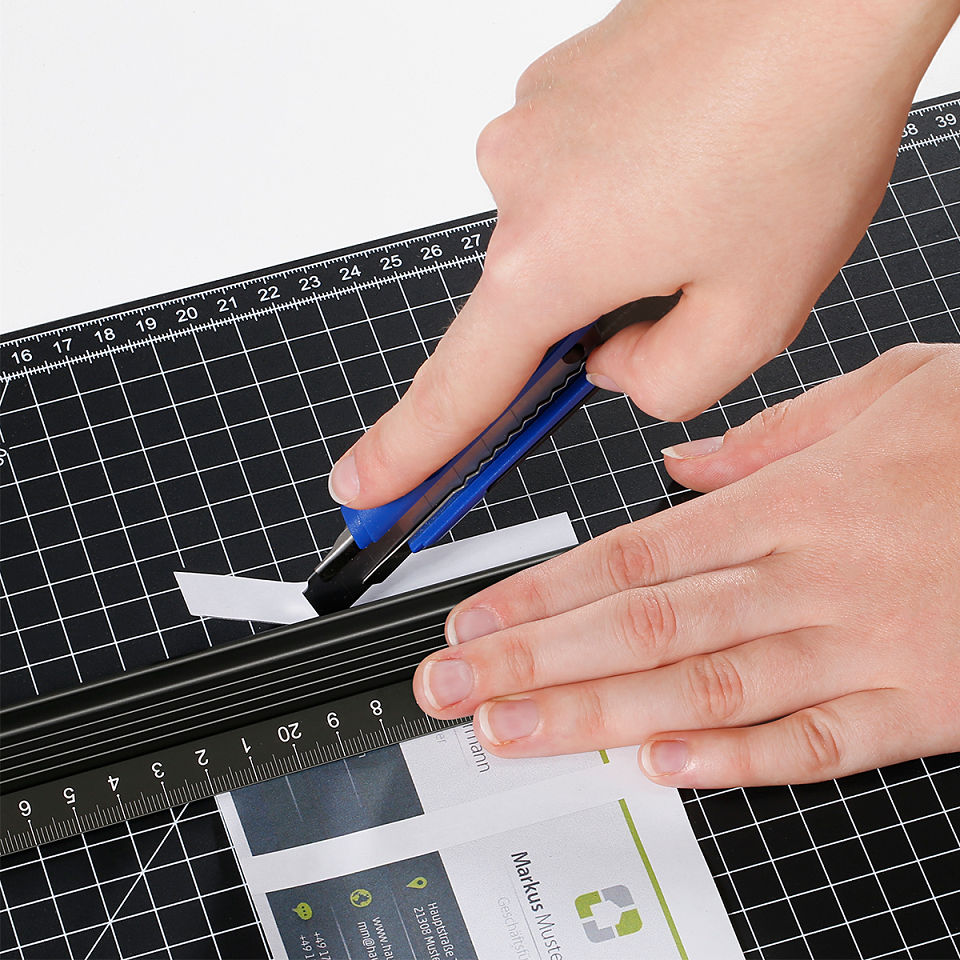
- Wire Cutter: Effective for slicing through larger blocks of clay and creating clean edges.
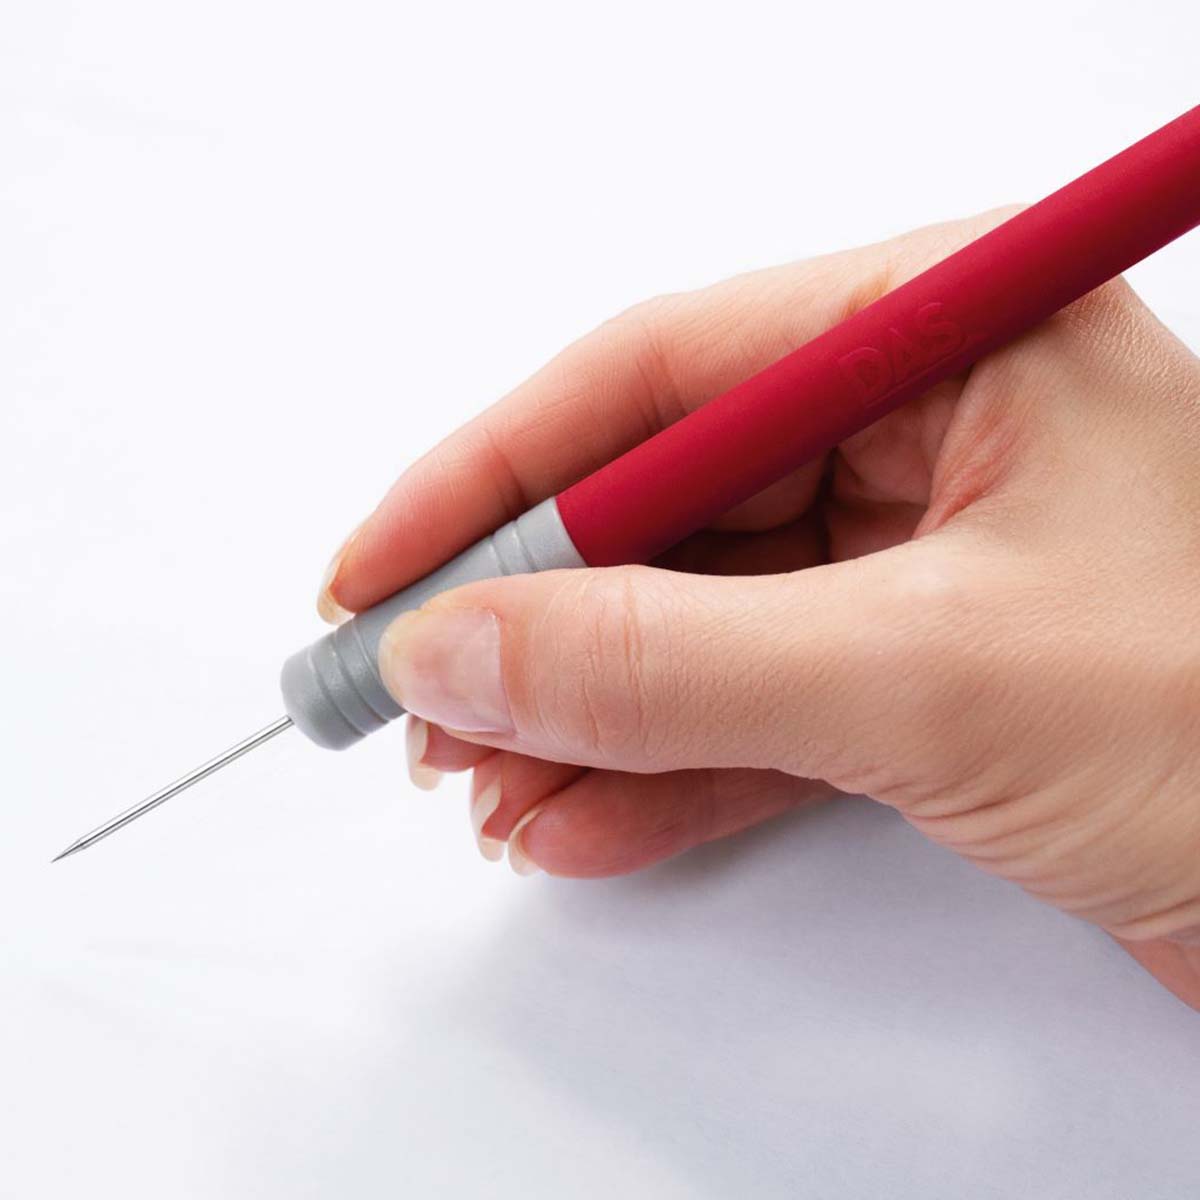
- Sculpting Needle: A thin, pointed tool for adding fine details, texture and patterns, or for making holes in charms and beads.
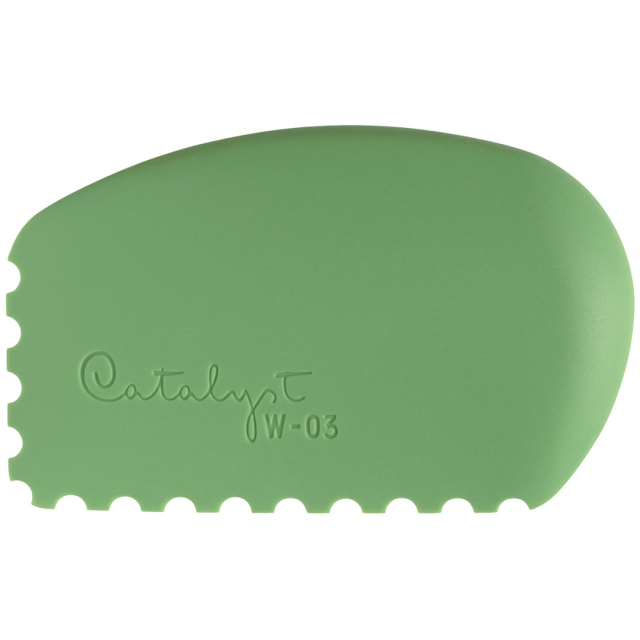
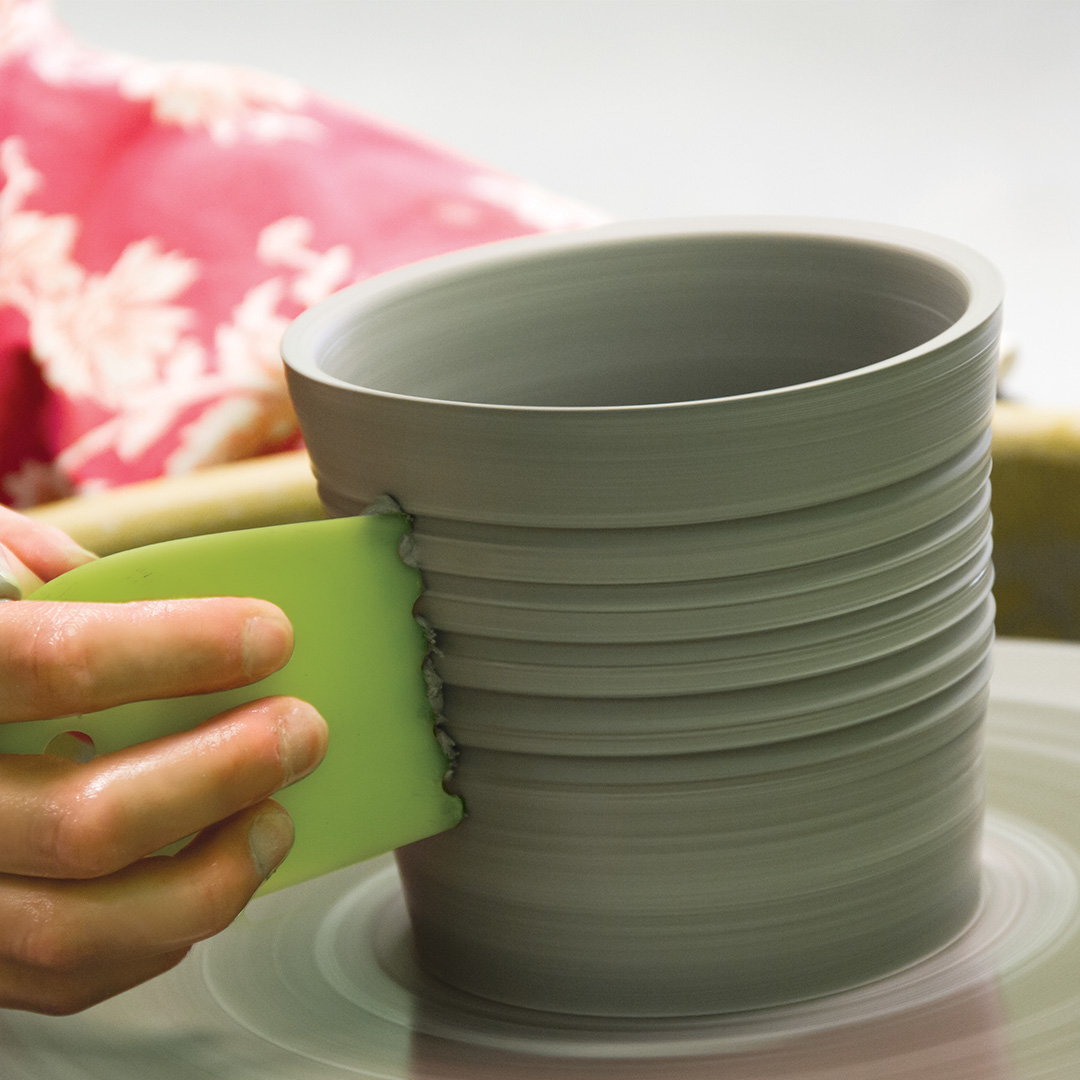
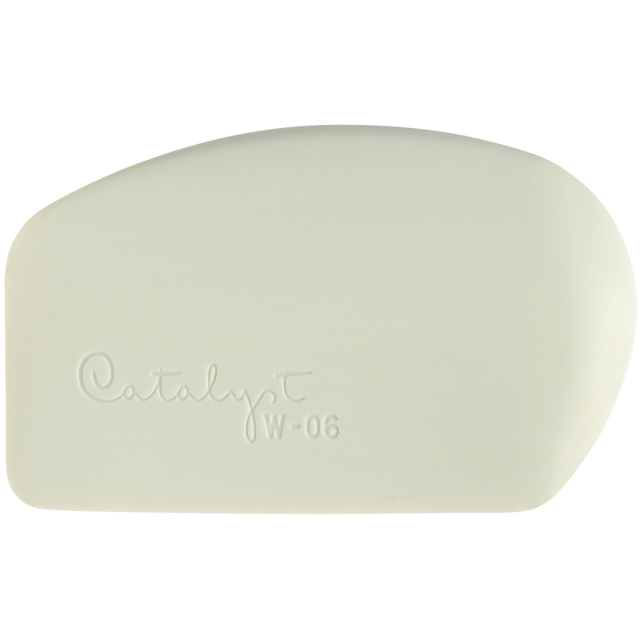
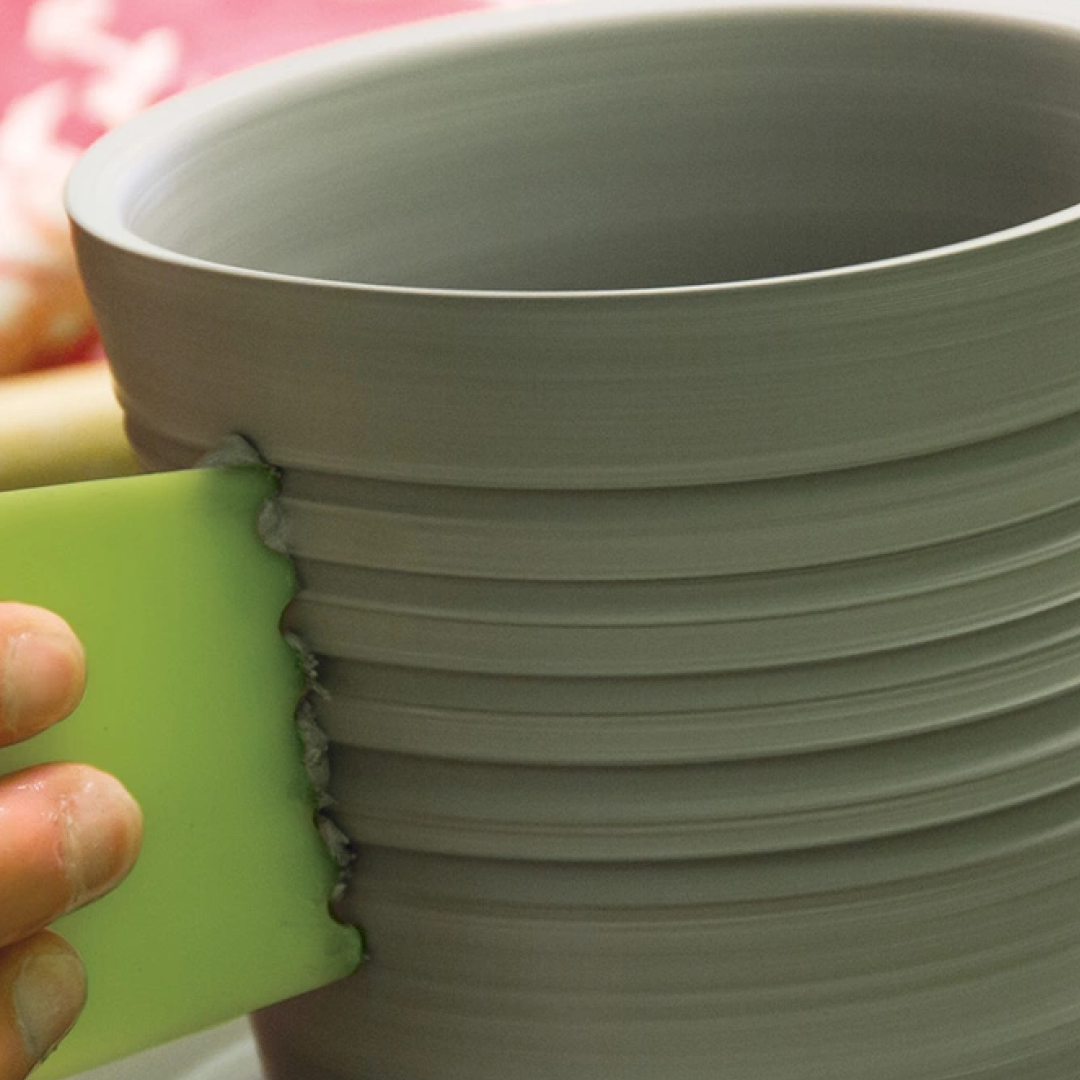
- Metal, Silicone or Wooden Scraper: Essential when making bowls, vases or other objects with smooth edges.
- Scalpel: Perfect for cutting out details and shapes from rolled clay, similar to cutting out biscuits with a cutter.
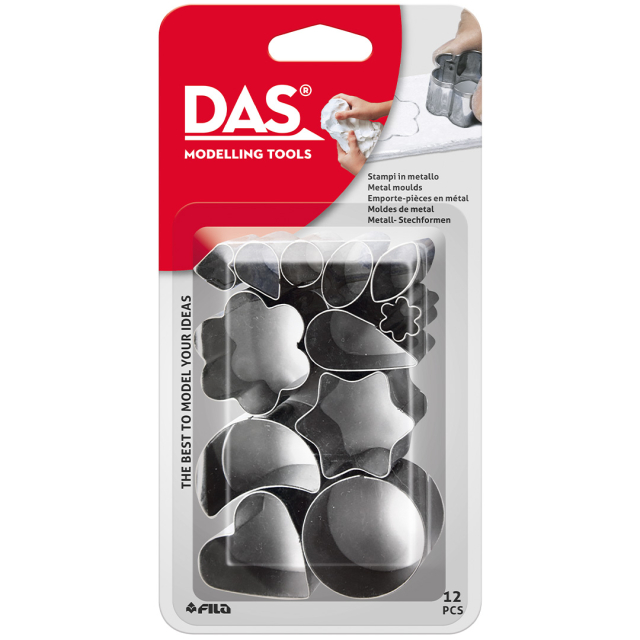
- Moulds: You can use biscuit cutters or special metal or plastic moulds designed for clay to cut out shapes, for example in jewellery making.
- Rolling Pin: For flattening the clay before cutting out the desired shape with a scalpel or moulds.
Tip! Don’t have specialised tools? Try using toothpicks, straws or old paintbrushes to create patterns and textures.
Shop Clay Tools →

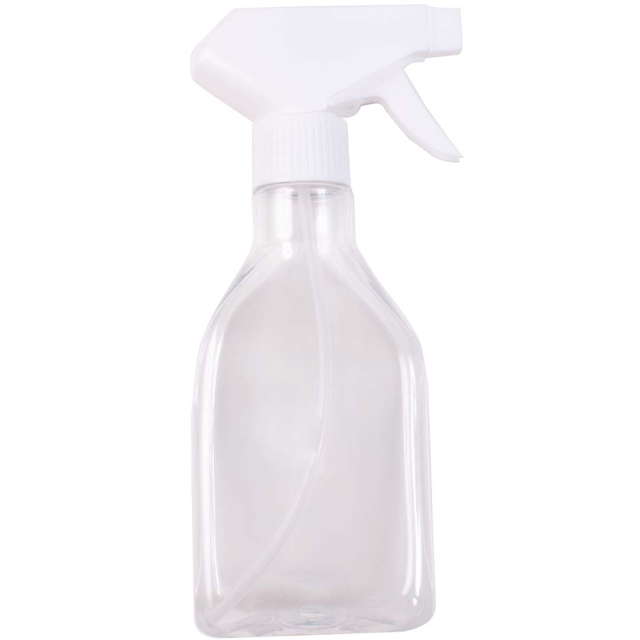
Spray Bottle with Water
When working with air-dry clay, you may notice it dries faster than you expected. This can make the process stressful, but a spray bottle with water can be your lifesaver. By misting the clay from time to time, it stays moist and workable throughout the entire creation process.
Sandpaper
Once your piece has dried, small imperfections and edges may appear. By using sandpaper in different grits (start with a coarser one and finish with a finer one) you can smooth the surface and achieve a perfect finish.
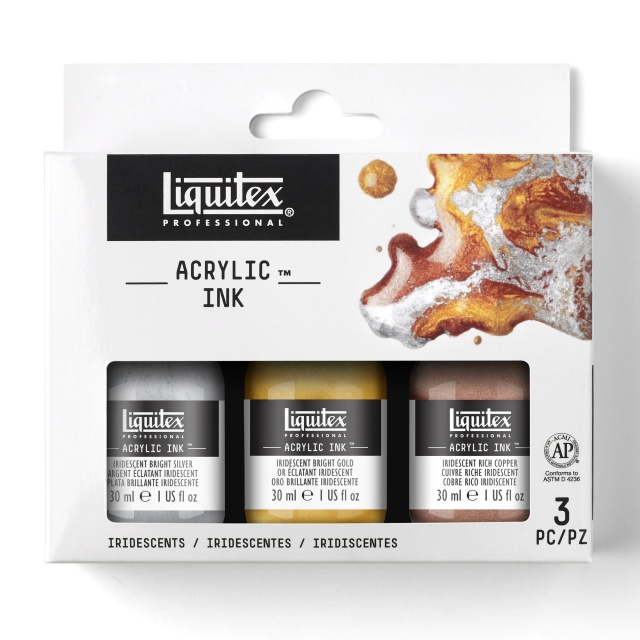
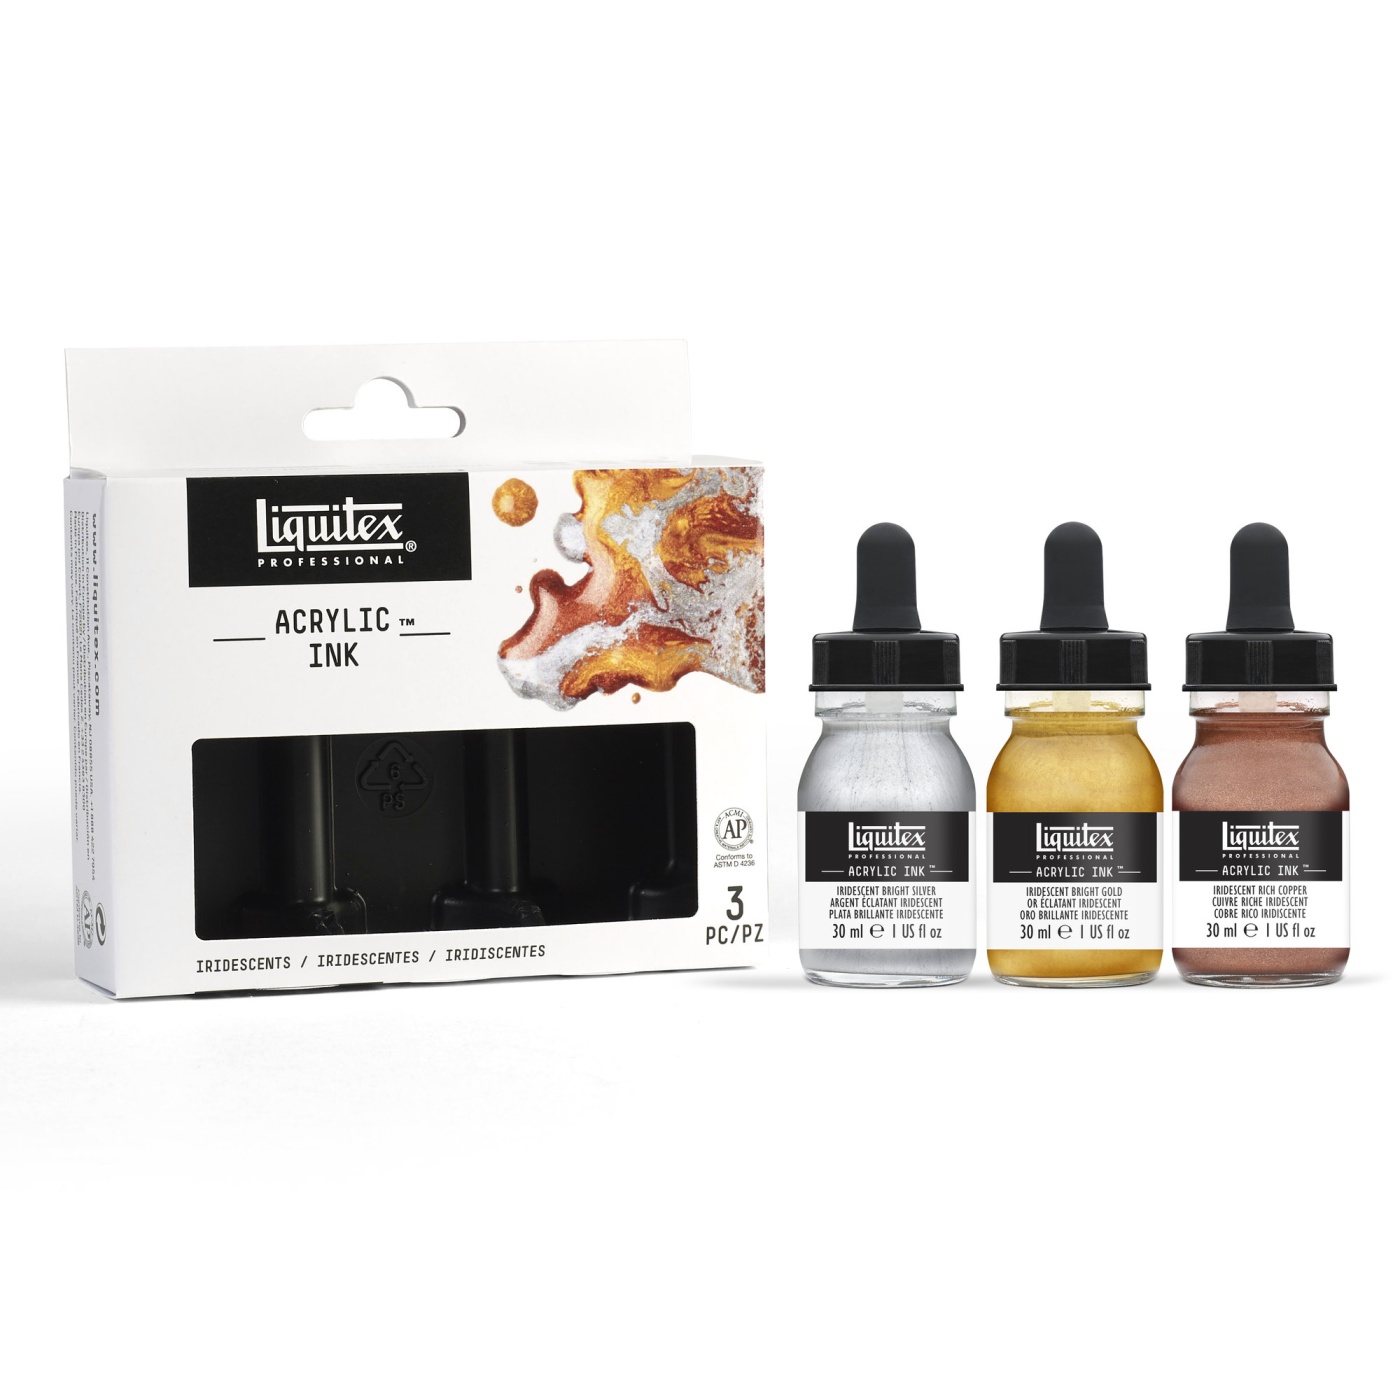
Paint and Varnish
To bring your clay creation to life, you can paint it with acrylic paint, acrylic markers or hobby paint. To make it more durable and give it a glossy finish, you can seal it with a varnish. More on this further down in the post!

Choose a Good Work Surface
While air-dry clay can easily be used at your regular desk or dining table, not every surface is suitable to work on. The first thing to consider is that the surface should be clean and free from any dust or dirt. It’s not only annoying to have to remove particles that stick to the tacky clay, but dried-on debris can actually cause your piece to crack as it dries. For this reason, you should avoid using wood as a base if splinters or pores risk getting caught in the clay. It can be fine to work on smooth, clean desks, but to protect the surface from the clay (or vice versa) we recommend using protective materials that will give you better working conditions.
- Non-stick Silicone Mat: Light, pleasant to work on and easy to clean from clay and paint. A silicone mat is a practical surface for sculpting and other messy craft projects.
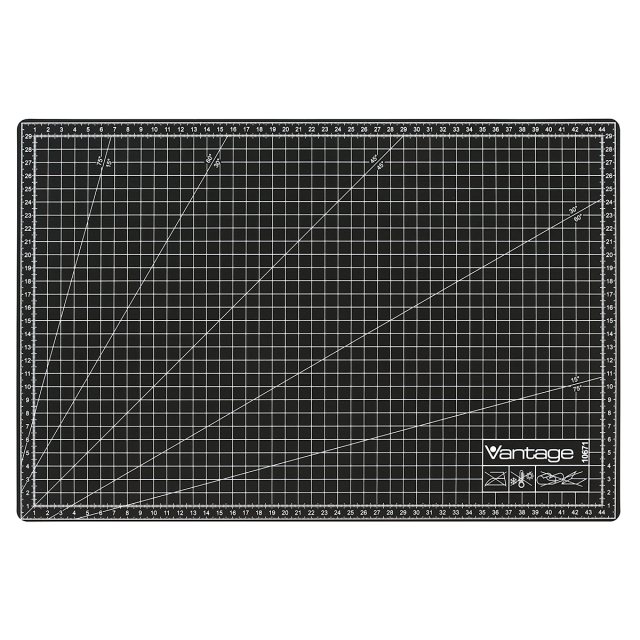
- Cutting Mat: We offer many cutting mats in sizes A3–A4 that provide a mess-resistant and practical base. Just make sure there are no scratches in the mat that could make the clay stick.
- Glass or Marble Chopping Board: A more luxurious option, but the cool, smooth surface is excellent for shaping clay. A hard, robust work surface also withstands various cutting tools better than a thin cloth or sheet of paper.
- Oilcloth: Easy to roll up and put away when you’re finished crafting. The smooth surface prevents the clay from sticking to the cloth.
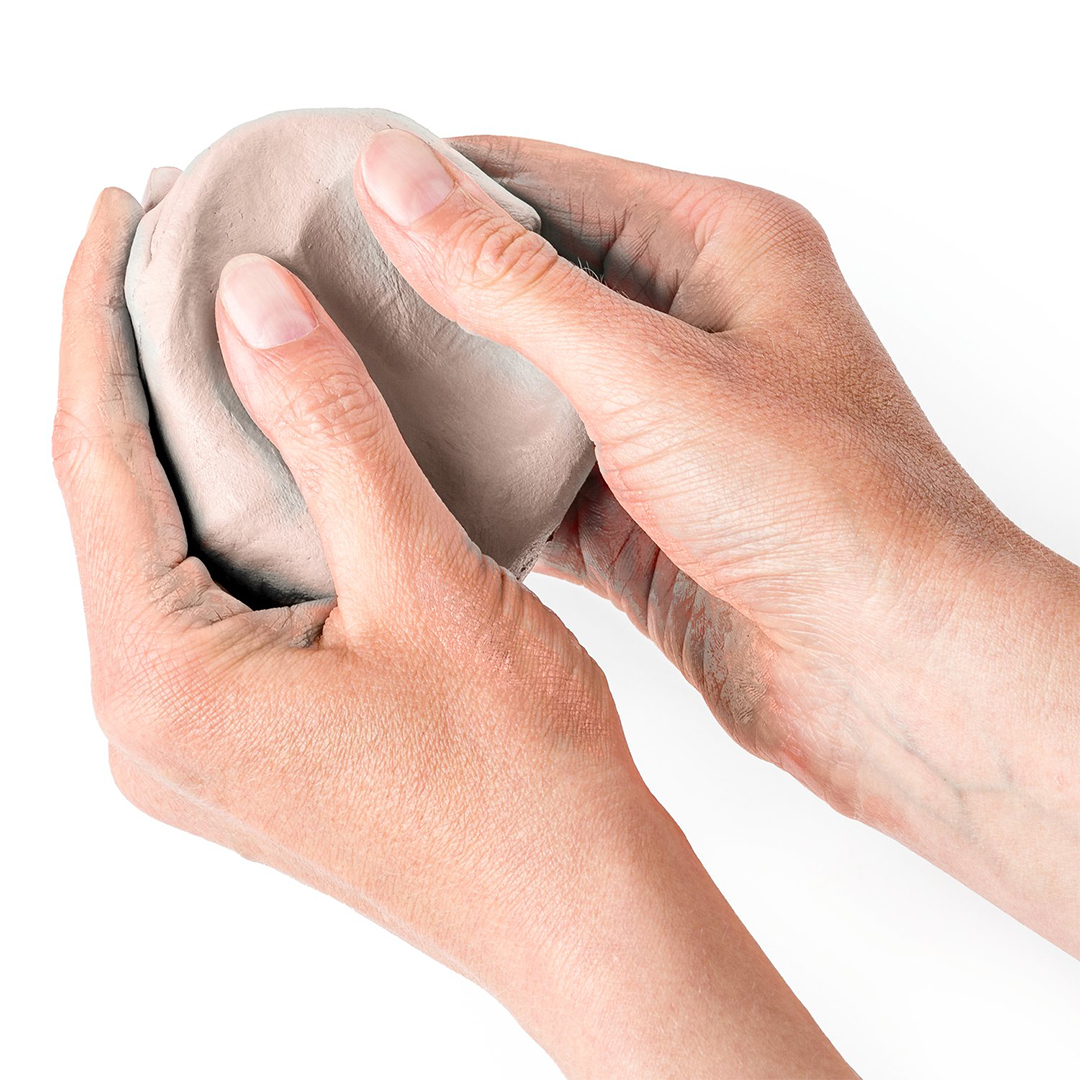
Before You Start: Soften the Clay
Air-dry clay is almost impossible to shape in its original state straight out of the package. Beginners can get frustrated if they’re not aware of this or how to soften the clay properly. Fortunately, it’s not difficult, all you need to do is knead the clay. The warmth from your hands and the kneading motion will, after a while, make it pliable and easy to work with. However, air-dry clay has one defining feature: it’s air-drying. This means the clay will begin to harden slightly while you work, even as you knead it. You can usually fix this by spraying the clay lightly with water when it becomes harder to work with.
Sculpting with Air-Dry Clay: Step by Step
Once you have your clay, tools and a good work surface ready, you’re set to start creating. Air-dry clay is generally easy to work with: you shape it by hand or with tools, join different parts using water, and let it dry on a flat surface. Here’s what to keep in mind at each stage of the process:
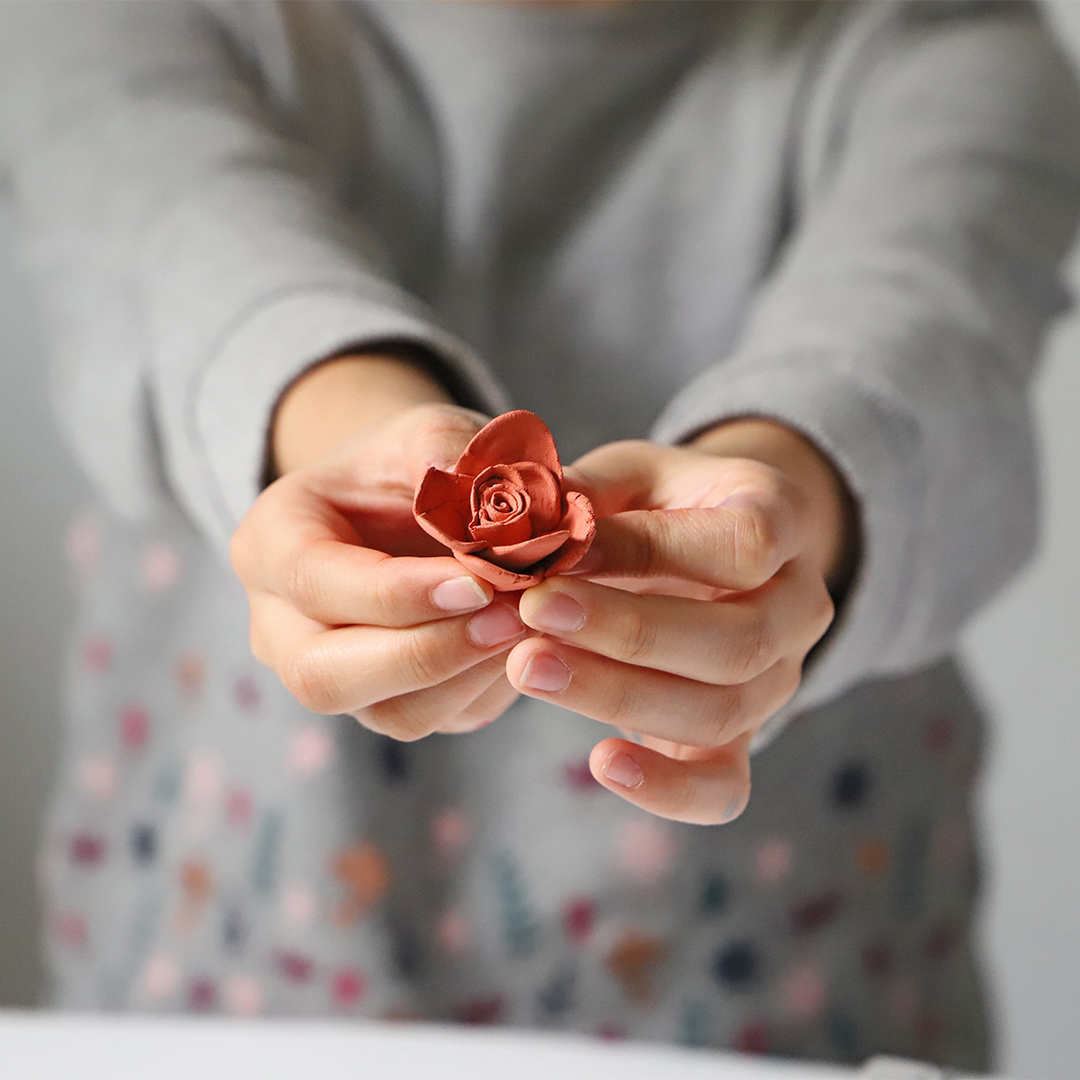
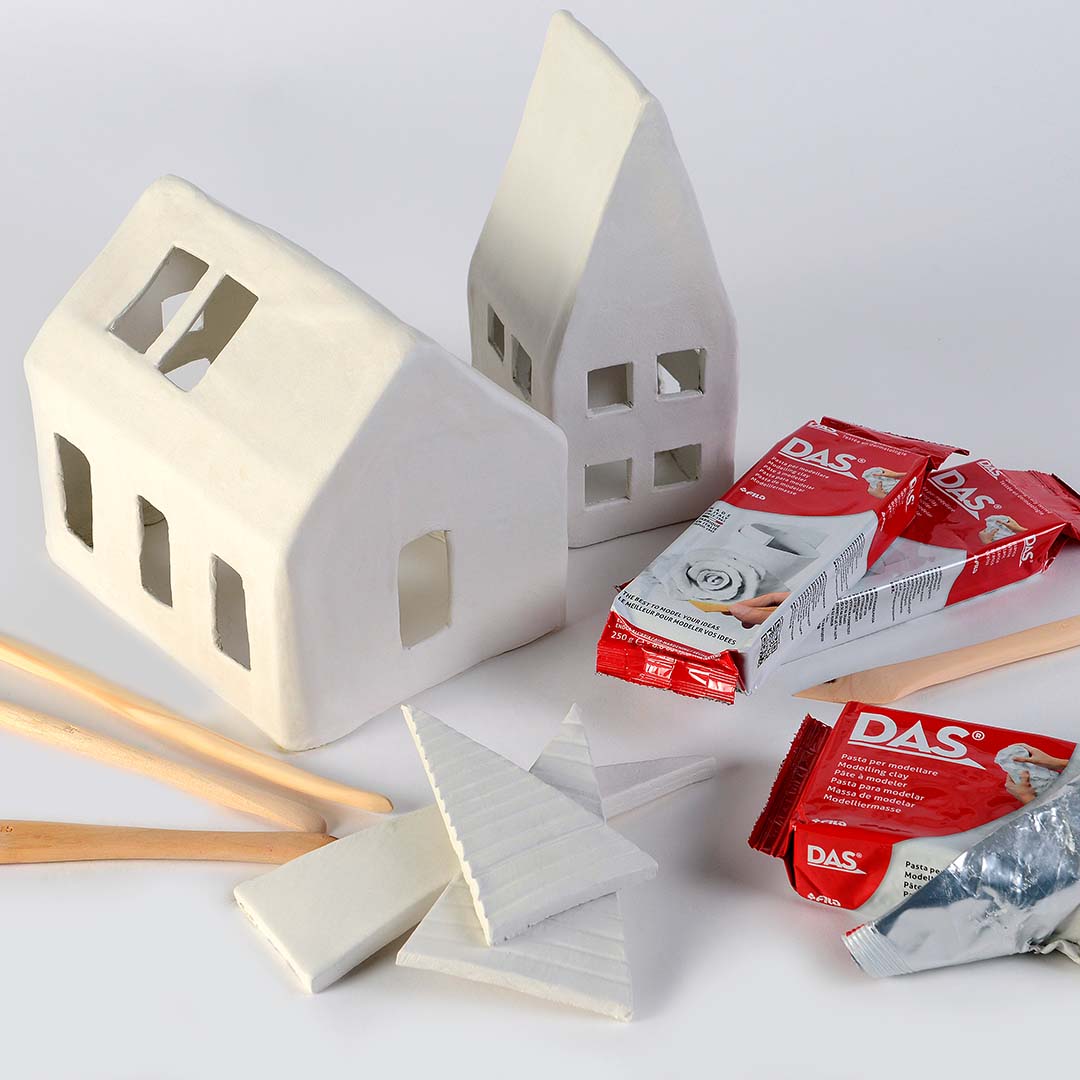
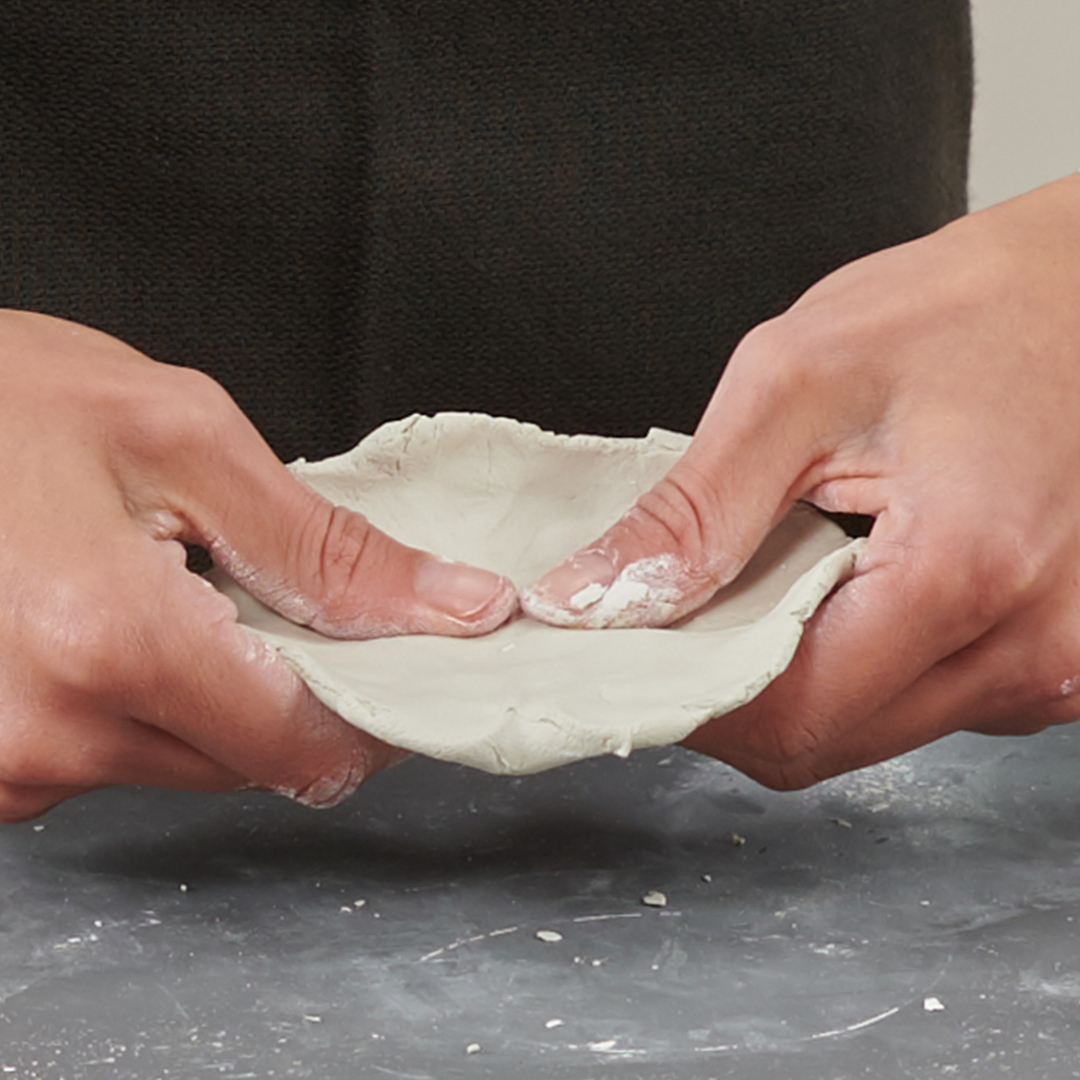
Step 1: Shaping
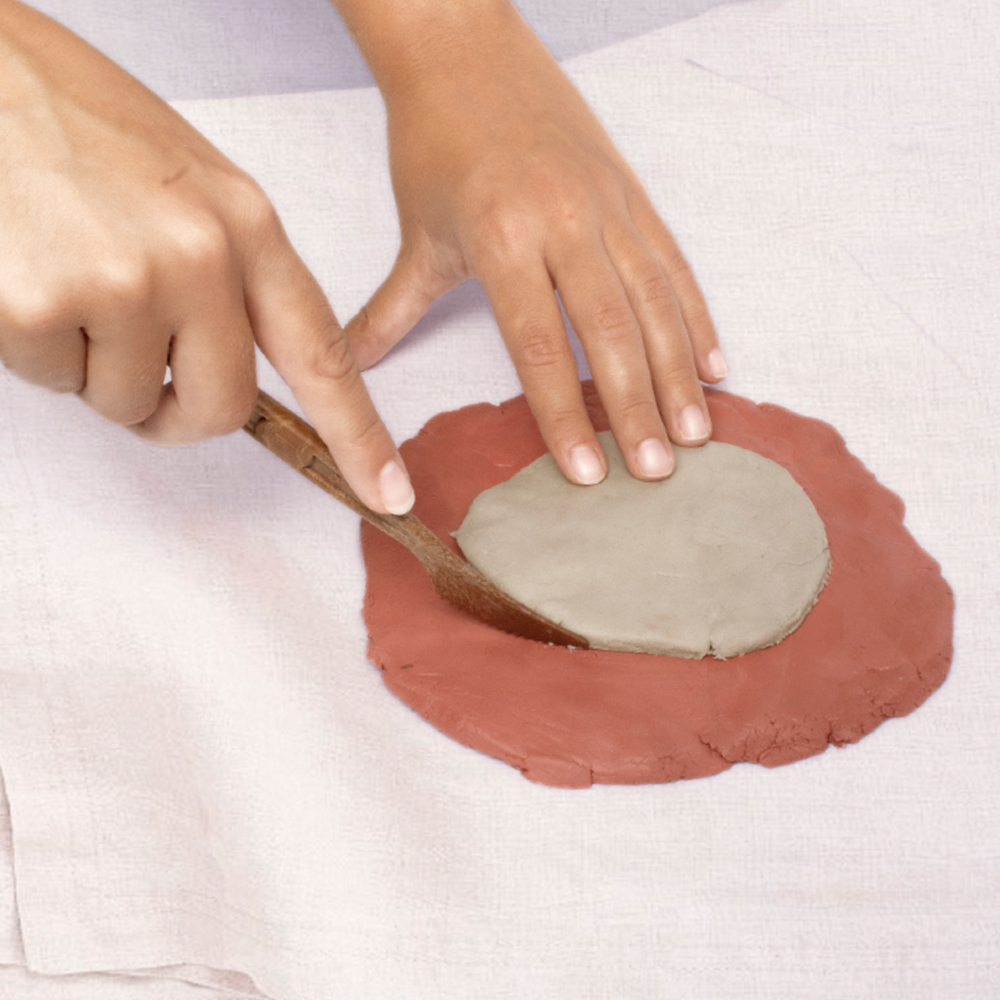
Use a wire cutter or knife to cut off a piece of clay from the block. Keep a bowl of water nearby so you can shape the clay with damp hands. You can use various tools, such as wooden sticks and knives, to refine edges and create textures. Another technique is to roll out the clay to the desired thickness and use cutters or stencils to press out shapes like circles, stars or squares. This gives you a base shape to start with, which you can refine with tools into the exact form you want. Remember that the clay will shrink slightly as it dries, so make it a little larger than your intended final size.
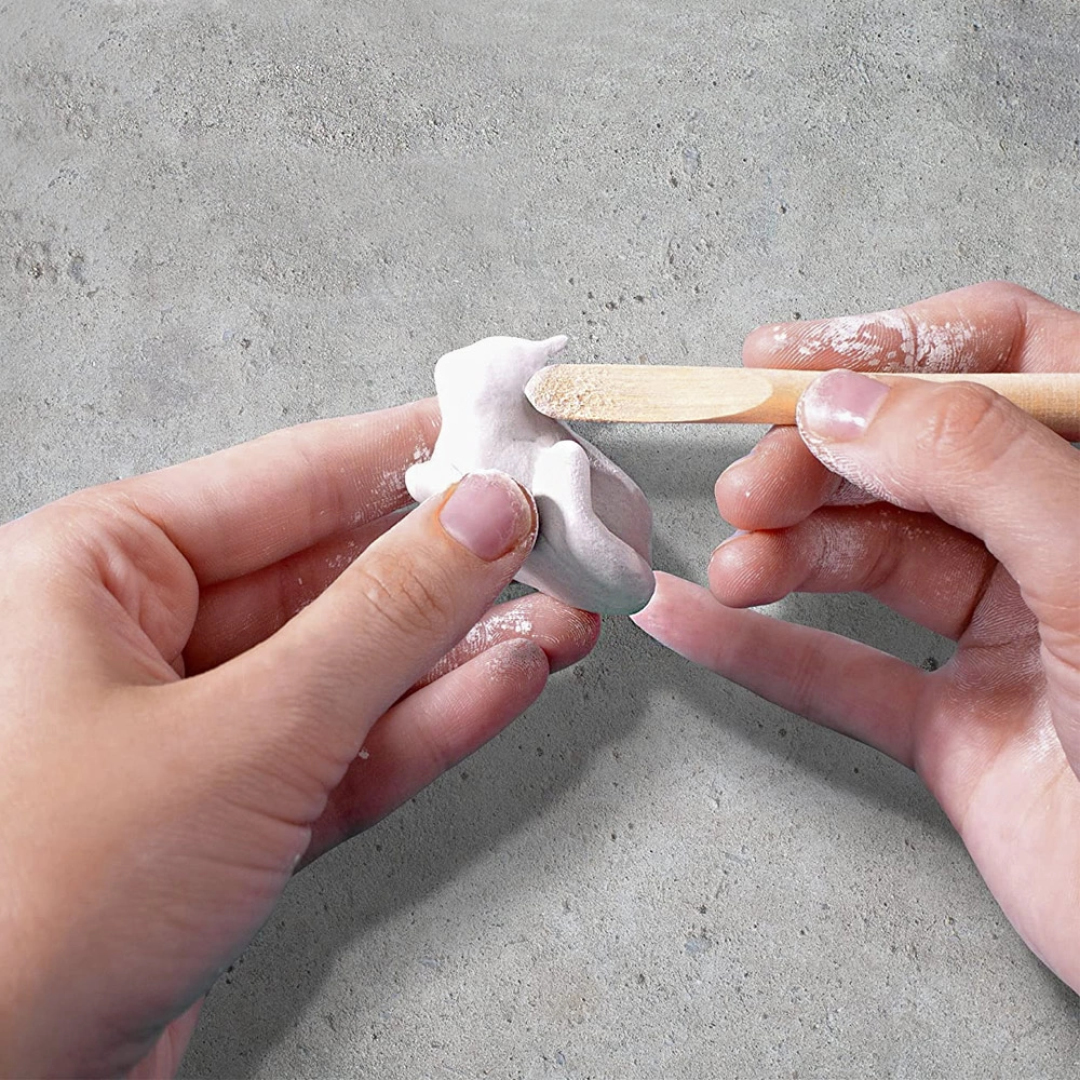
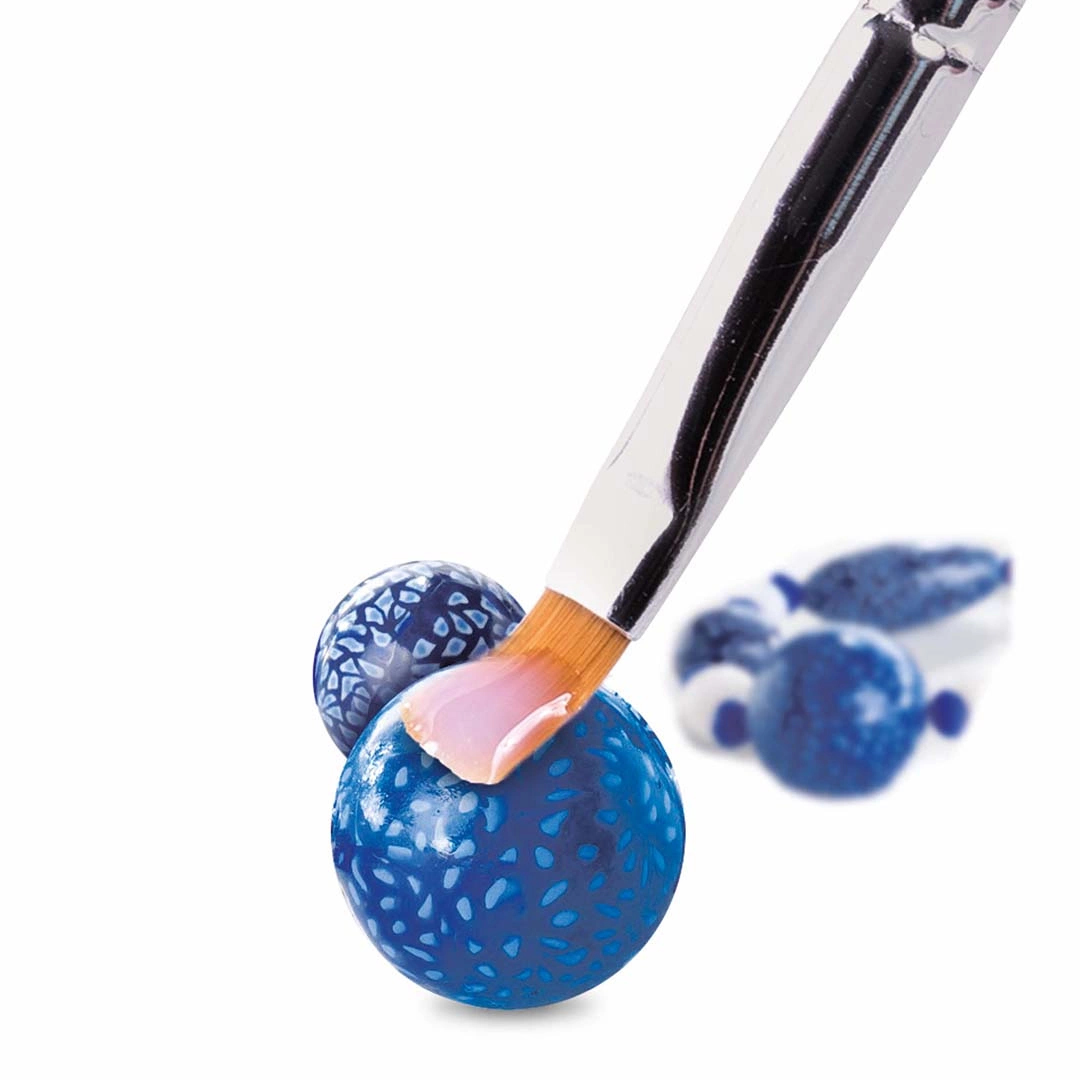
Step 2: Patterns
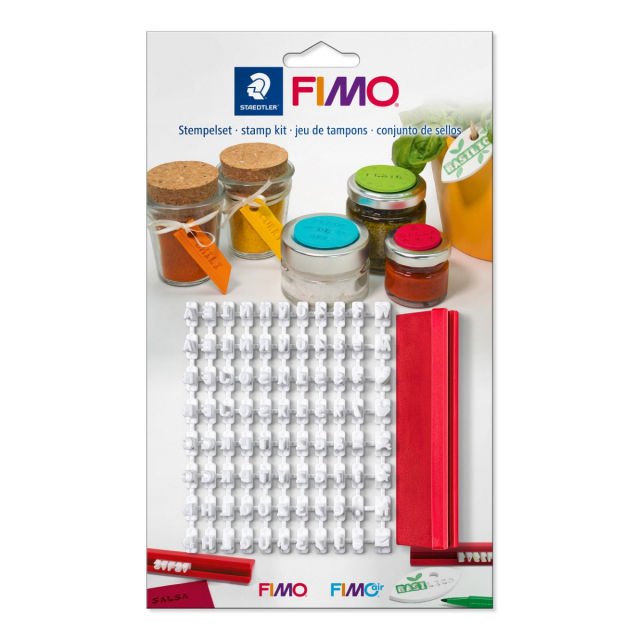
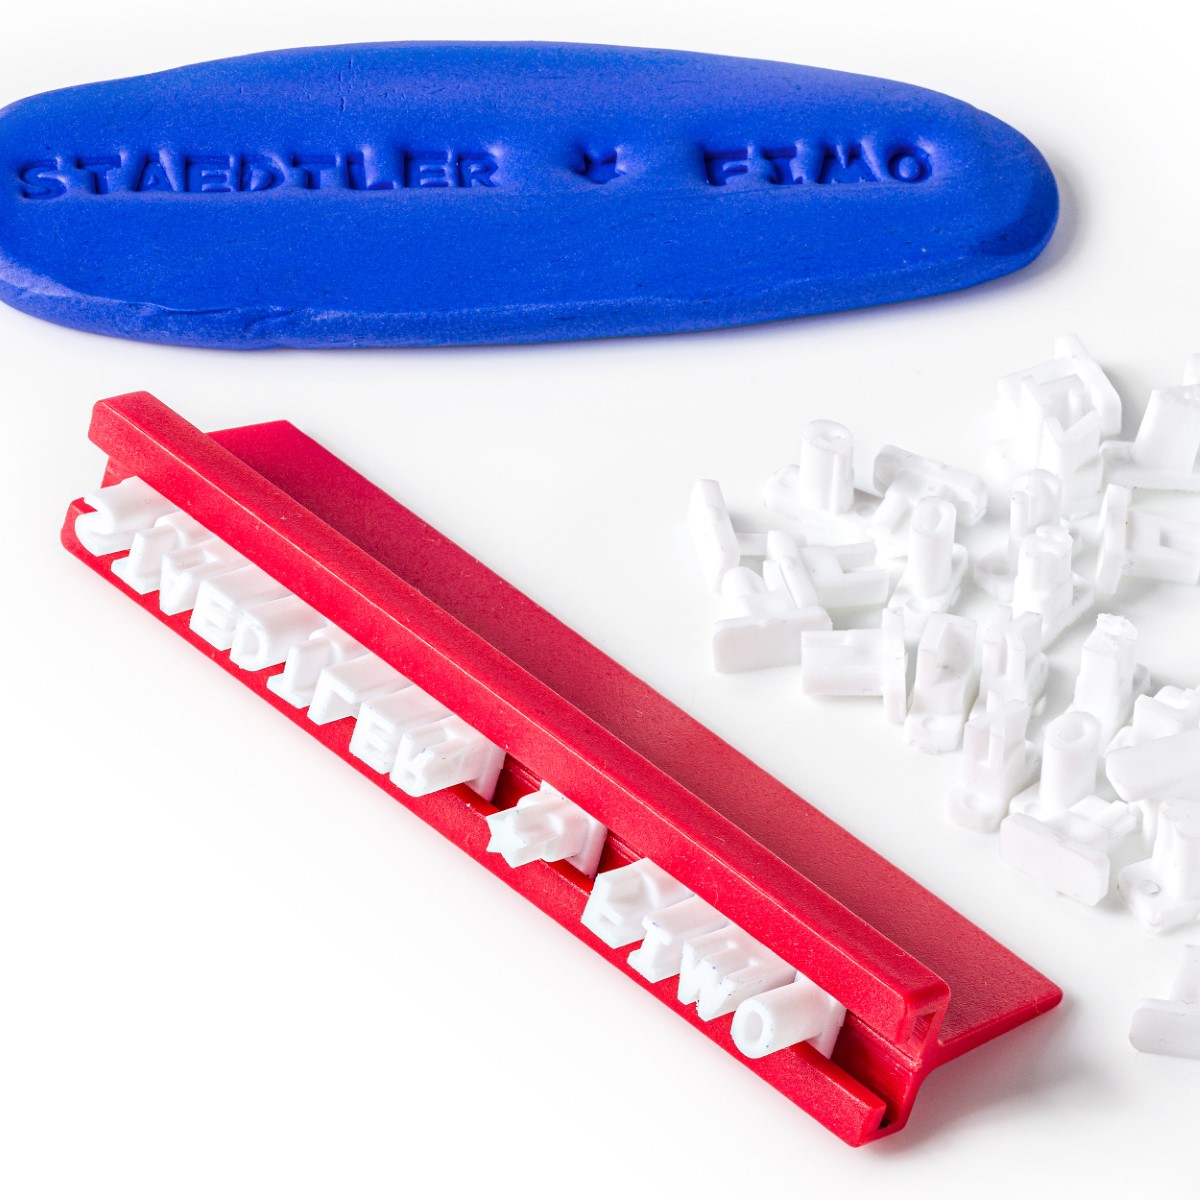
Once you have your shape, you can add patterns and cuts to the clay. Experiment with different tools. Sticks, knives and other modelling tools can be used, as well as everyday items you have at home. For example, lace can create a decorative texture. A great tip is to use Staedtler FIMO letter stamps to engrave personal messages or dates for a beautiful gift or keepsake. Remember to experiment and have fun, there are endless possibilities with this versatile material.
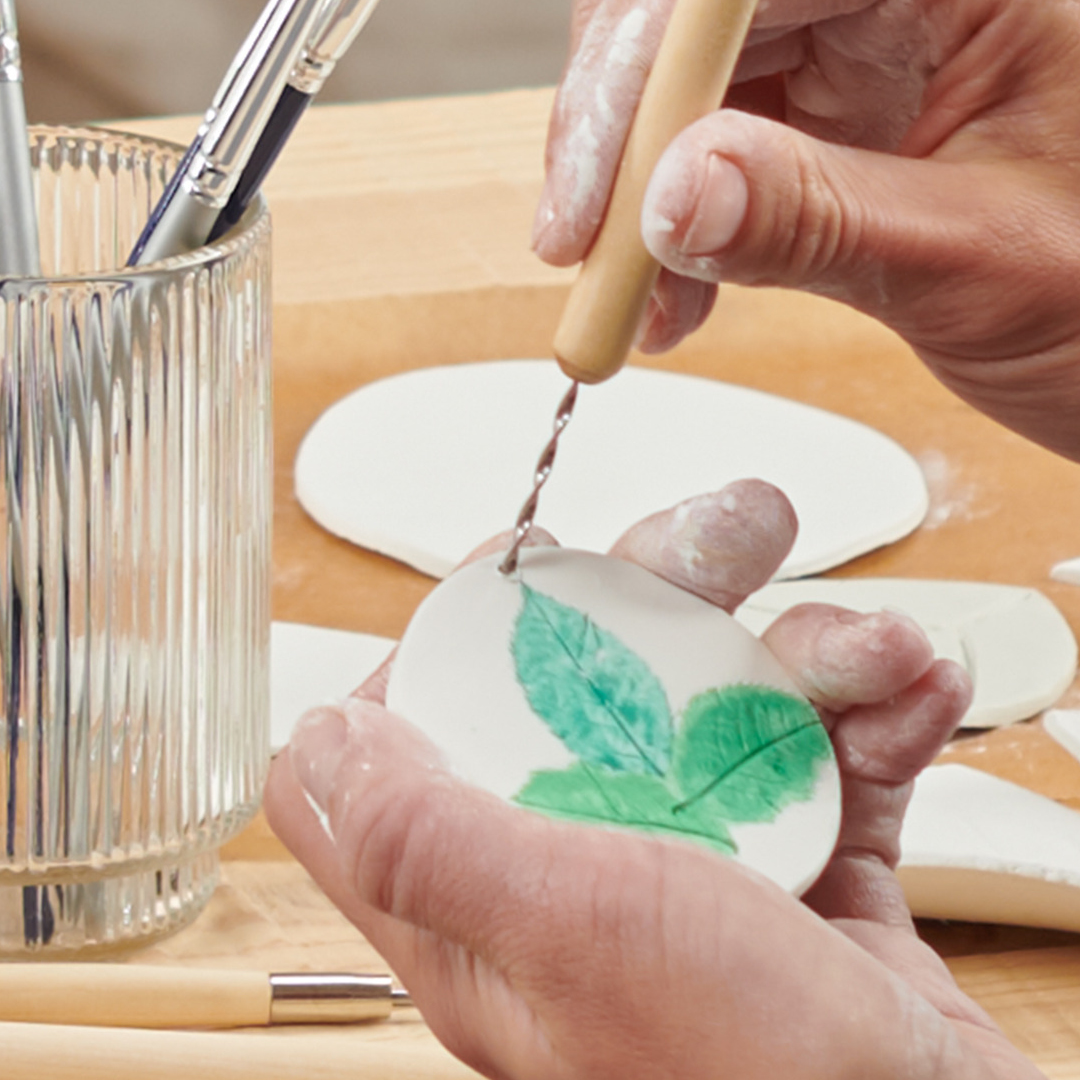
Step 3: Joining Separate Pieces
If you’re making something that requires multiple parts, such as a figure or a vessel, join the clay pieces together using water. Brush a little water onto the surfaces where they’ll be attached, then press them firmly together. You can also roughen the clay surface slightly, brush on water, and then join them.
Step 4: Drying Your Creation
Let your piece dry and be patient. Air-dry clay should be left untouched for at least 24 hours to fully dry, but for thicker creations you may need to wait several days to be sure. The clay should dry on a flat surface at room temperature. Make sure it’s not exposed to draughts or direct sunlight, as these can cause cracks in the clay. A good tip is to turn your piece over occasionally to ensure an even drying process.
Fun ideas to try
Those of us who love arts and crafts enjoy adding a personal touch to special occasions with our creations. Here are some ideas for different occasions where you can really get creative with clay. There’s nothing quite like making personal decorations and gifts for your loved ones!
- Weddings, christenings or other memorable occasions: Create small gifts with a date stamp for your guests or make unique place cards with engraved or painted names.
- Holidays such as Easter and Christmas: Shape figures, make a hole with a stick and thread some string through it, tada! You’ve created something lovely to hang on the Christmas tree or Easter branches.
- Gift giving: Mould a vase for flowers as a thoughtful host gift. Or why not create a jewellery dish or ring holder for your best friend?
- Table settings for dinner parties: Make your own napkin rings or coasters for an extra personal touch at the dinner table.
You’ll find more ideas and project tips in the post Ideas for creating with air dry clay!
Decorating and Finishing Air-Dry Clay
Once your creation has dried all the way through, you can refine and embellish it for that final touch. It is common to sand, paint and glaze clay sculptures. Here’s how to do it!
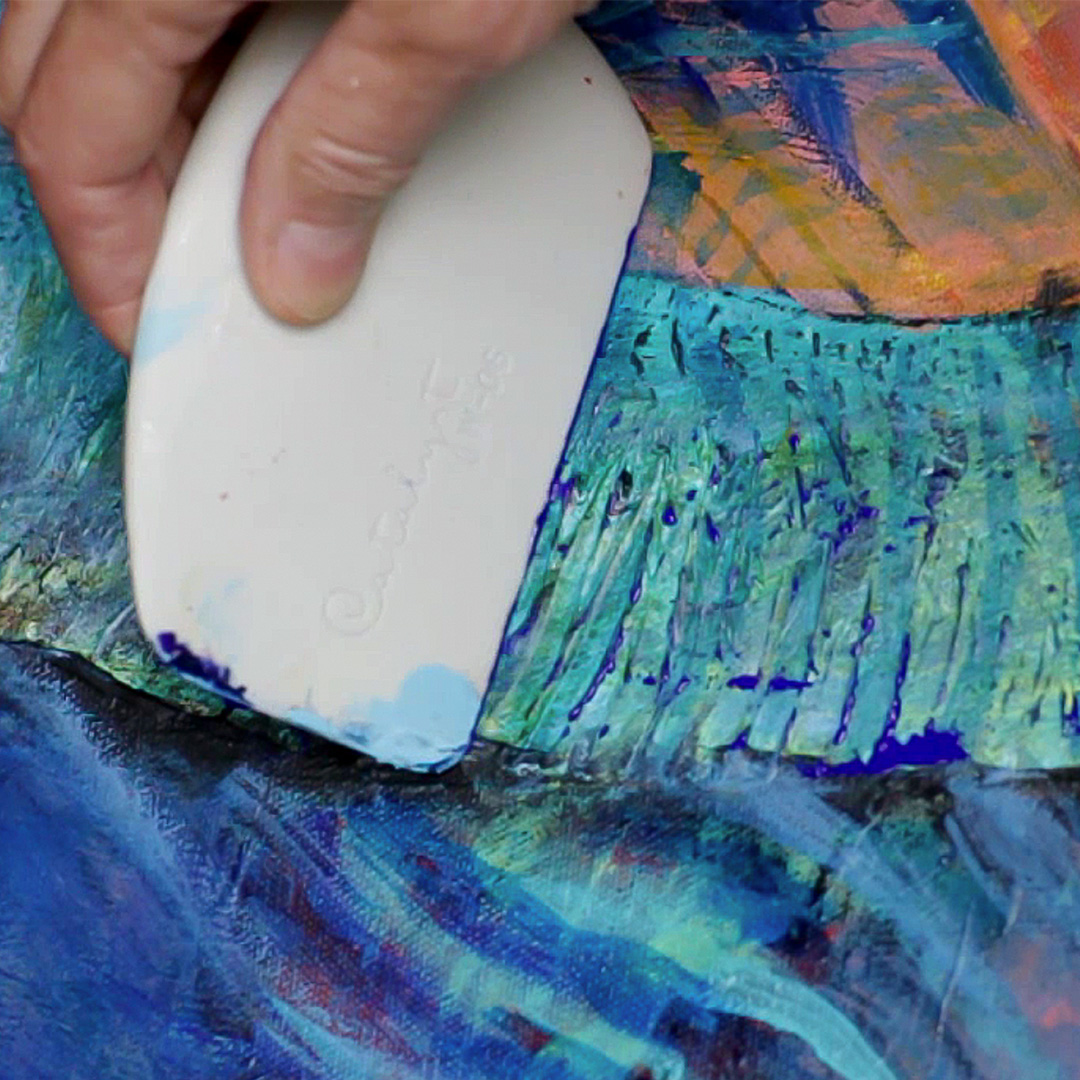
Sanding Air-Dry Clay
When your air-dry clay is completely dry, the surface may feel uneven or have small edges that need smoothing out. By using sandpaper, you can remove imperfections and create a smooth, neat finish. Start with a coarser sandpaper to shape and smooth out larger irregularities, then finish with a finer sandpaper for a sleek, polished surface. Make sure to dust off the clay thoroughly before painting or varnishing for the best possible results.
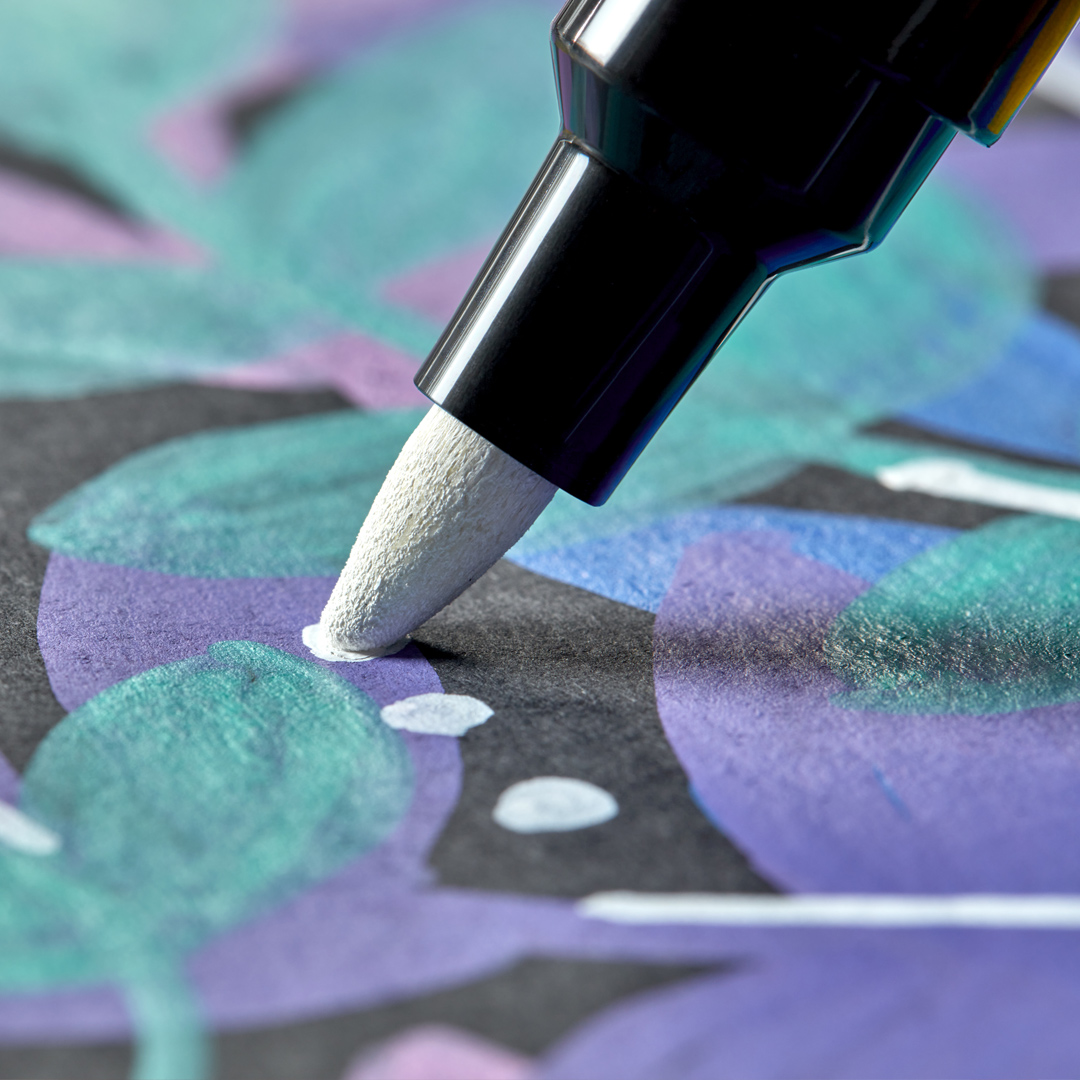
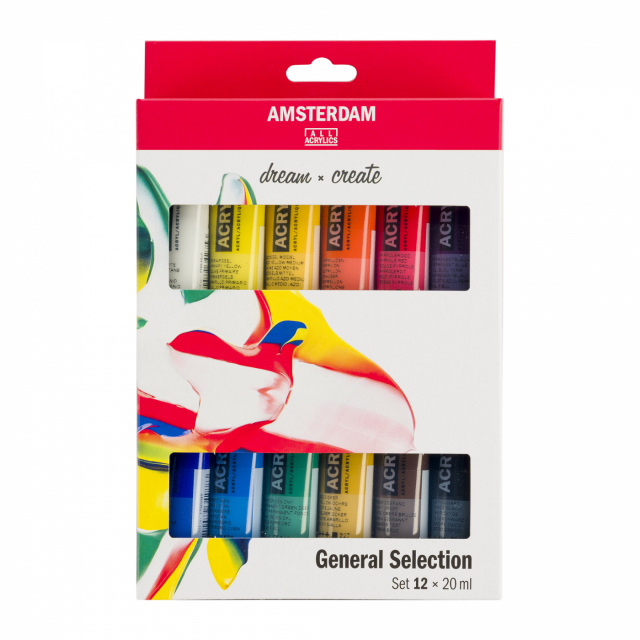
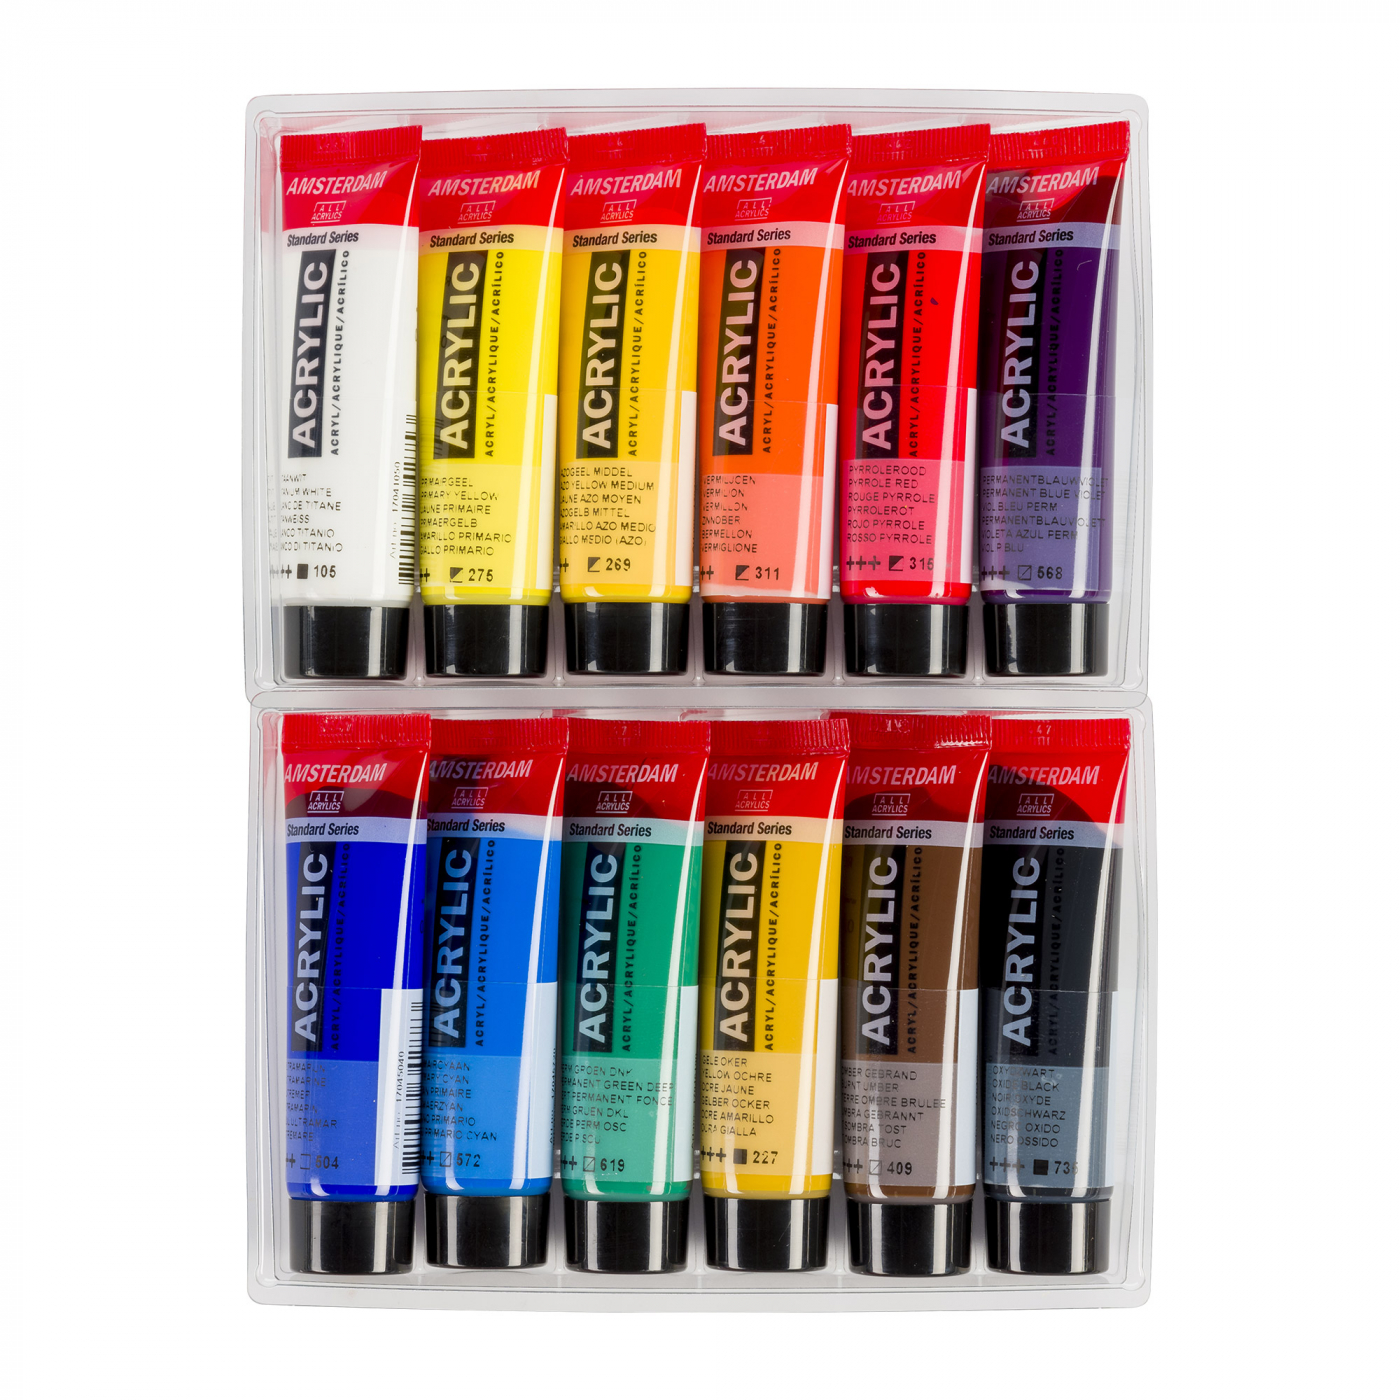
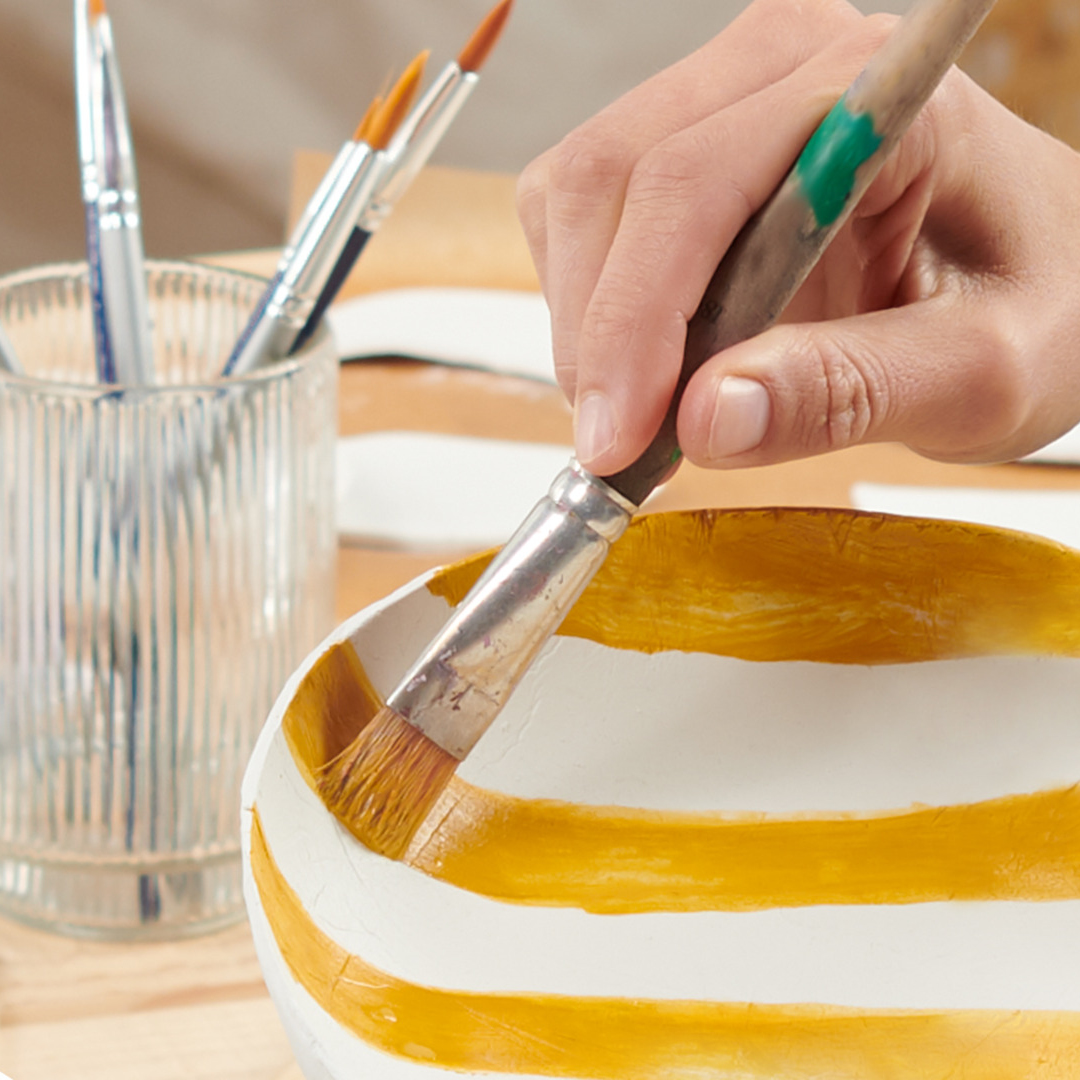
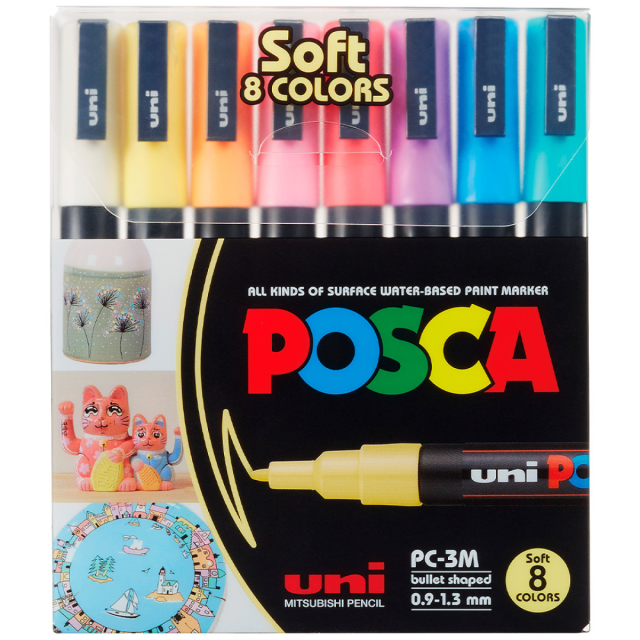
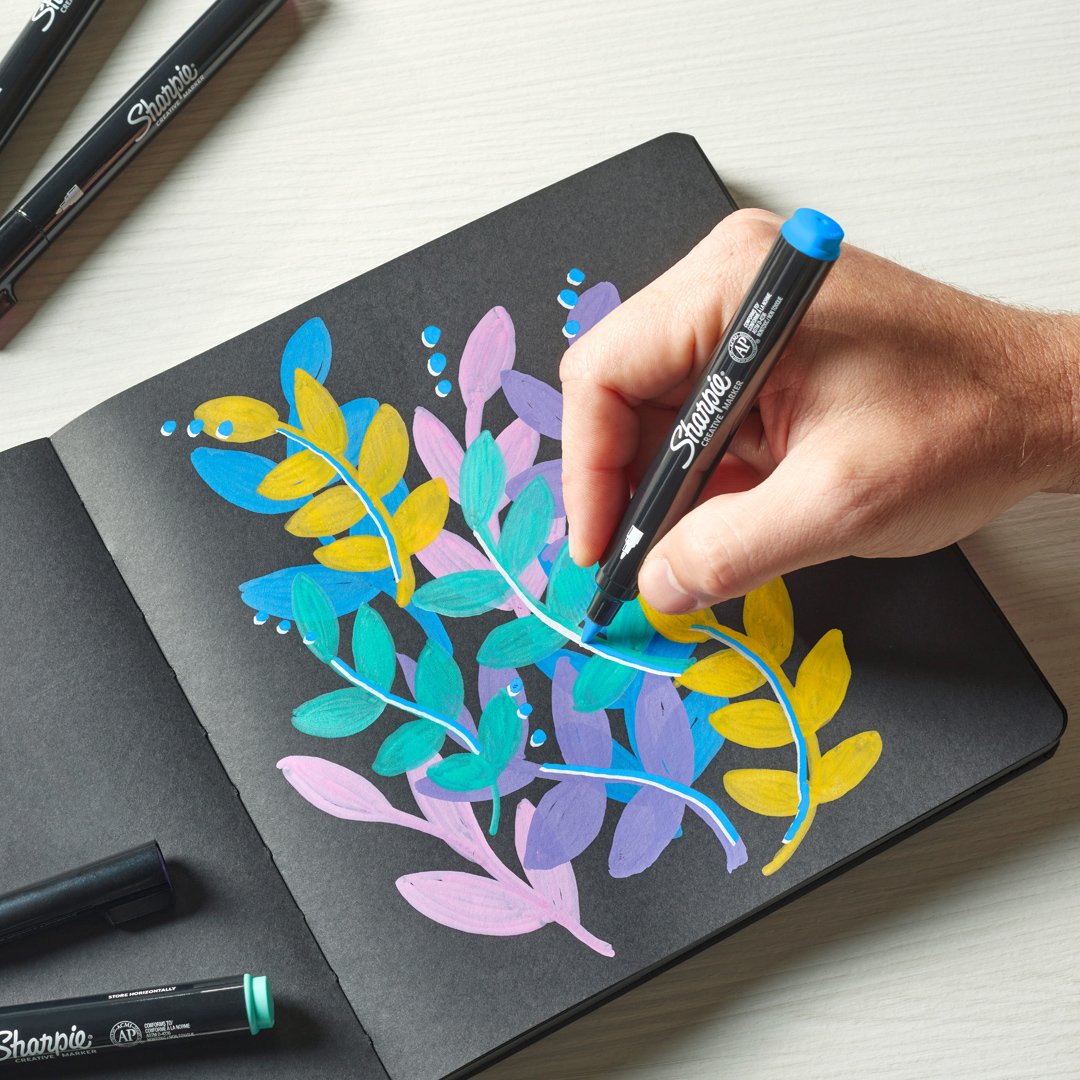
Painting Air-Dry Clay
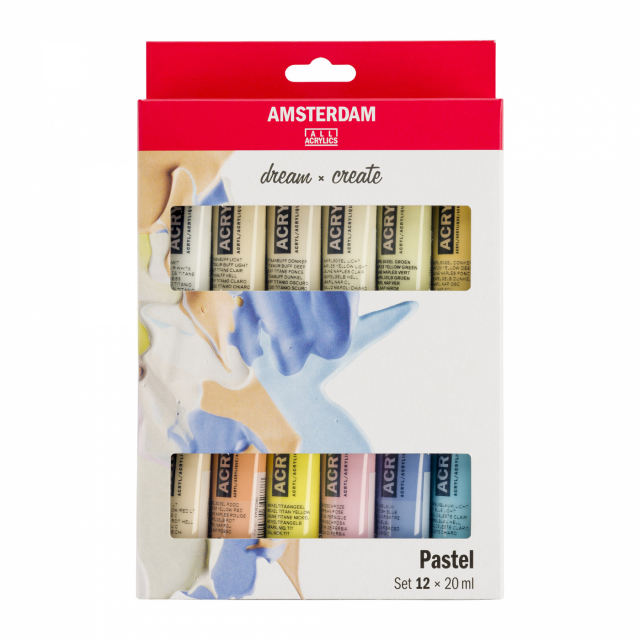
It is important that the clay is completely dry before you paint it. For best results, start by priming the surface with a thin layer of white acrylic paint or gesso to make the colours appear brighter and more even. Once the base coat has dried, you can use acrylic paint or gouache to cover the whole piece or to paint patterns in your chosen style, and don’t forget your signature!
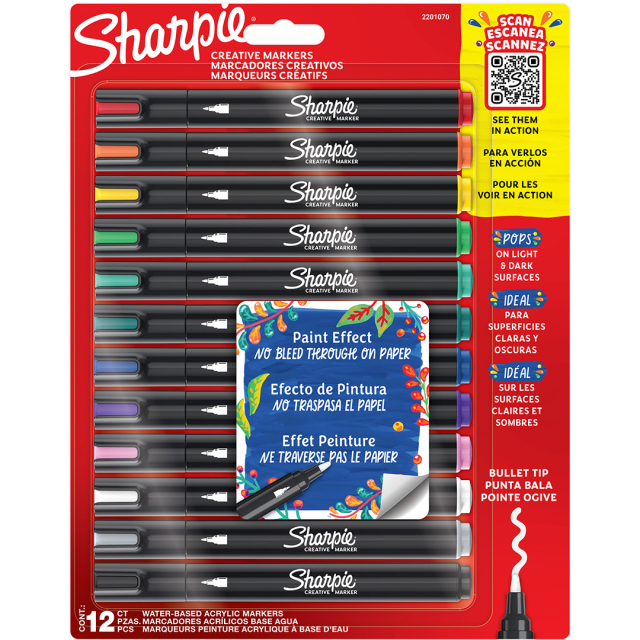
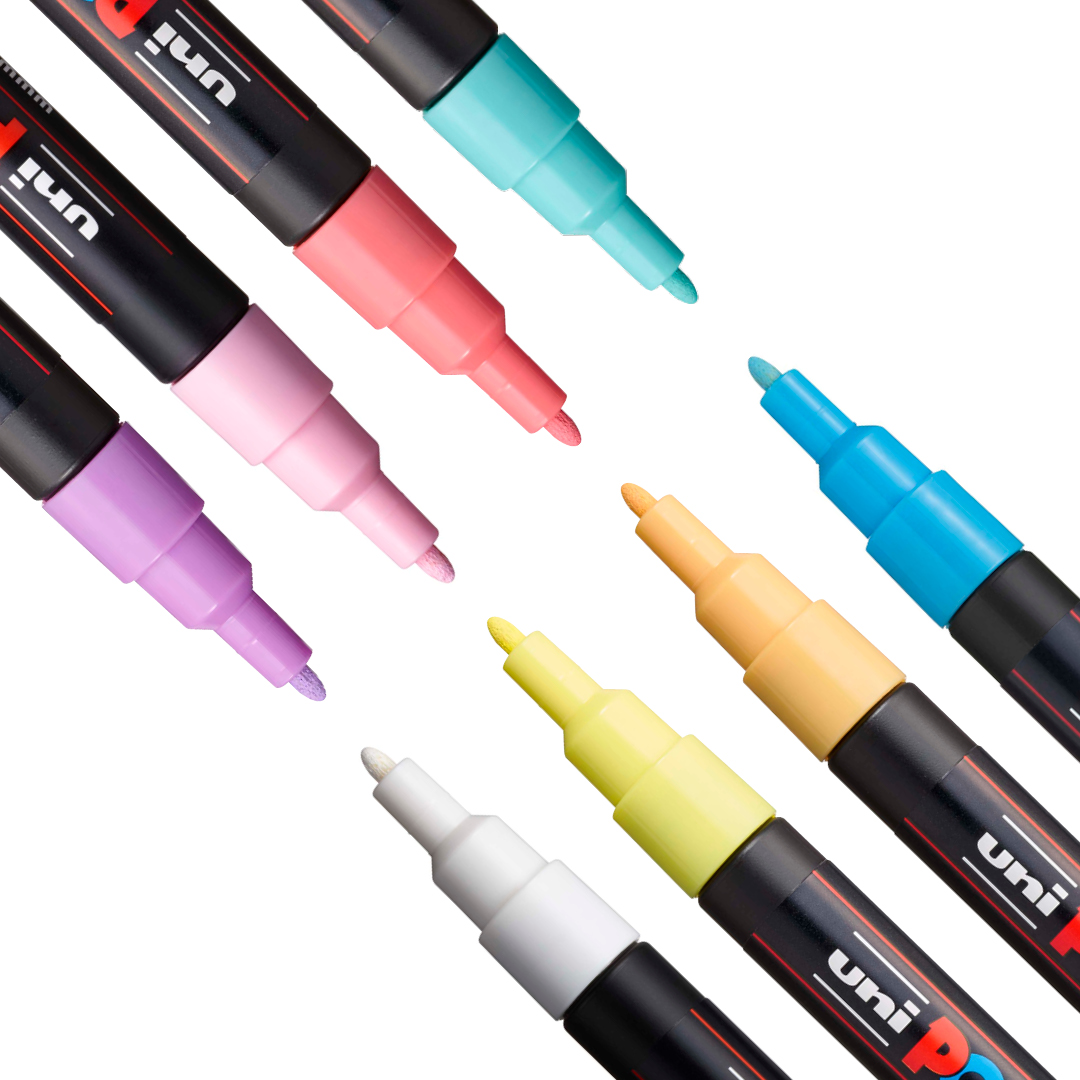
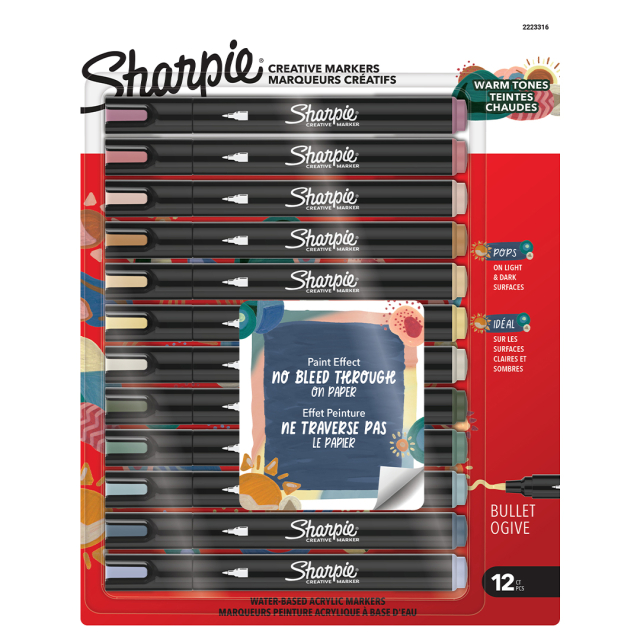
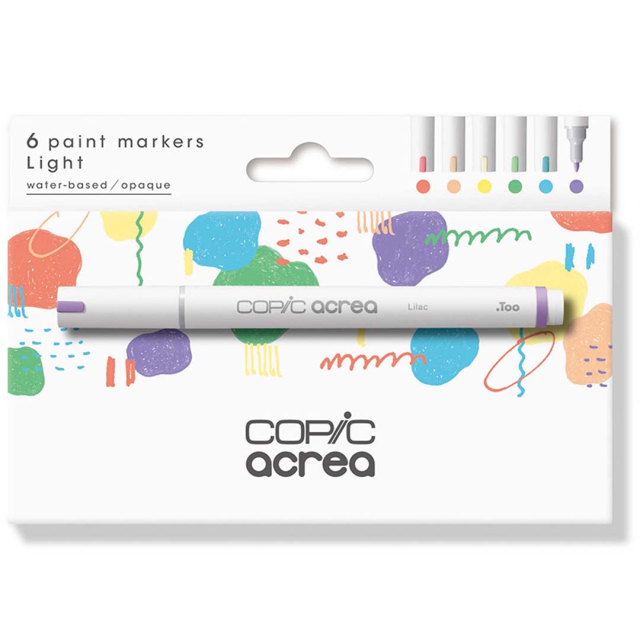
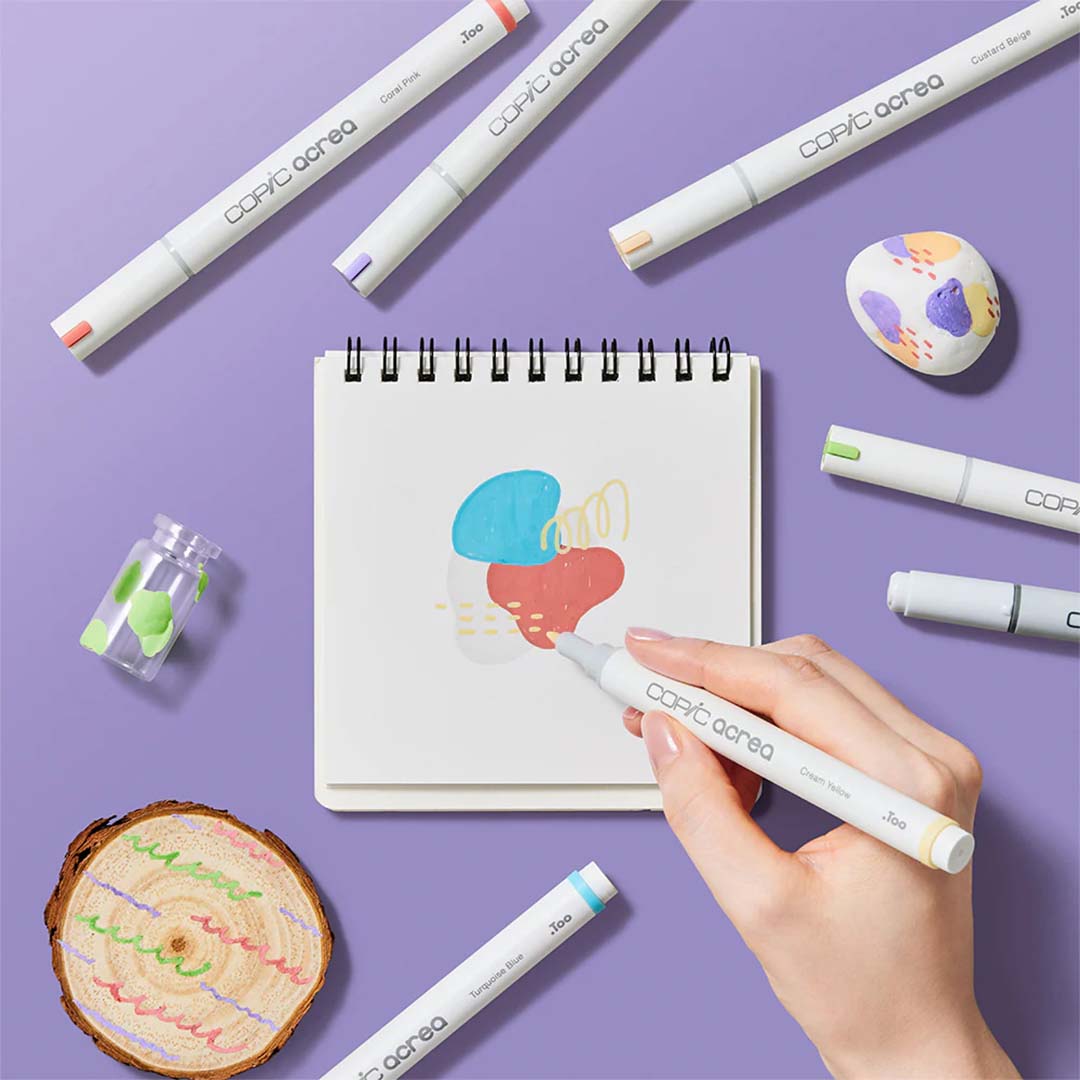
Tip: Use acrylic markers such as Posca, Copic Acrea or Artline Decorite for a steady grip and the ability to achieve fine lines and details.
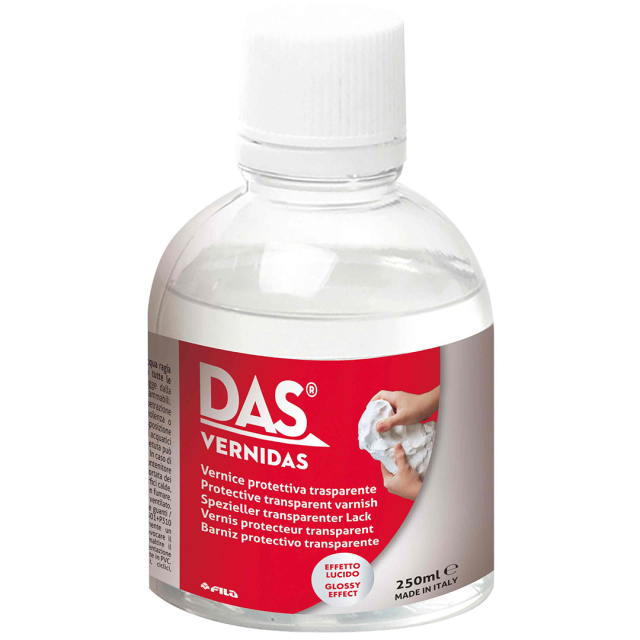
Varnishing and Glazing Air-Dry Clay
While ceramic clay is often the first choice for a glossy, even surface, you can achieve a similar effect with air-dry clay. By applying a layer of DAS gloss varnish, you can give your creation a protective and shiny finish.
How should I store my clay?
If you don’t use the entire pack of clay for your project, it’s important to store it properly to keep it fresh for next time. Air dry clay is best stored wrapped in cling film and then placed in an airtight container or plastic bag. Store the clay in a cool, dry place, preferably somewhere dark.
You’ll find more useful storage tips in the article How to store air dry clay.

Air-dry clay →
Oven-bake clay →
Tools for clay →