United Kingdom (GBP)
In this step-by-step guide, the calligrapher Karin Rosenquist-Schager shows you how to build letters that resemble a flowing ribbon in motion. Using coloured pencils from Faber-Castell, you will learn how to create depth with colour, shadows and highlights, and how small adjustments can make a big difference to the final result. Whether you are new to lettering or have already tried calligraphy before, this is a technique that is both playful and impressive to master.
Karin Rosenquist-Schager works as a calligrapher under the name Karin Creative. She has always been fascinated by letters and over the past 15 years has completely fallen in love with calligraphy, lettering and all the creative possibilities they offer.


Learn to write modern 3D calligraphy with coloured pencils:

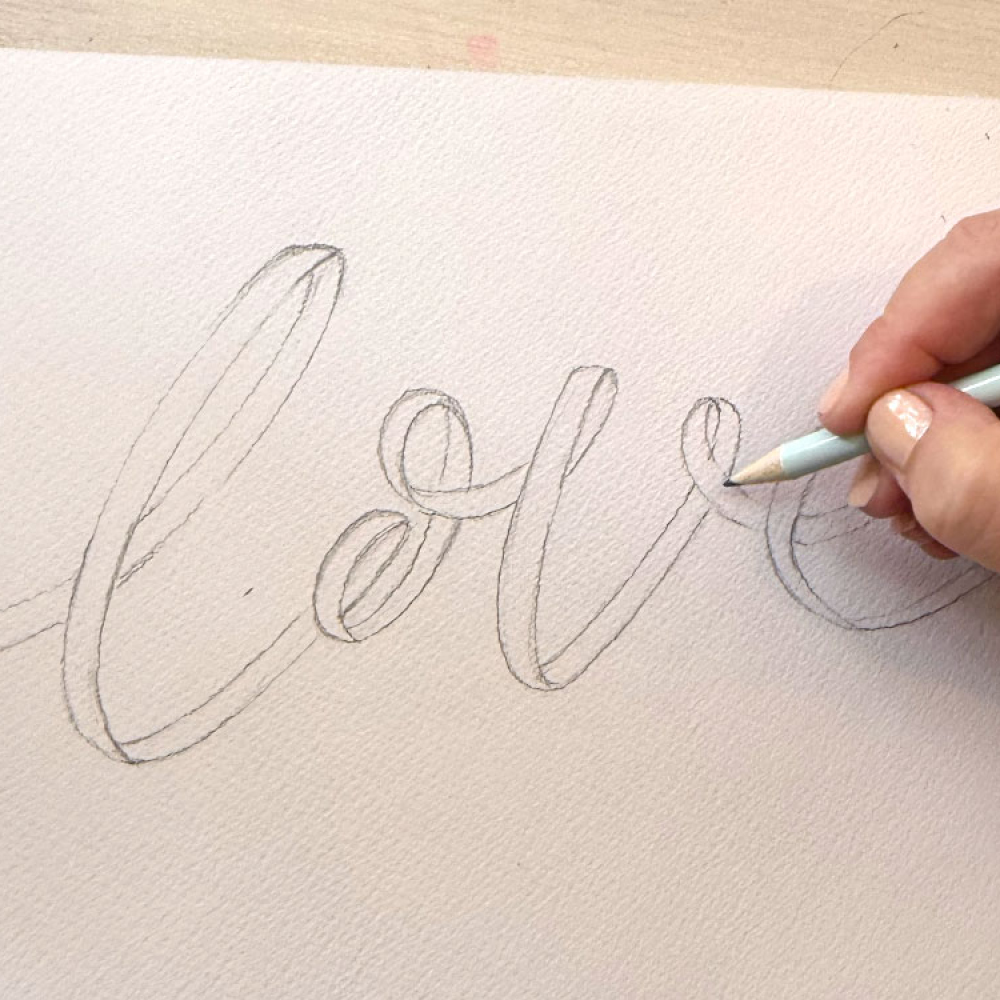
Step 1: Sketch in pencil
I start by sketching out my word in pencil using soft, large movements. This helps to avoid sharp turns, as I want the word to resemble a soft ribbon in motion. Here I use A4 watercolour paper, but regular printer paper works well with these coloured pencils. I sketch lightly so I can erase and adjust areas that don’t feel quite right, and leave space on the page for the shadow.
Step 2: Create a ribbon
Once I have sketched out the word, I draw a line alongside it, which will form the width of the “ribbon”. It is important to keep the width consistent so that it truly looks like a ribbon. I first sketch the ribbon on the left side and then continue on the other side, which becomes the “back” of the ribbon. We also need to consider how the ribbon behaves in the curves, where it “folds”, and try to make it as soft and rounded as possible. Where the lines overlap, we need to decide which part of the ribbon sits on top and which goes underneath.
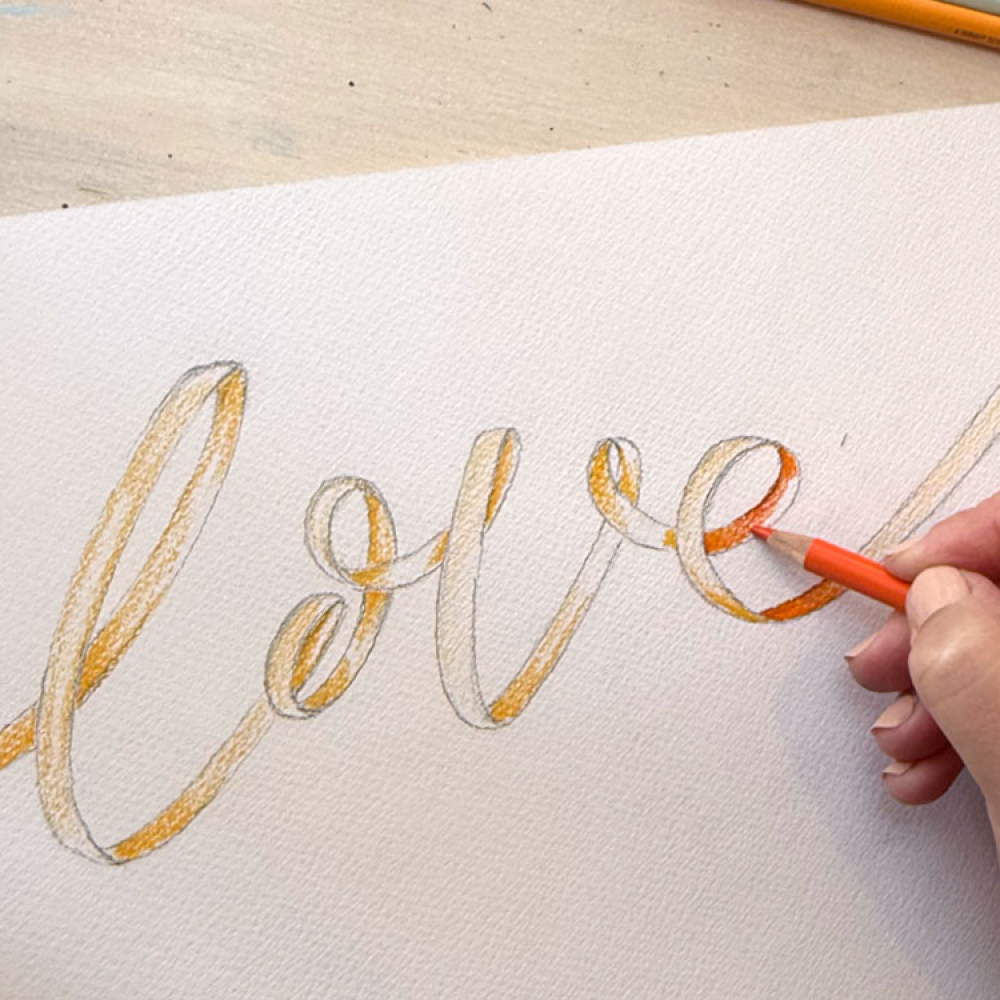
Step 3: Fill in with colour
Once I am happy with my sketch, I start colouring with the lightest shade on the parts of the ribbon facing towards me. On the “back” and in areas where shadows would naturally fall, I use a darker pencil. Faber-Castell pencils are excellent for blending colours, so I go quite dark in the “folds” of the ribbon and also add a dark outline around the entire word to make it stand out from the page.
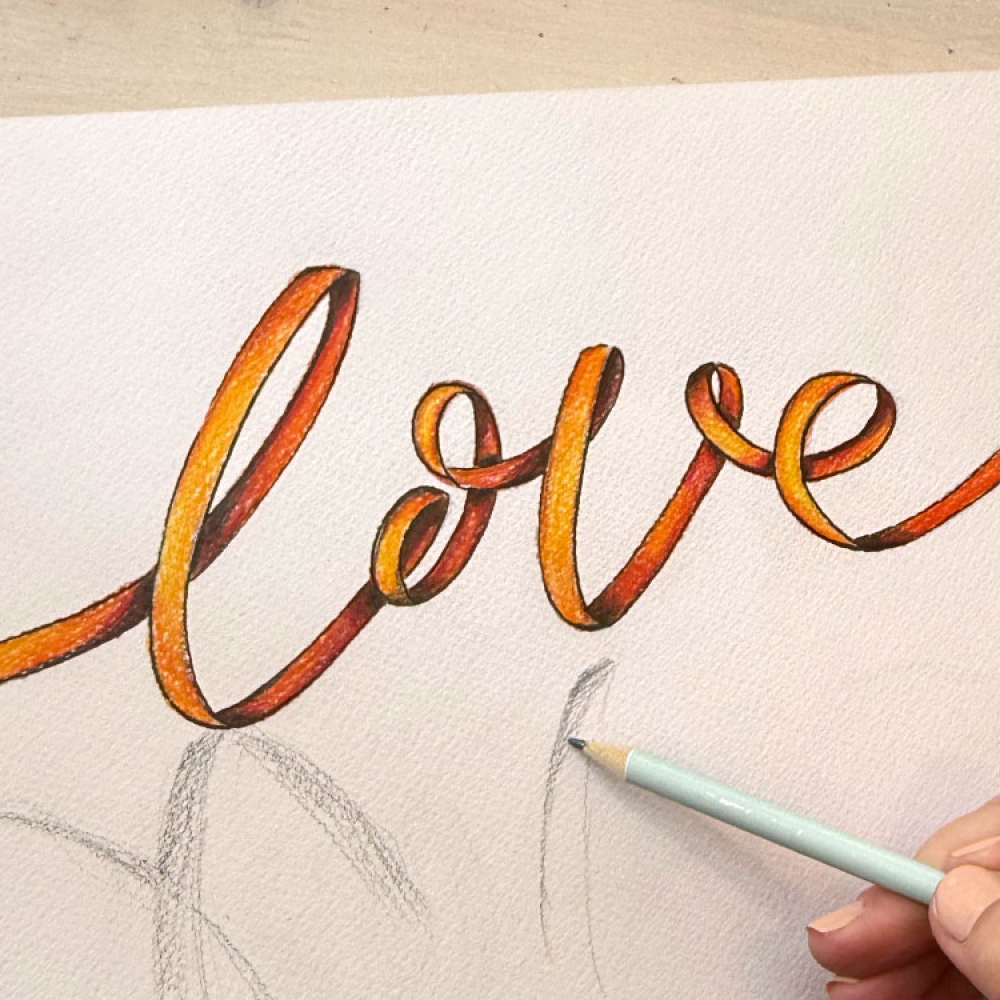
Step 4: Create a shadow
When I feel finished with the word, I lightly sketch in a shadow using pencil. The shadow can fall almost anywhere depending on where you place your imaginary sun, but the most important thing is to keep it on the same side throughout. Here, I like to think that the lowest letters touch their shadow, while the others “float”, meaning the shadow sits further away. The shadow closest to the letters is the darkest, so after sketching it, I gently soften it along the bottom to even it out.
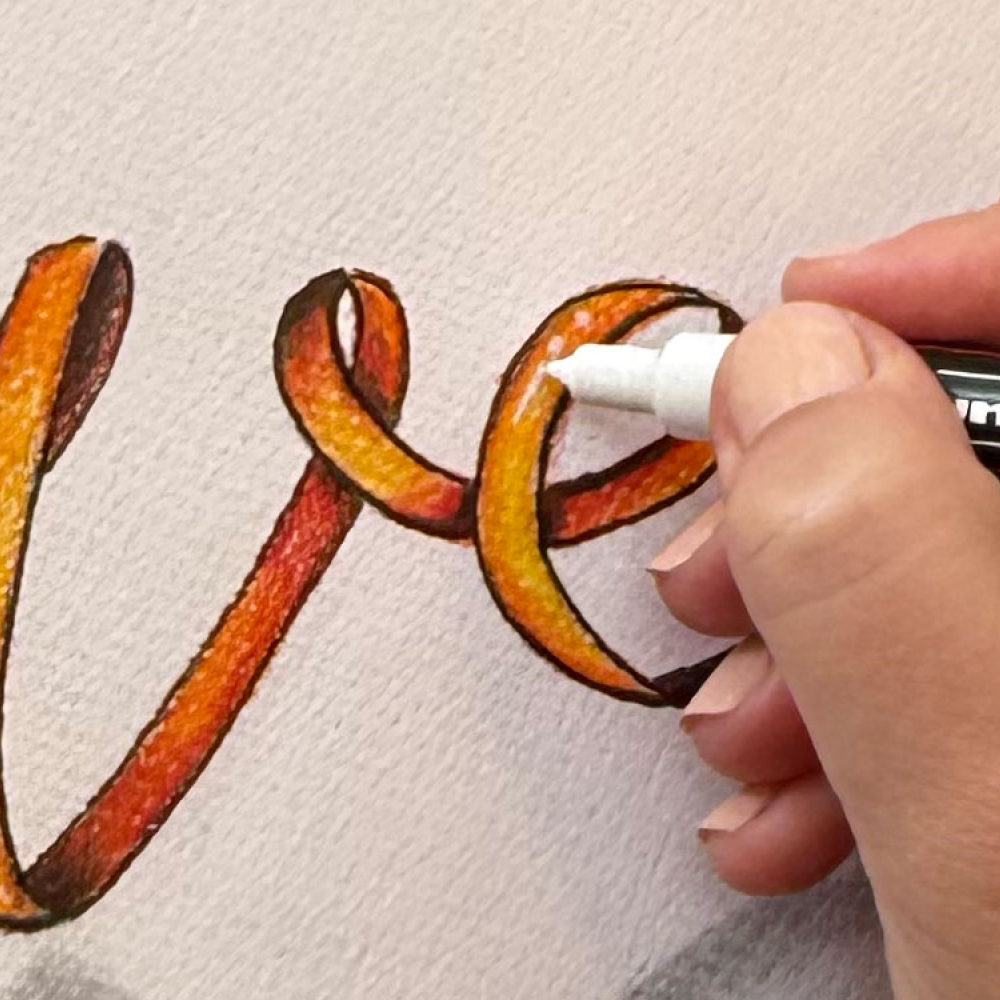
Step 5: Add highlights in white
Finally, I use a white pen to add highlights where I imagine the light hits the ribbon.
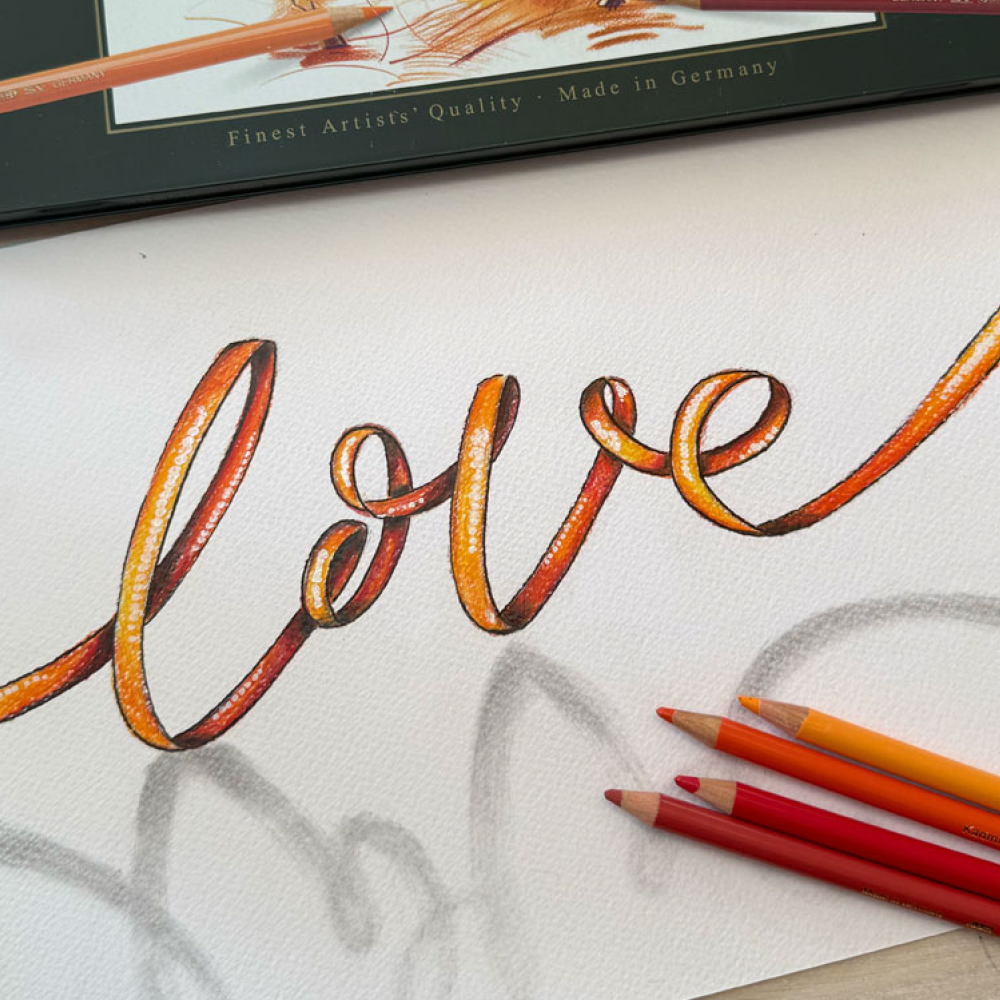
Tadaa!
Here is the result of my modern 3D calligraphy using coloured pencils from Faber-Castell!

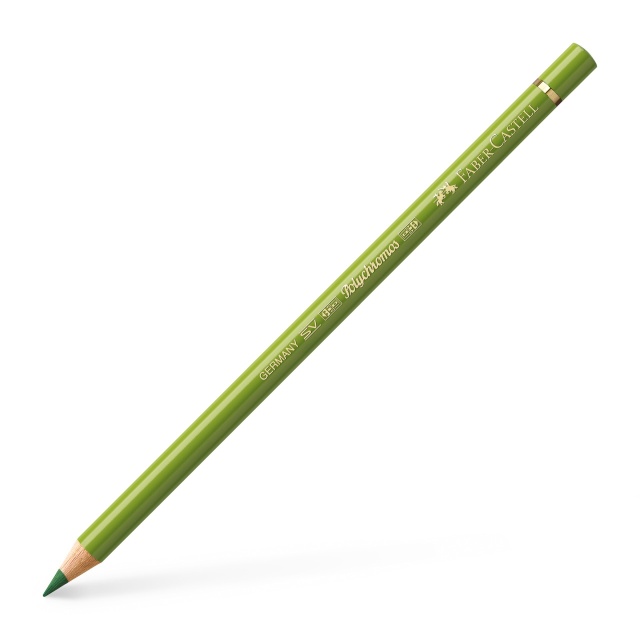
Pencils →
Coloured pencils →
Sketch pads →