United Kingdom (GBP)
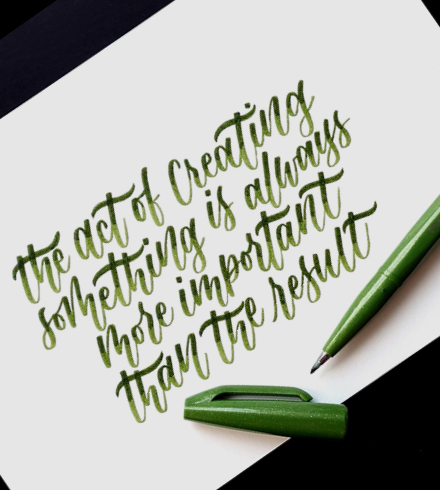
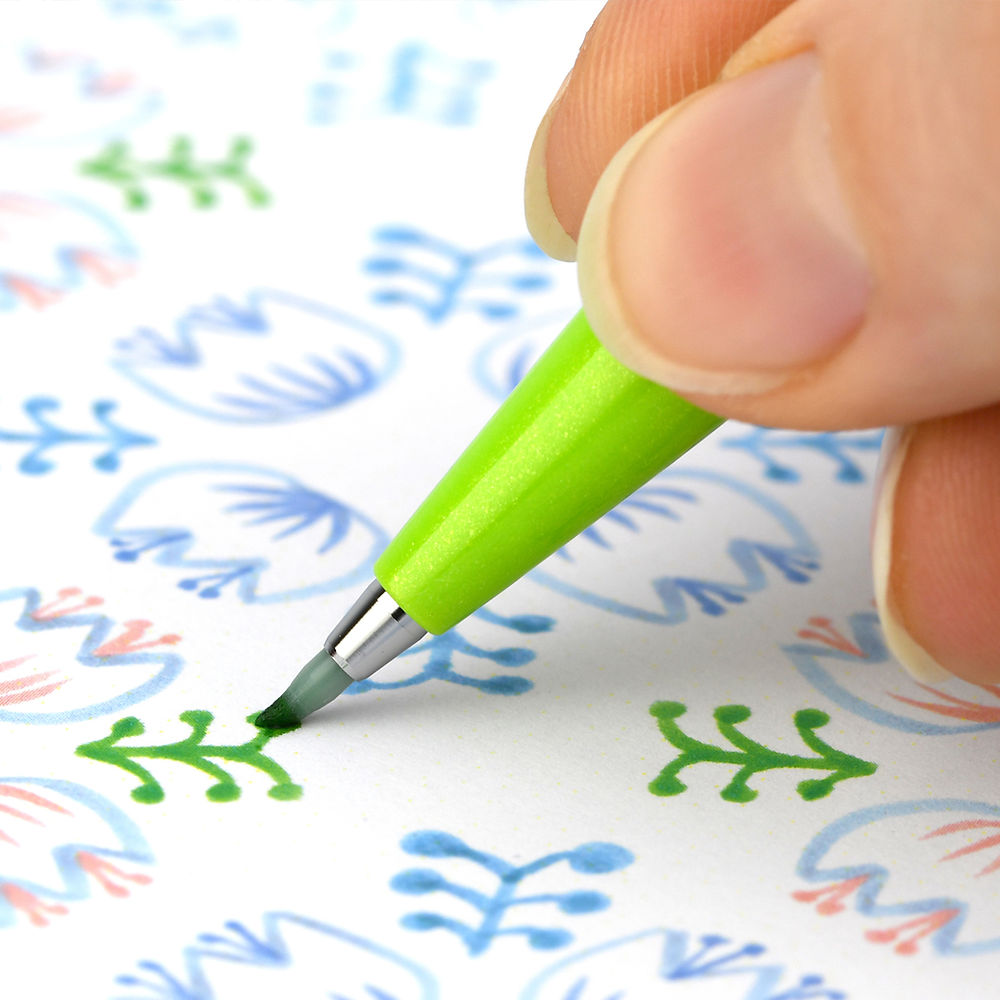
Brush lettering is the art of writing letters with a brush pen, a technique where the thickness of the lines varies depending on how much pressure you apply with the pen. The result? Elegant, expressive text that enhances everything from greeting cards and place cards to creative notes.
Lise Hellström, also known as Ink&Lise, is one of Sweden’s top lettering artists. She has spent thousands of hours mastering brush lettering. In this guide, she shares her best tips and tricks, how to get started, and how to learn the technique for creating beautiful letters. She has also created a worksheet you can download, so you can practise shaping each letter over and over again.
Brush lettering for beginners – 5 easy steps
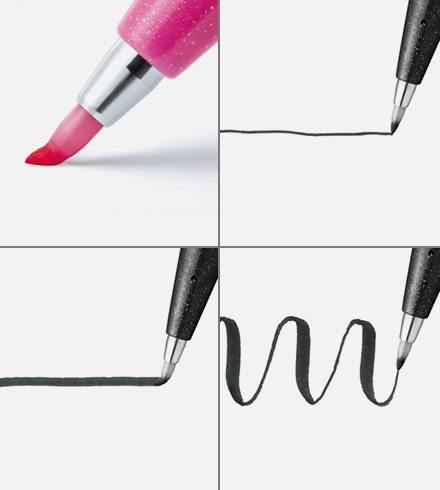
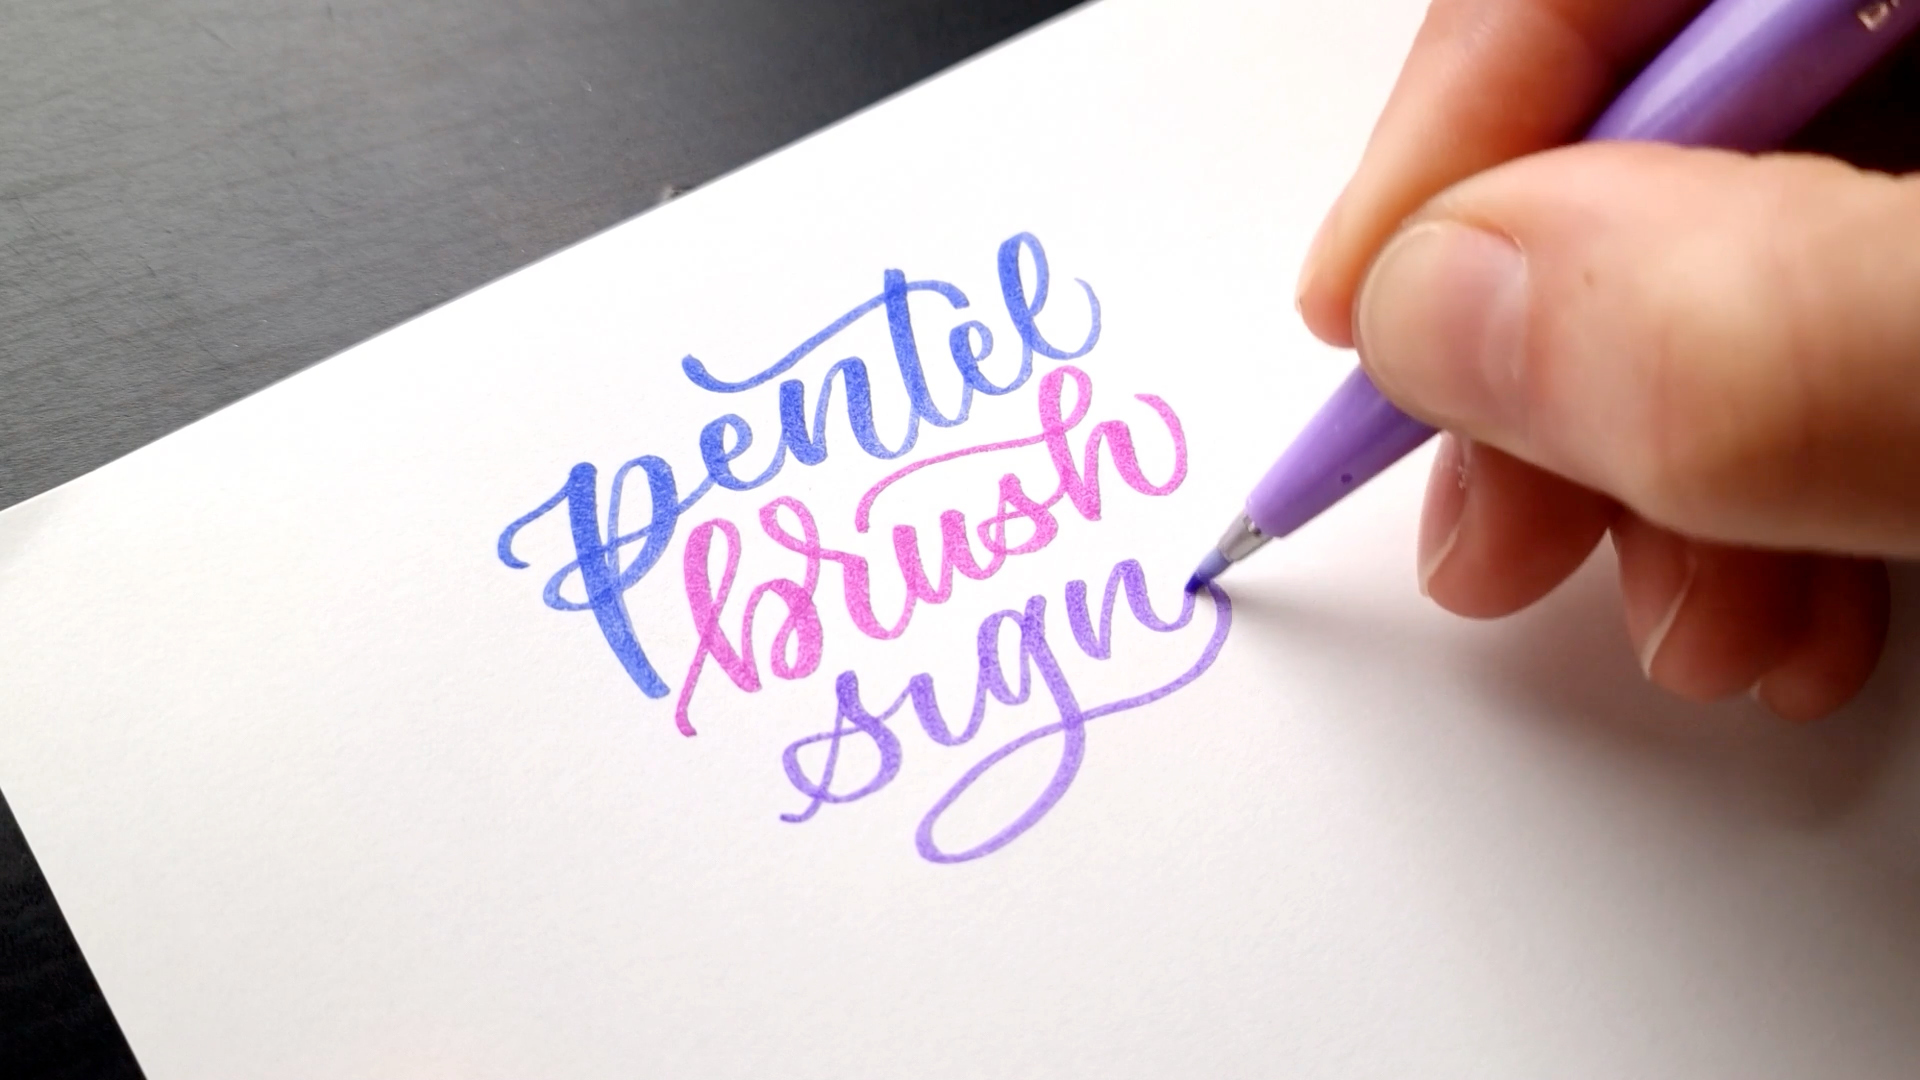
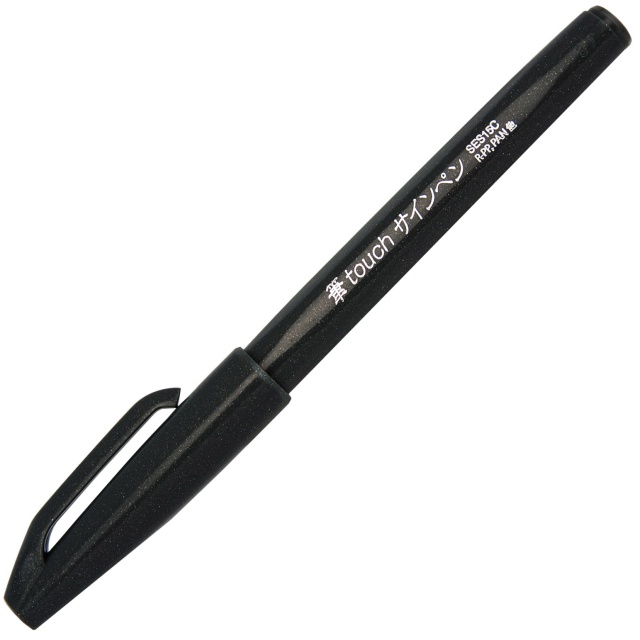
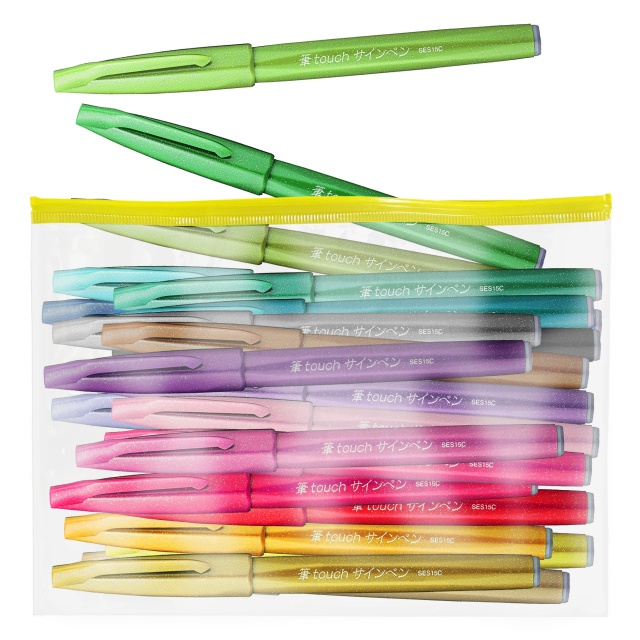
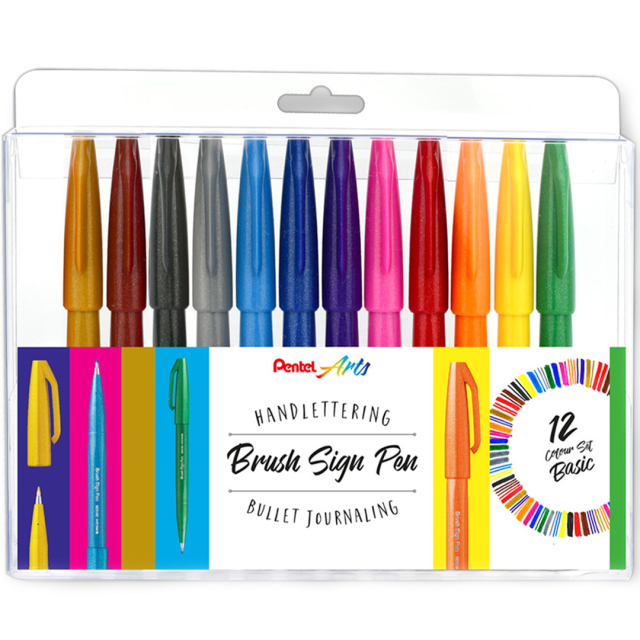
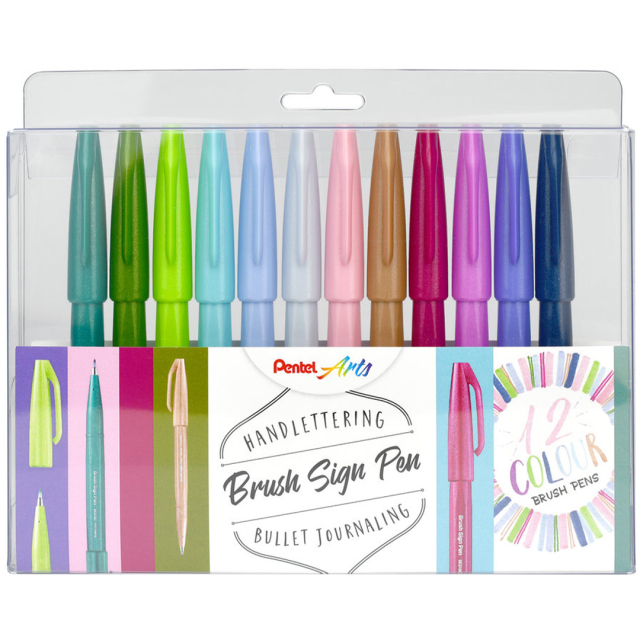
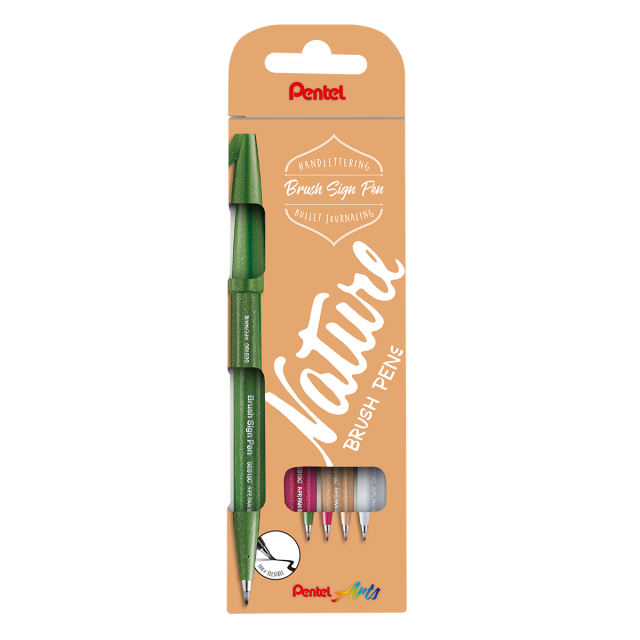
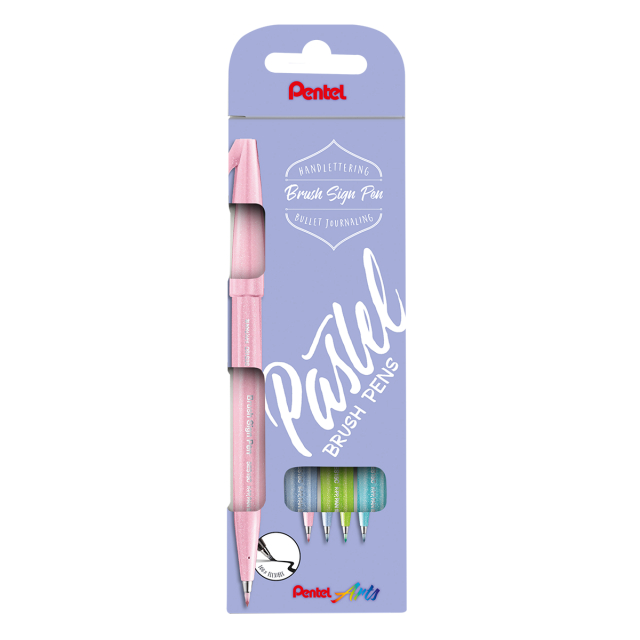
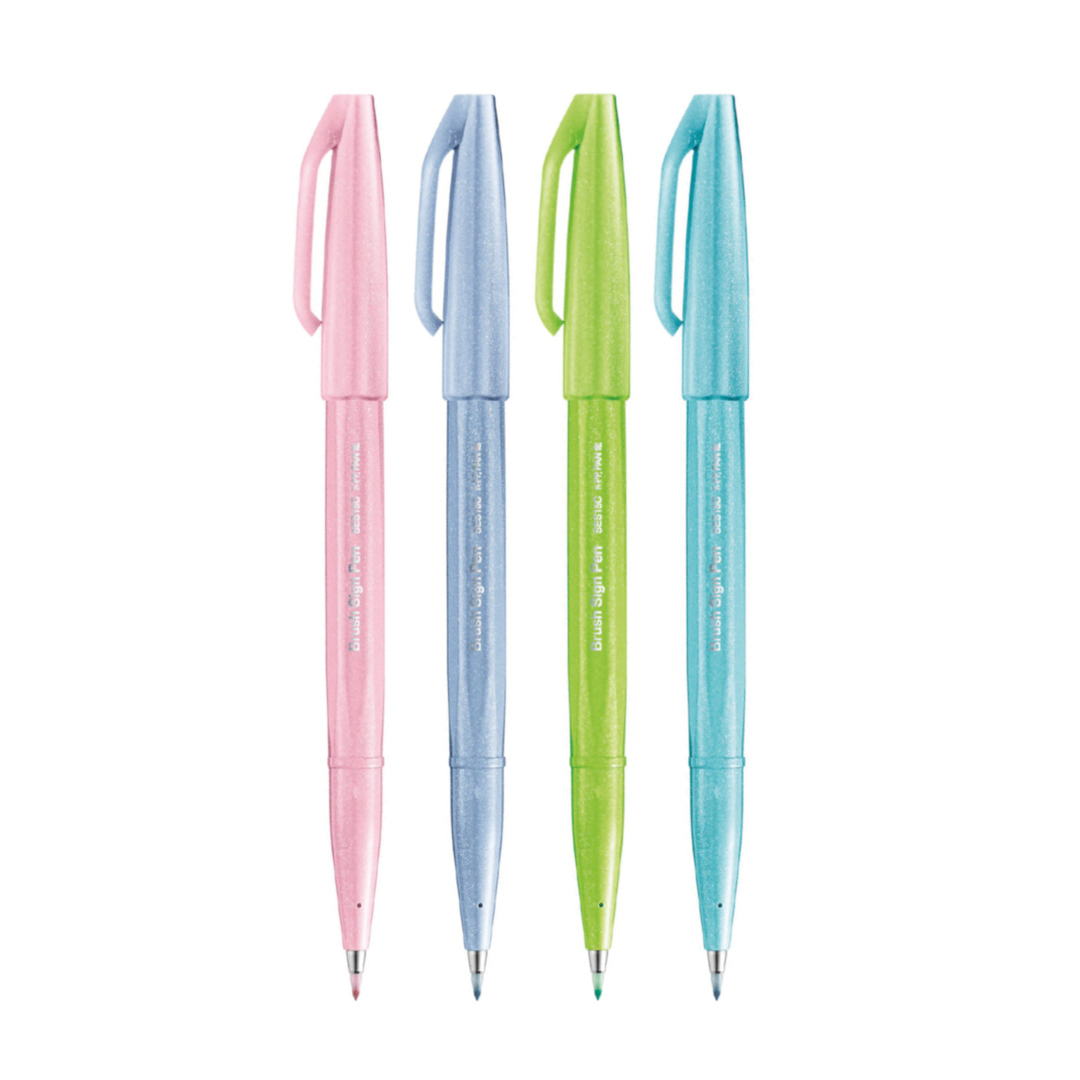
Brush pens are markers with flexible tips that can create both thin and broad lines. For beginners, I would recommend the brush pen Pentel Brush Sign Pen. It has a smaller tip that offers better control, making it easier to learn the basics. Once the technique is in your hand, it’s not uncommon for that very pen to become a loyal companion.
Grab your brush pen and get ready. I’ll do my best to explain how it’s done, step by step.

Step 1: Practise when to apply pressure with your pen
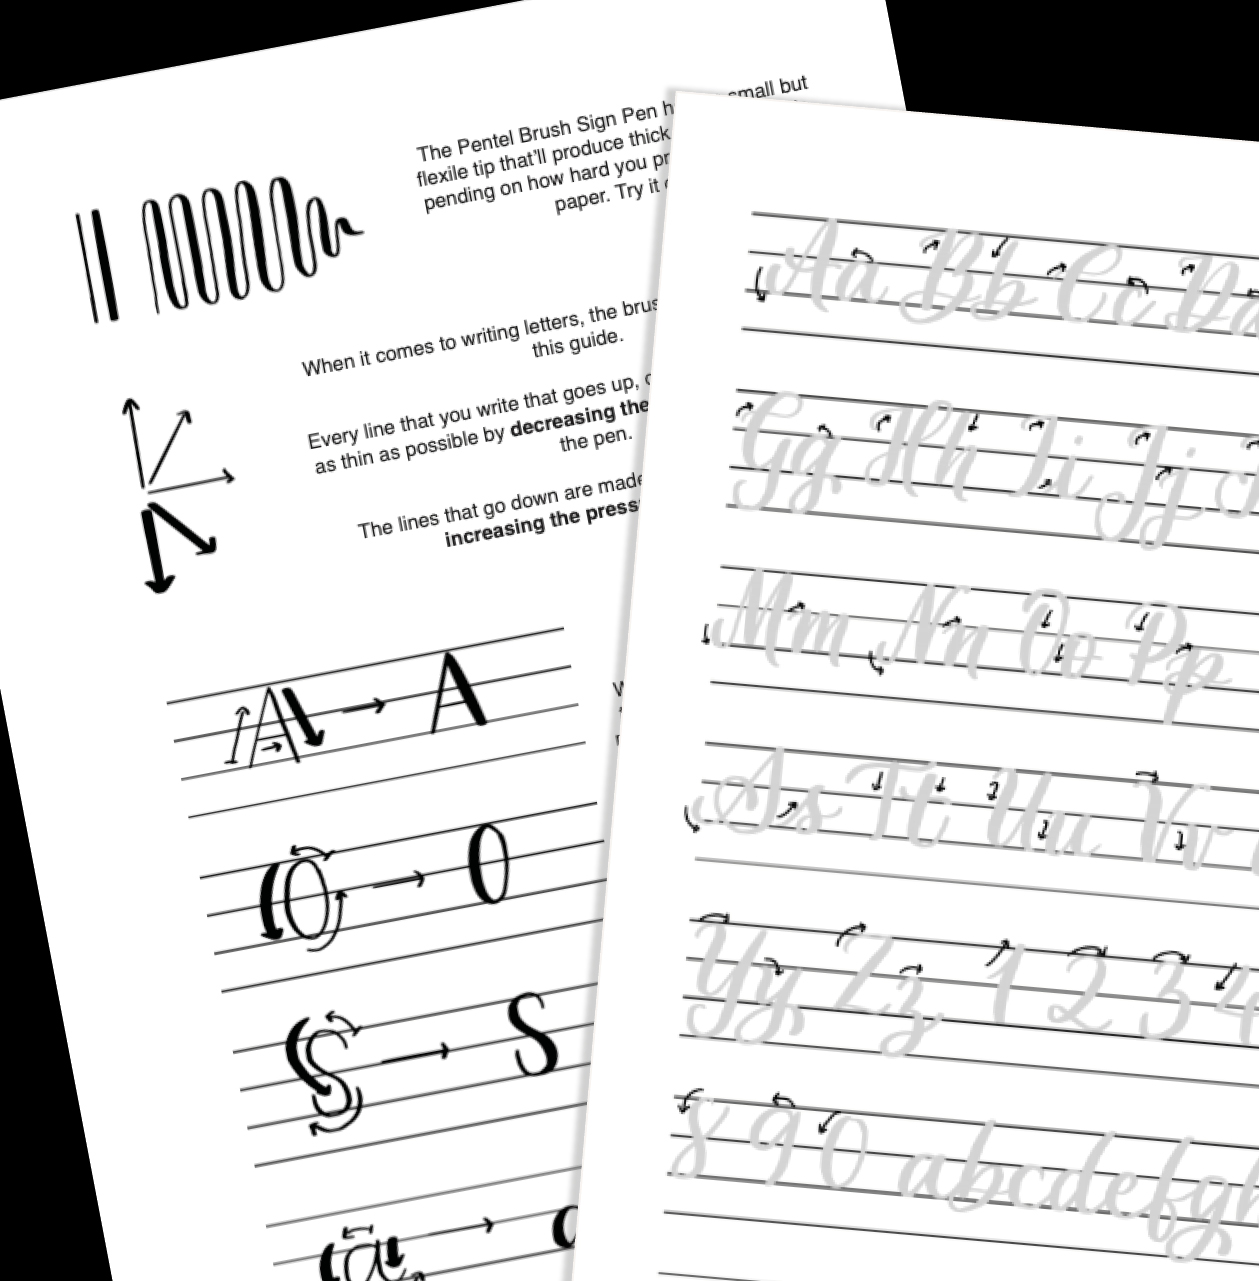
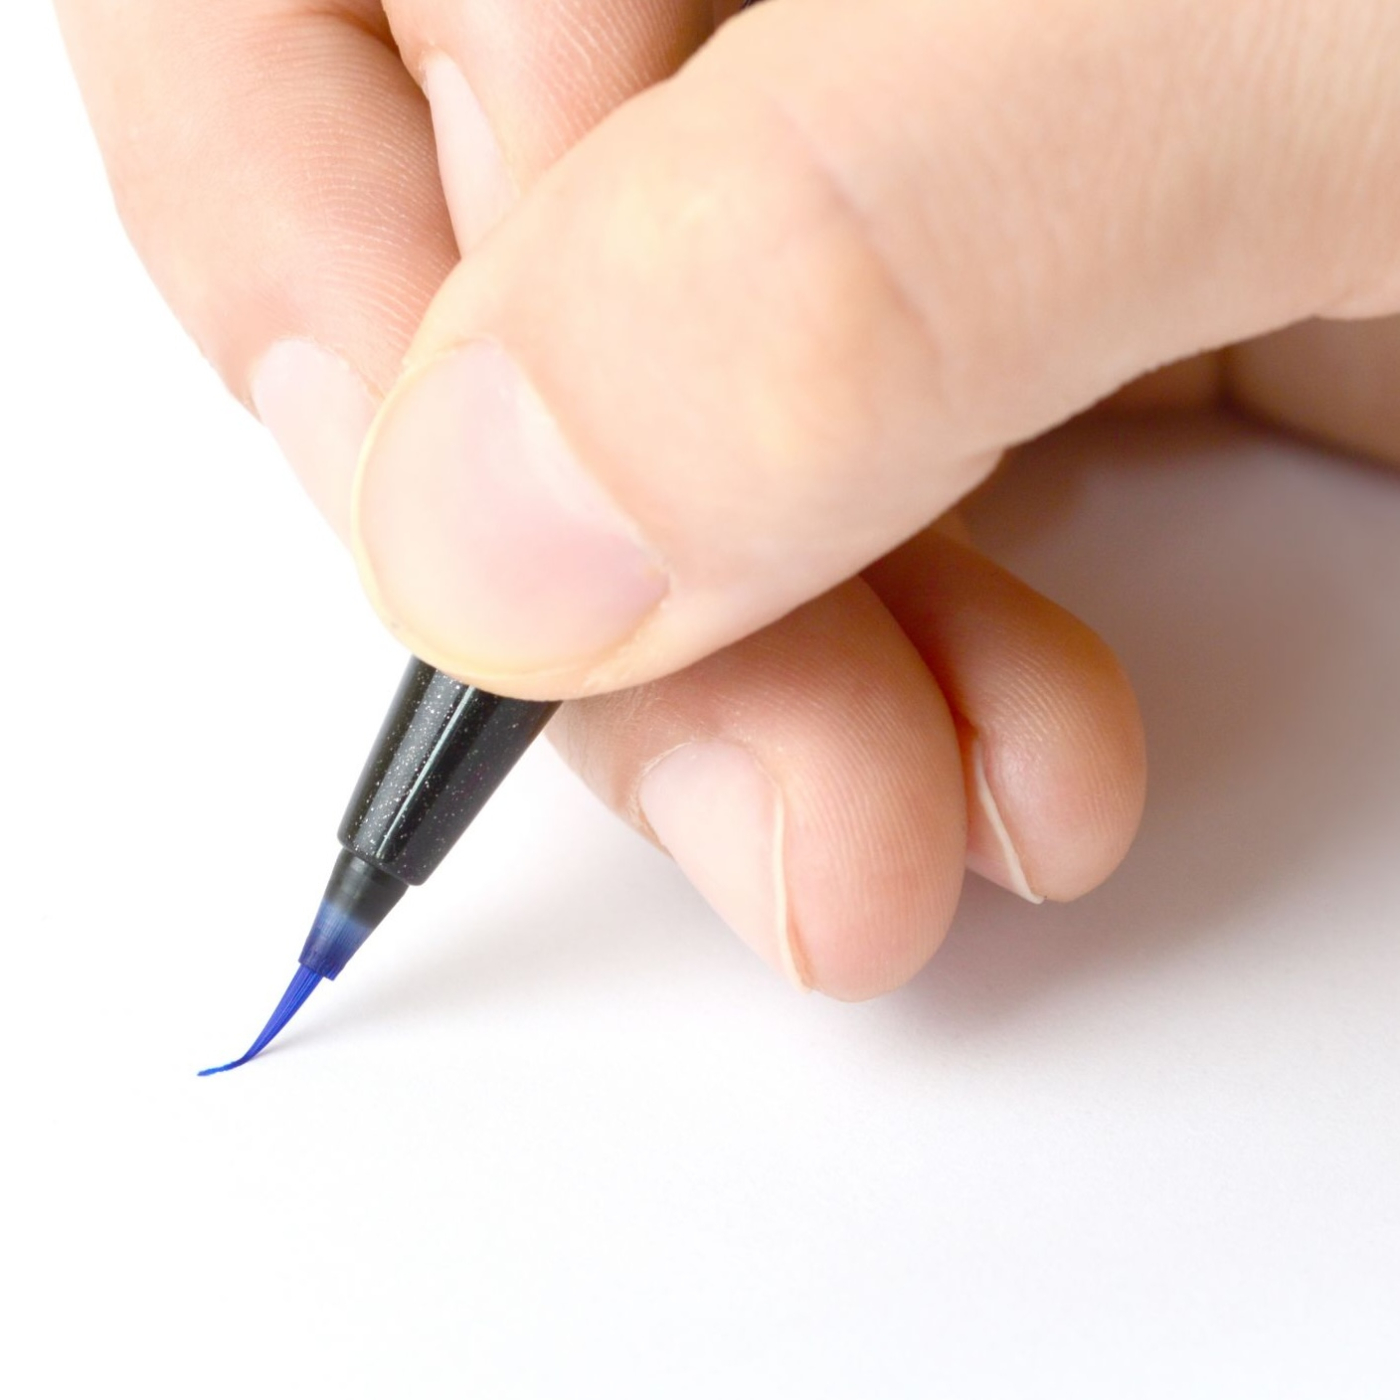
The basic rule is simple: All strokes going upwards or sideways should be thin, press lightly with the pen against the paper. Strokes going downwards or diagonally downwards should be thick, which you achieve by applying more pressure. Try it yourself: increase and decrease the pressure as you draw lines. Make strokes up and down. Don’t worry, pressing hard won’t damage your pen.
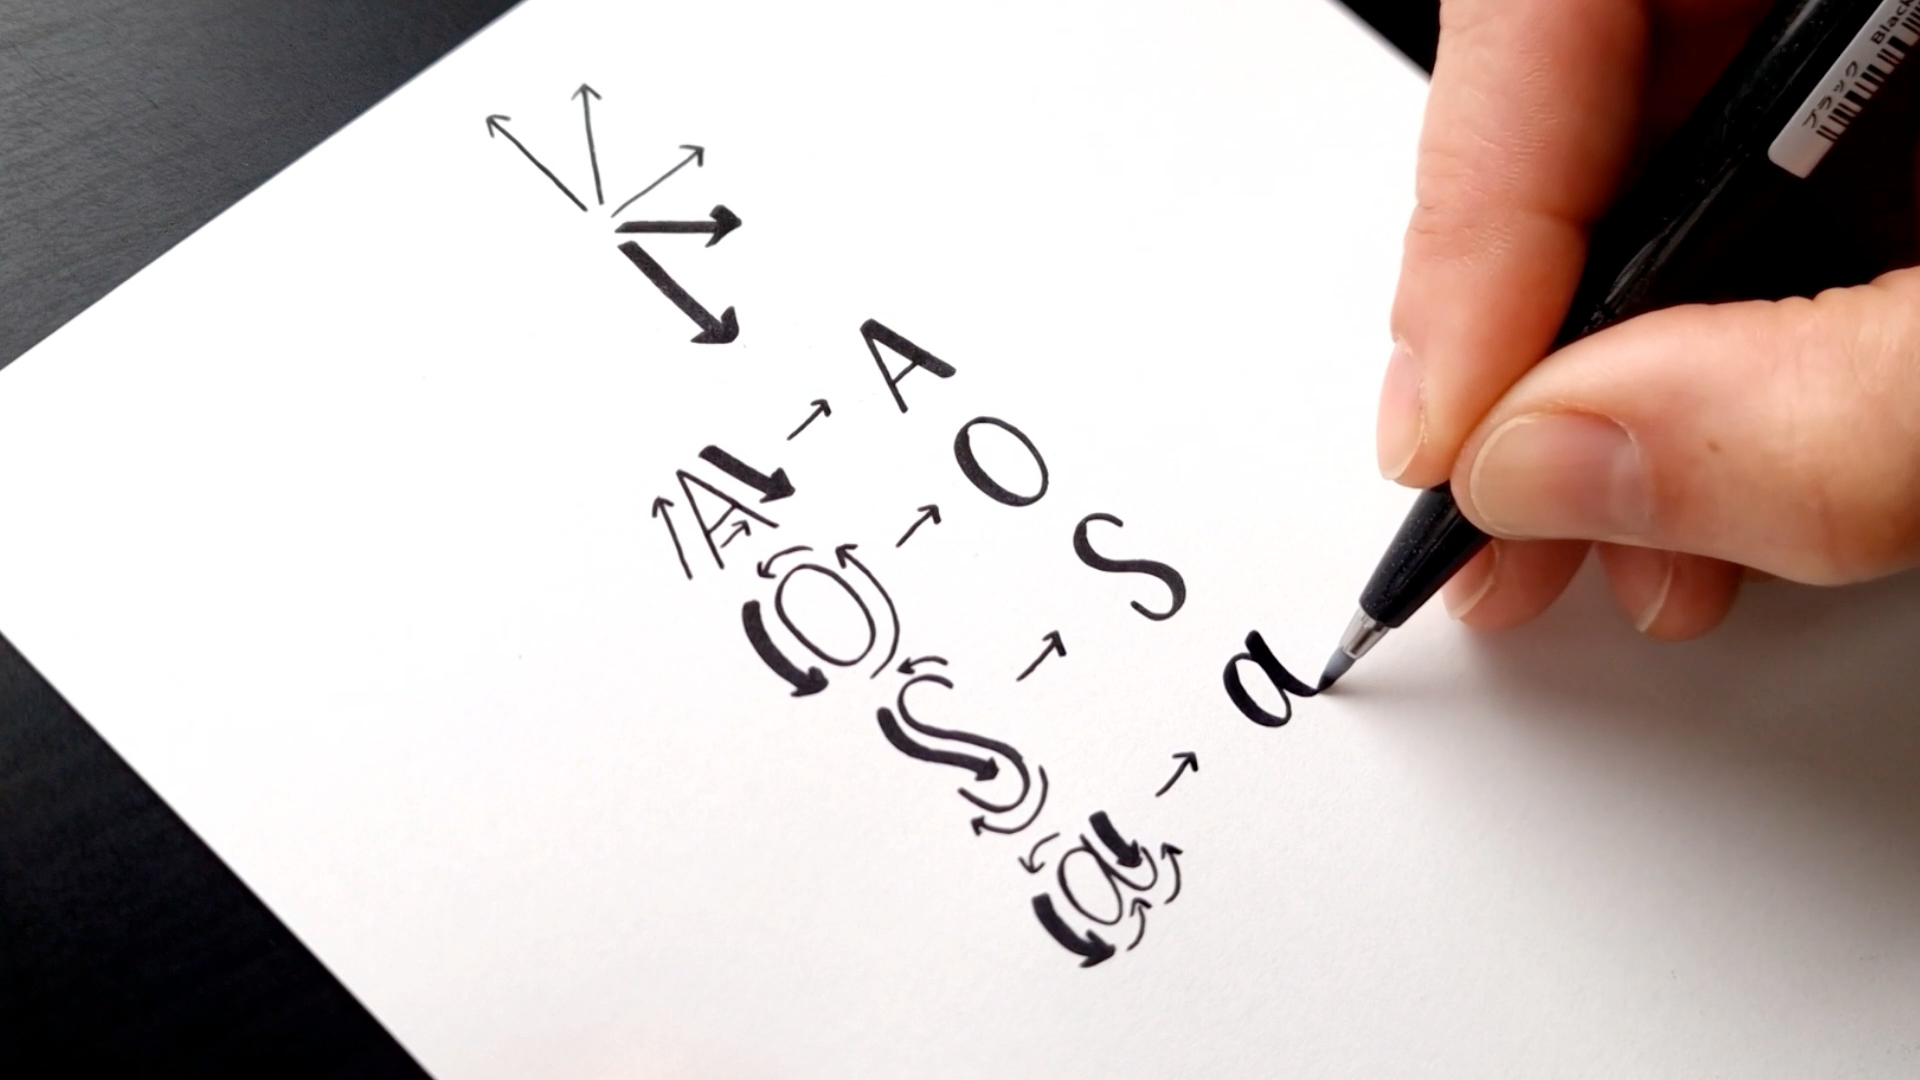
Step 2: Apply the same technique to letters
Now it’s time to try the same technique on letters. Remember: Thin upstrokes, thick downstrokes. For letters with curved or rounded lines, you need to increase and decrease the pressure within the same stroke without moving the pen in your hand or lifting it. This takes some practice. It’s very important to write slowly, as it’s much harder to get the details right if you write quickly, especially in the beginning.

Step 3: Create the cursive feel
To write in a cursive style, simply add a small “hook” to each letter that the next letter just touches. So you’re not actually writing the letters in one continuous stroke, even if the final result looks that way thanks to the little hook.
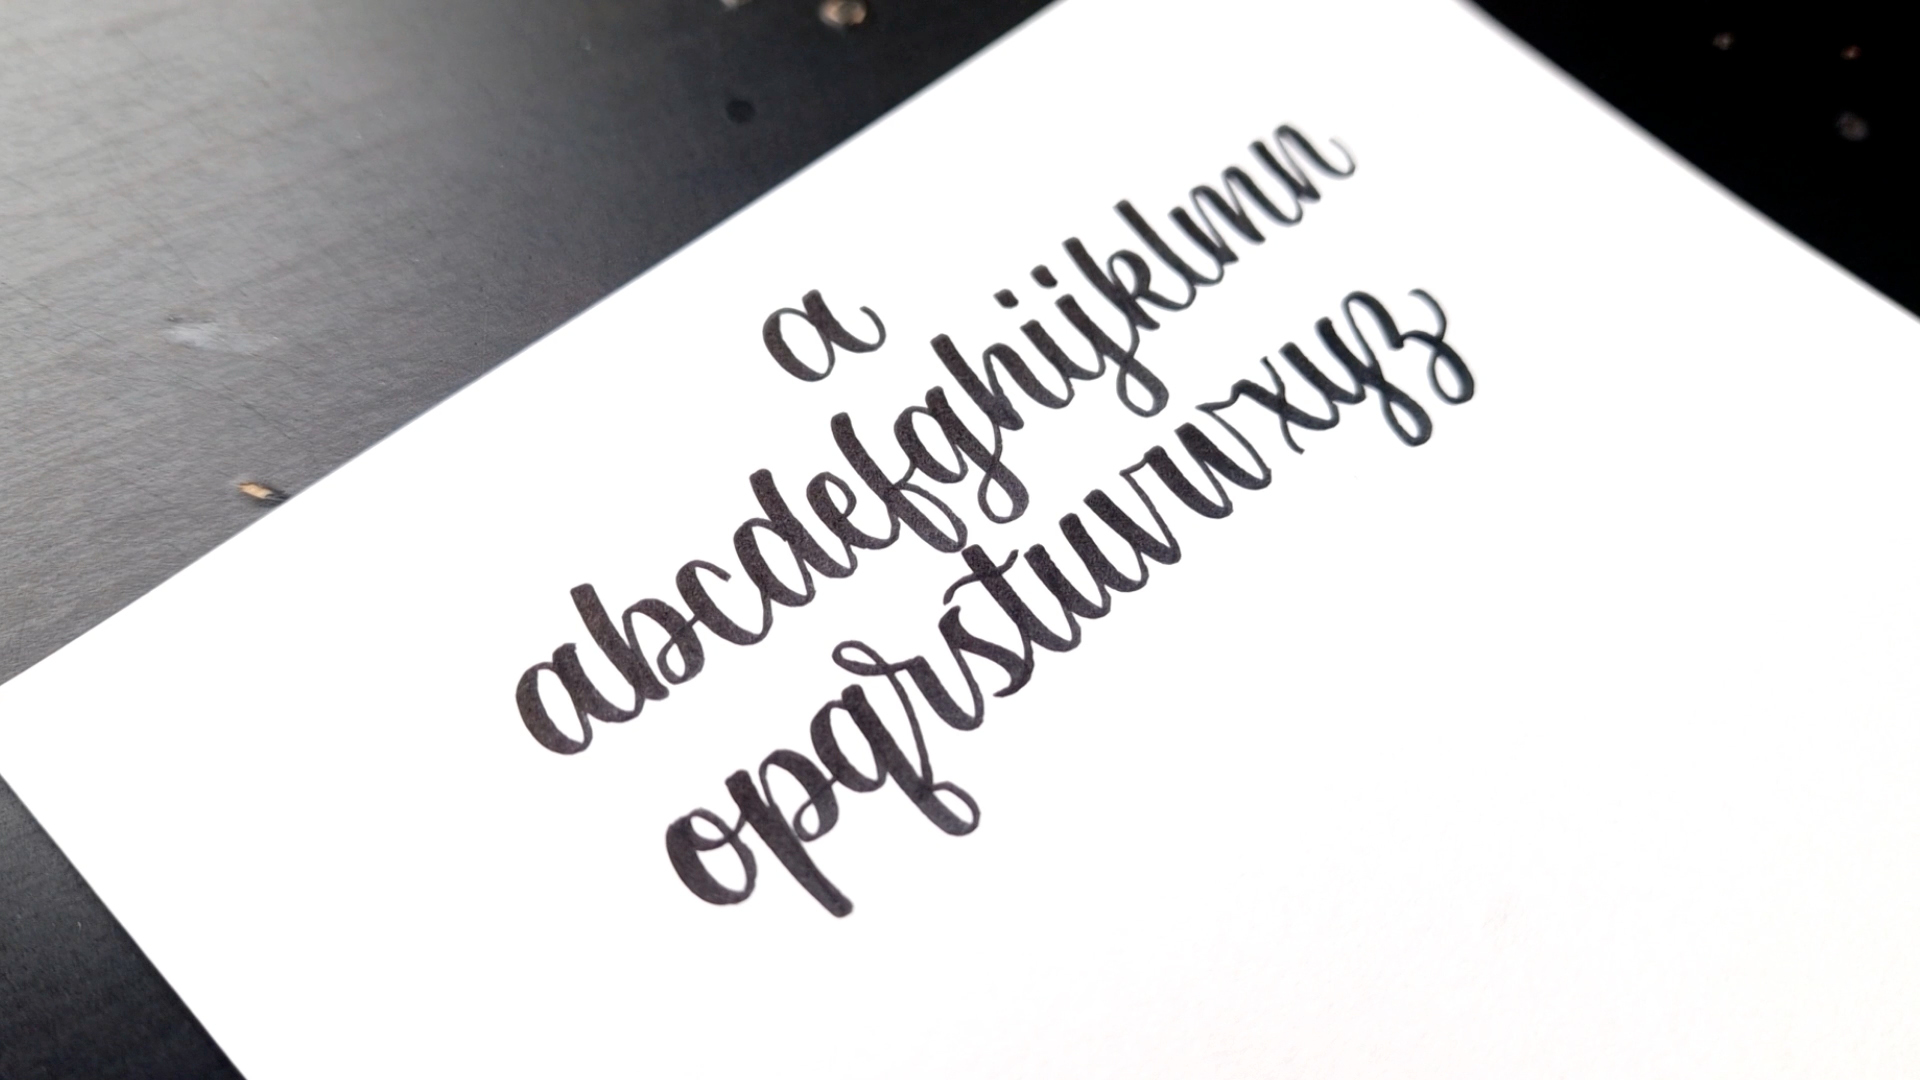
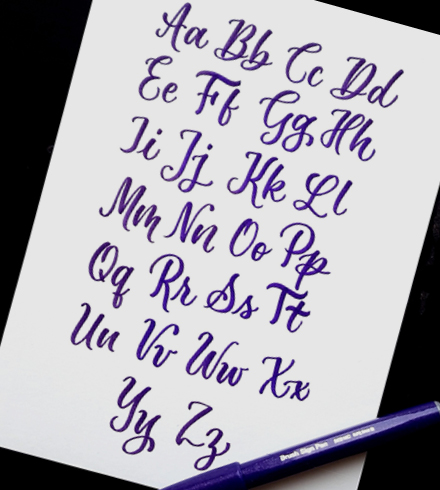
Step 4: Practise the entire alphabet
The secret is to write one letter at a time, slowly. That way you gain more control over the shape of the letters, and you have time to think about how thick each stroke should be. Here you can see the full cursive alphabet and how the letters connect.
Step 5: Start experimenting
There you go! Once you’ve trained your hand to control the pressure with your brush pen, you can move on to experimenting with different colours and styles. Practise often, and try to have fun along the way.
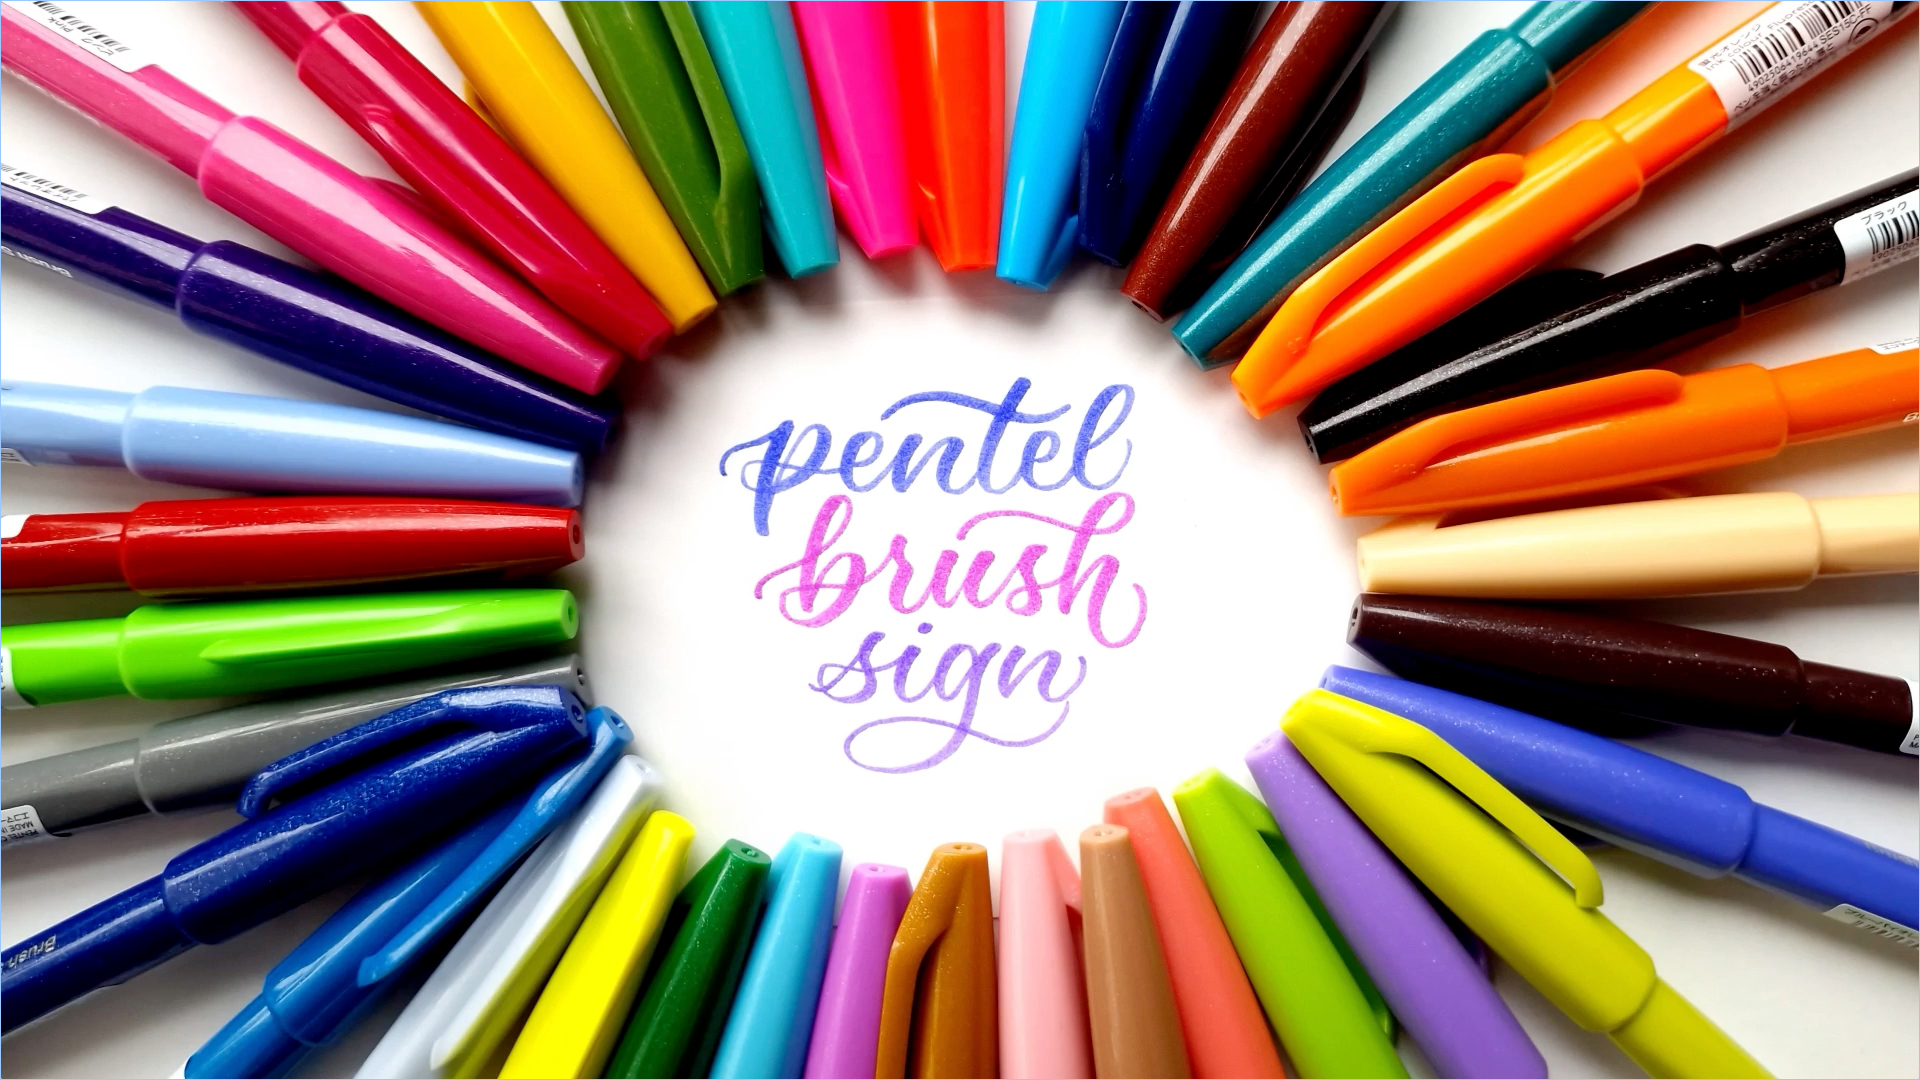
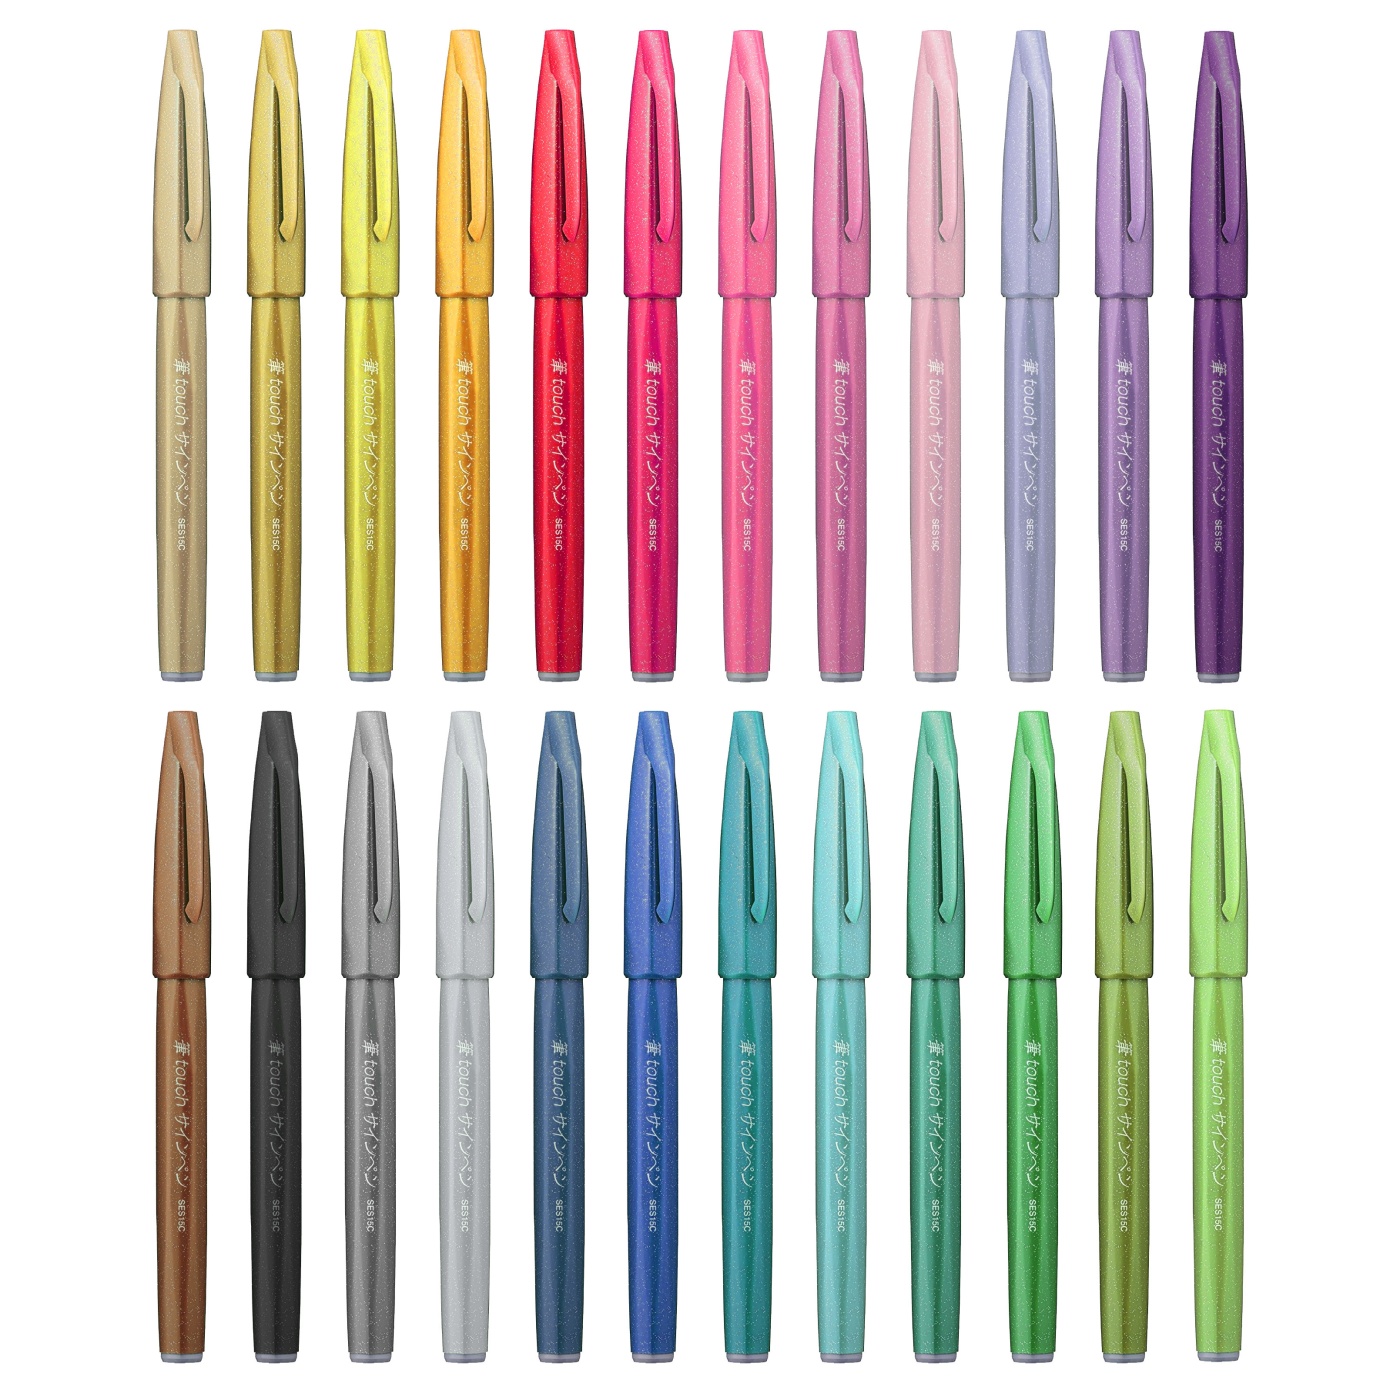
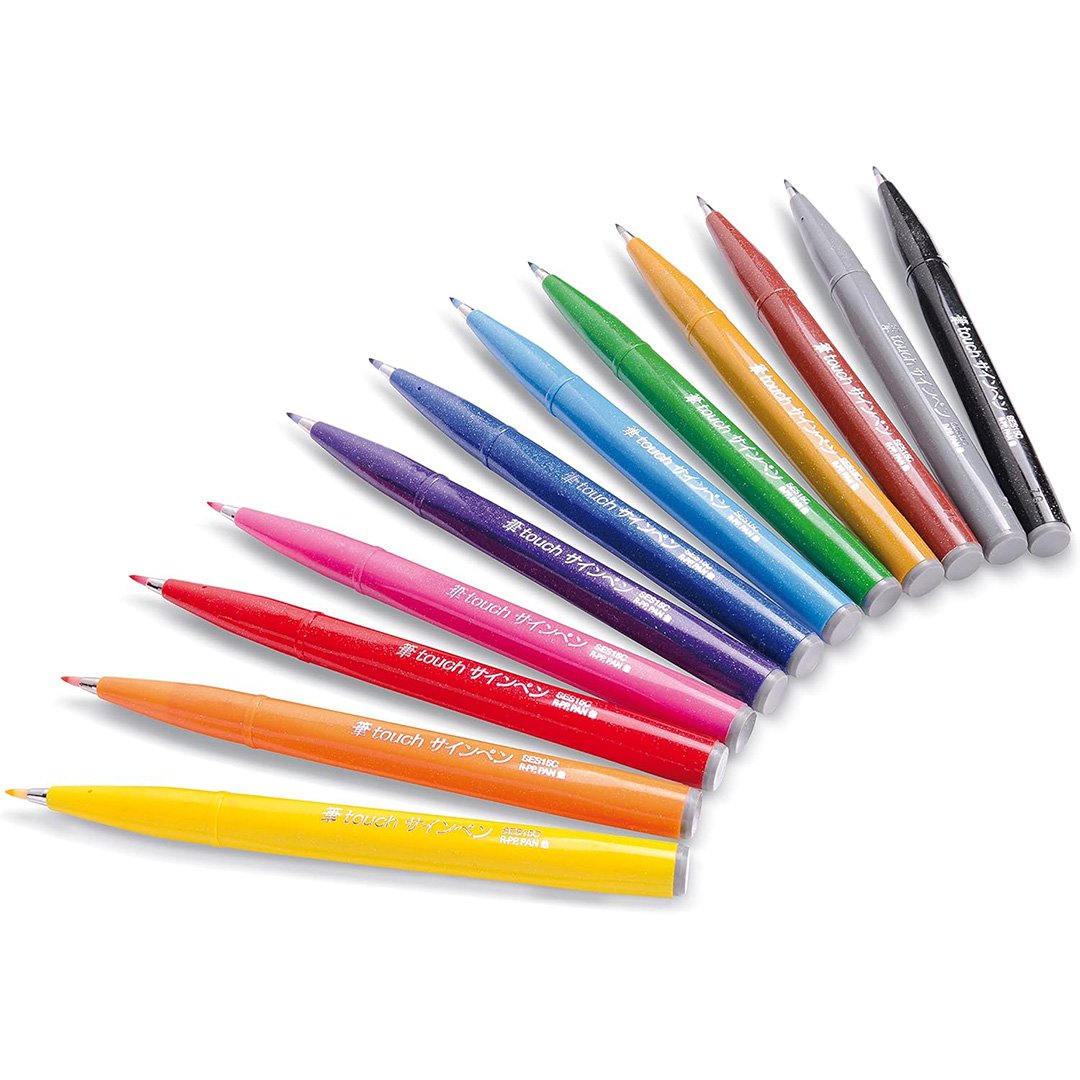
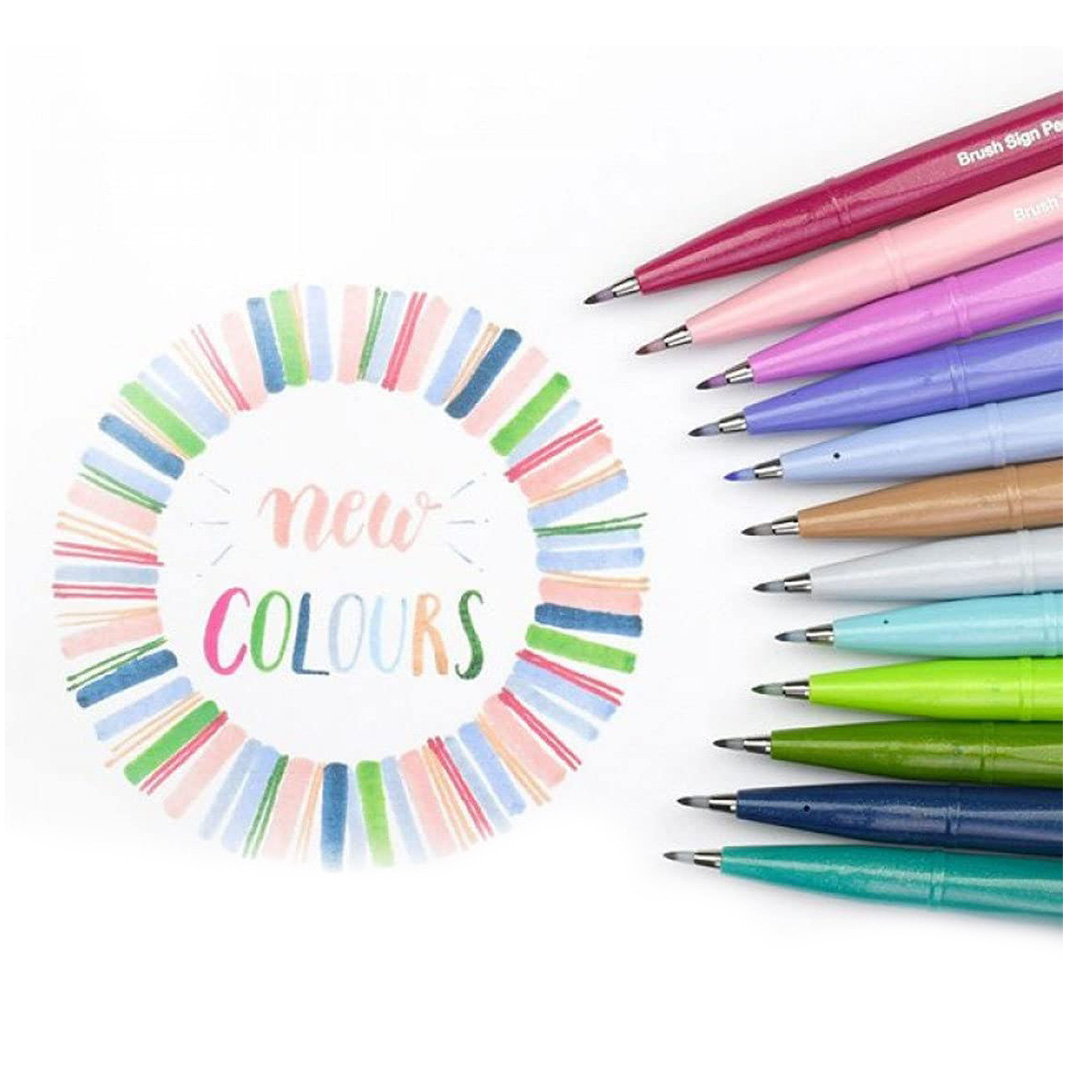
Beautiful colours of the Pentel Sign Brush
The Pentel Sign Brush comes in 36 colours and is perfect for everything from greeting cards and labels to bullet journaling. When the pen feels right in your hand, creating becomes easier, more fun, and the result even better. From there, it’s only your imagination that sets the limits. Good luck!
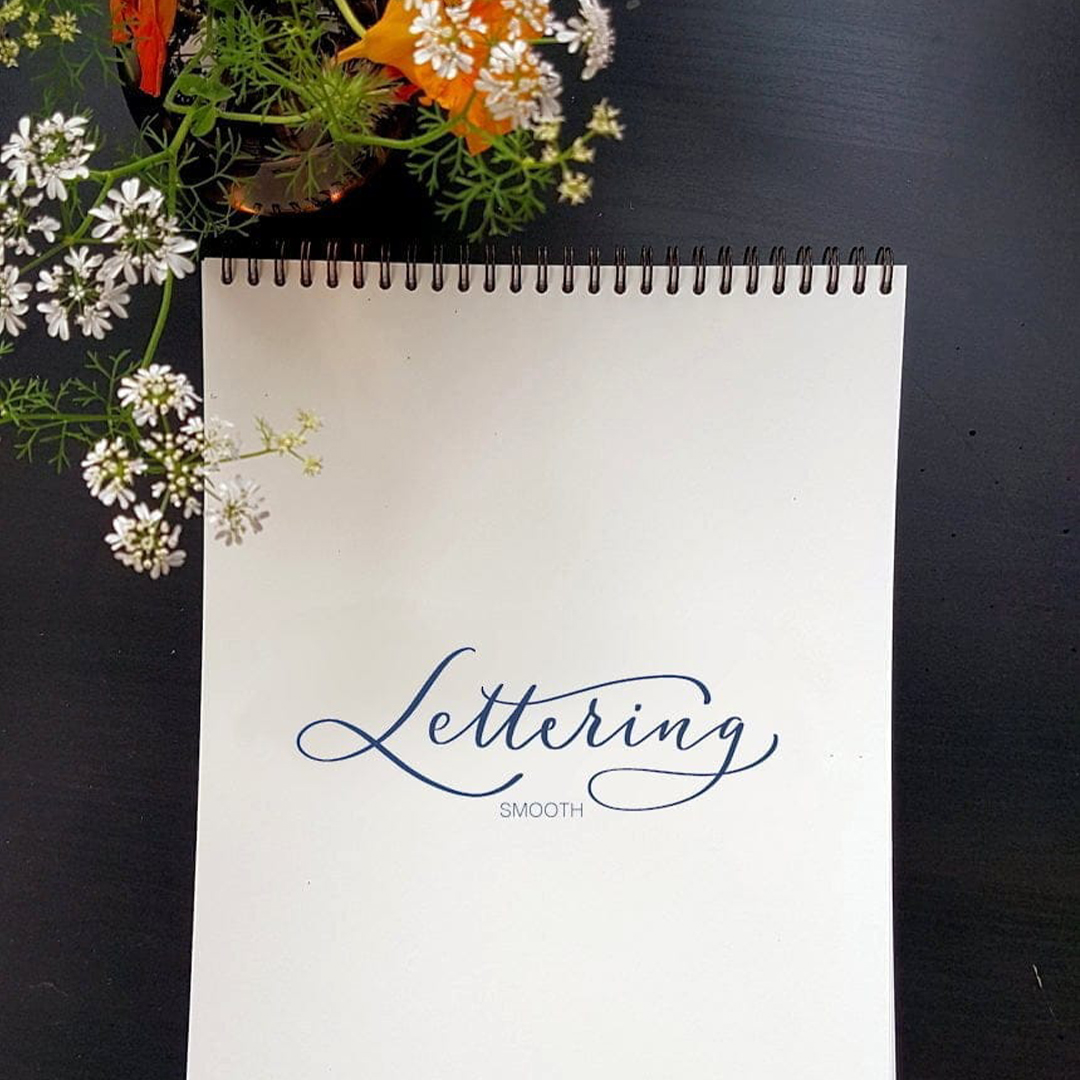
Choose the right paper for lettering
I often doodle and sketch on everything from scrap paper and envelopes to newspapers, but when it comes to the final piece, I always choose high-quality paper. It makes the work smoother, gives a silky writing experience, protects the pen tips and helps me create neat, precise letters. That’s why I’ve created my own paper: a handmade pad from the renowned Swedish paper mill Lessebo, specifically developed for lettering and illustration.


Pentel →
Brush Pens →
Marker Pads →