United Kingdom (GBP)
Air-dry clay is a mineral-based modelling clay that is easy to shape and hardens completely on its own at room temperature. No kiln is needed. This means anyone can throw or create ceramic-like objects at home at the kitchen table with just some clay, a few simple tools, and a touch of imagination. In this guide, we’ll go through everything you need to know, from what to consider when buying to the preparations and the actual crafting. Let’s dive in.
What Does Air-Dry Clay Contain?
Air-dry clay contains three main components: natural minerals (such as kaolin), water, and a binding agent. The binder can be an organic or synthetic polymer, which helps hold the clay together and gives it a soft texture that is easy to shape. The exact ingredients used may vary between different brands and products. In general, air-dry clay is a safe and easy-to-use material for both children and adults.
What Can You Make with Air-Dry Clay?
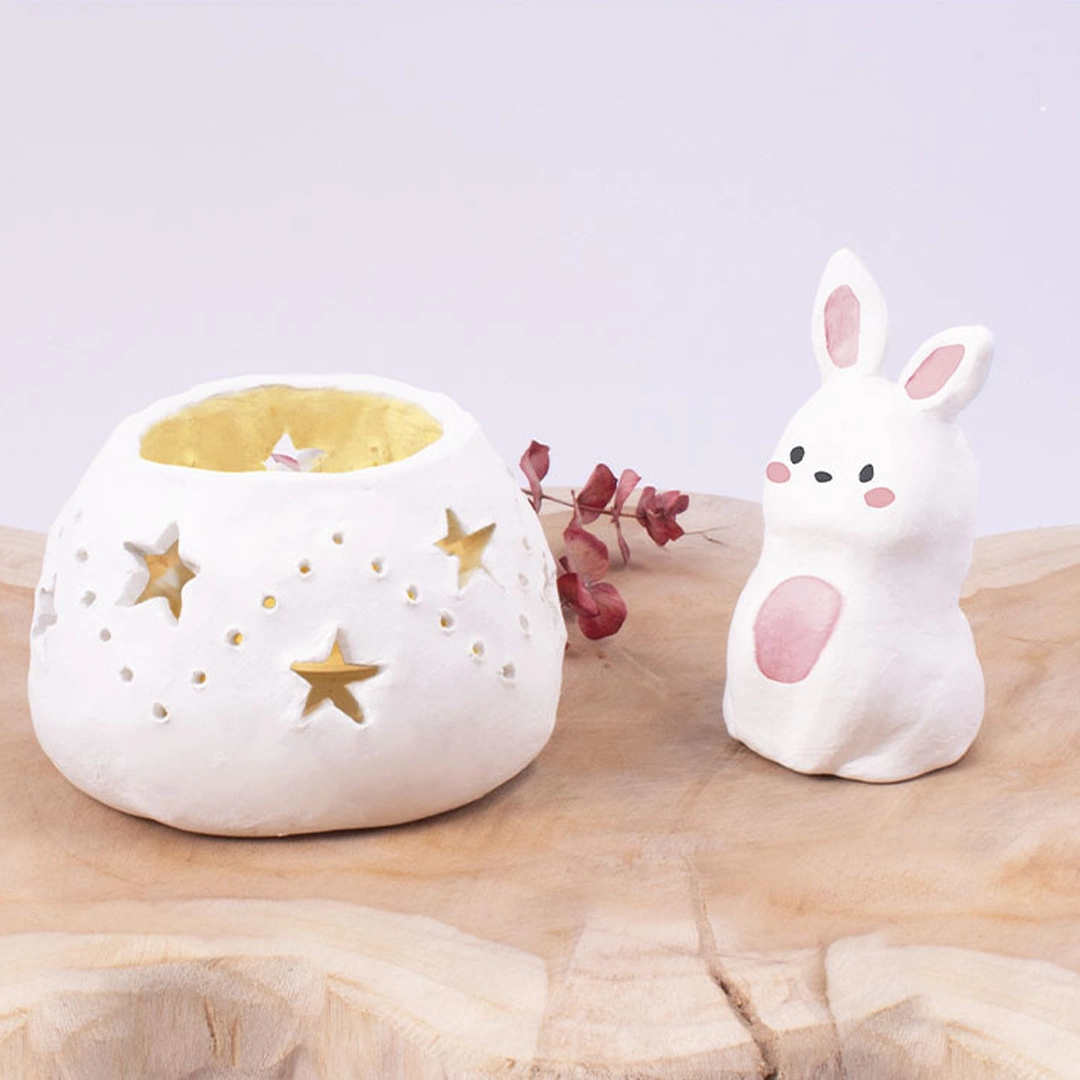
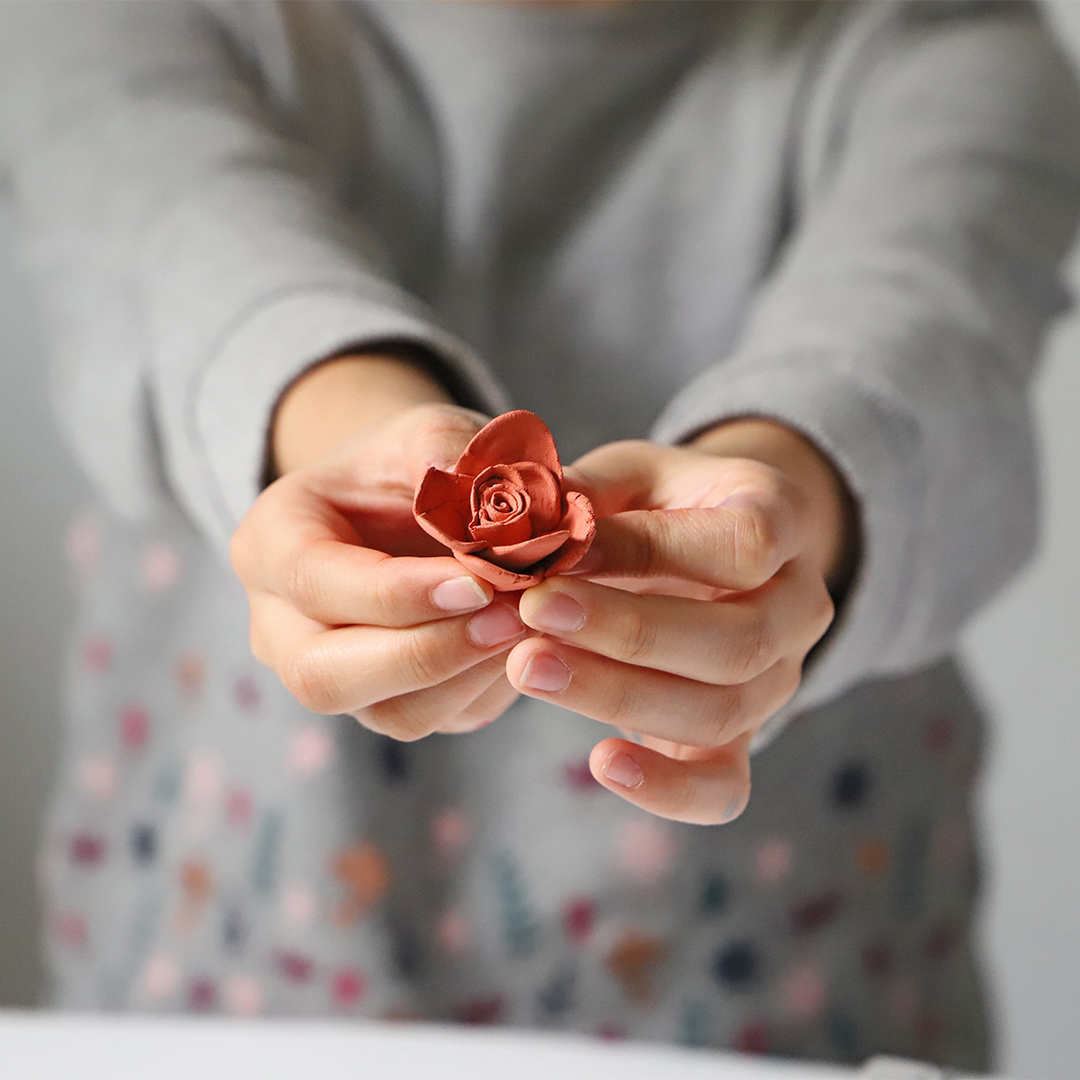
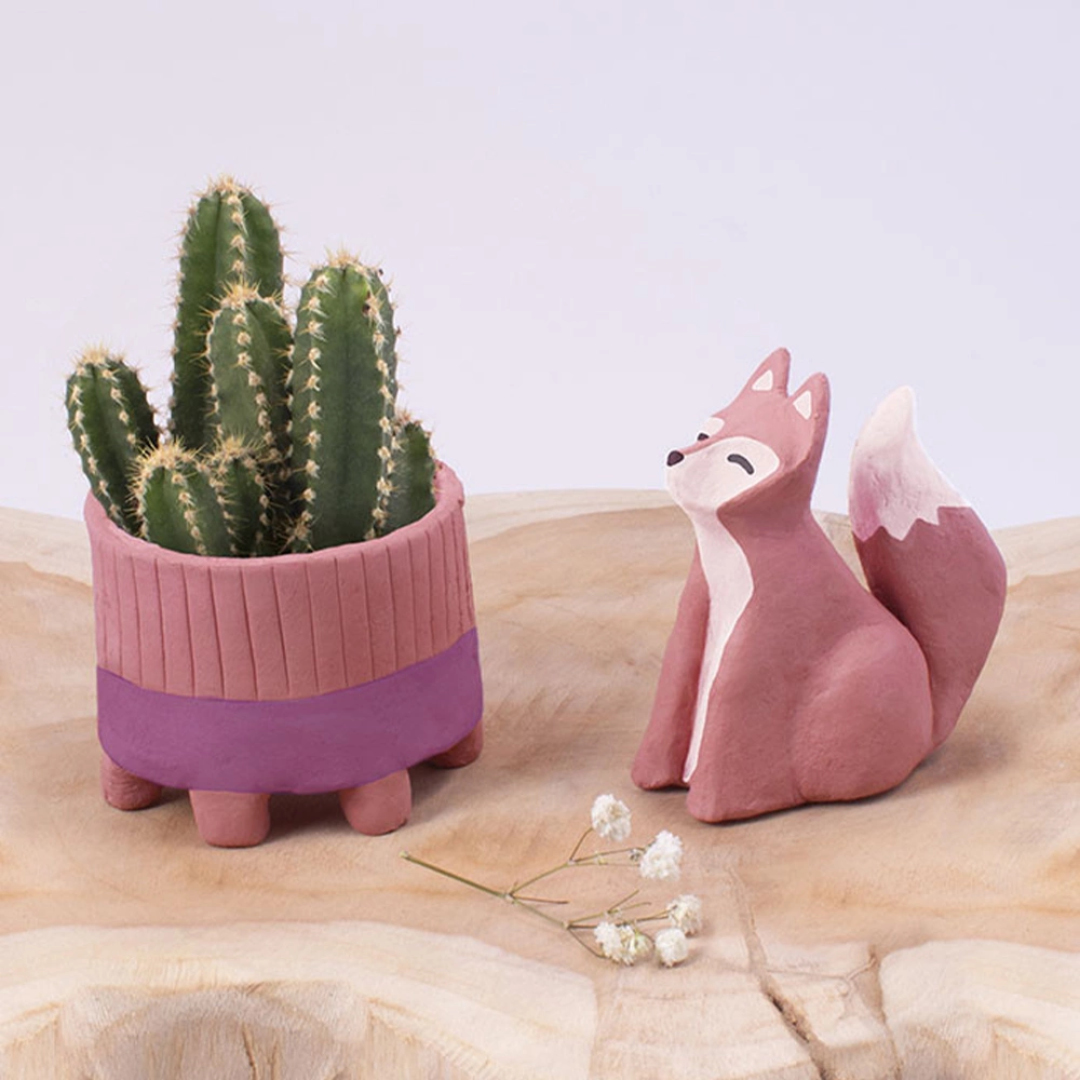
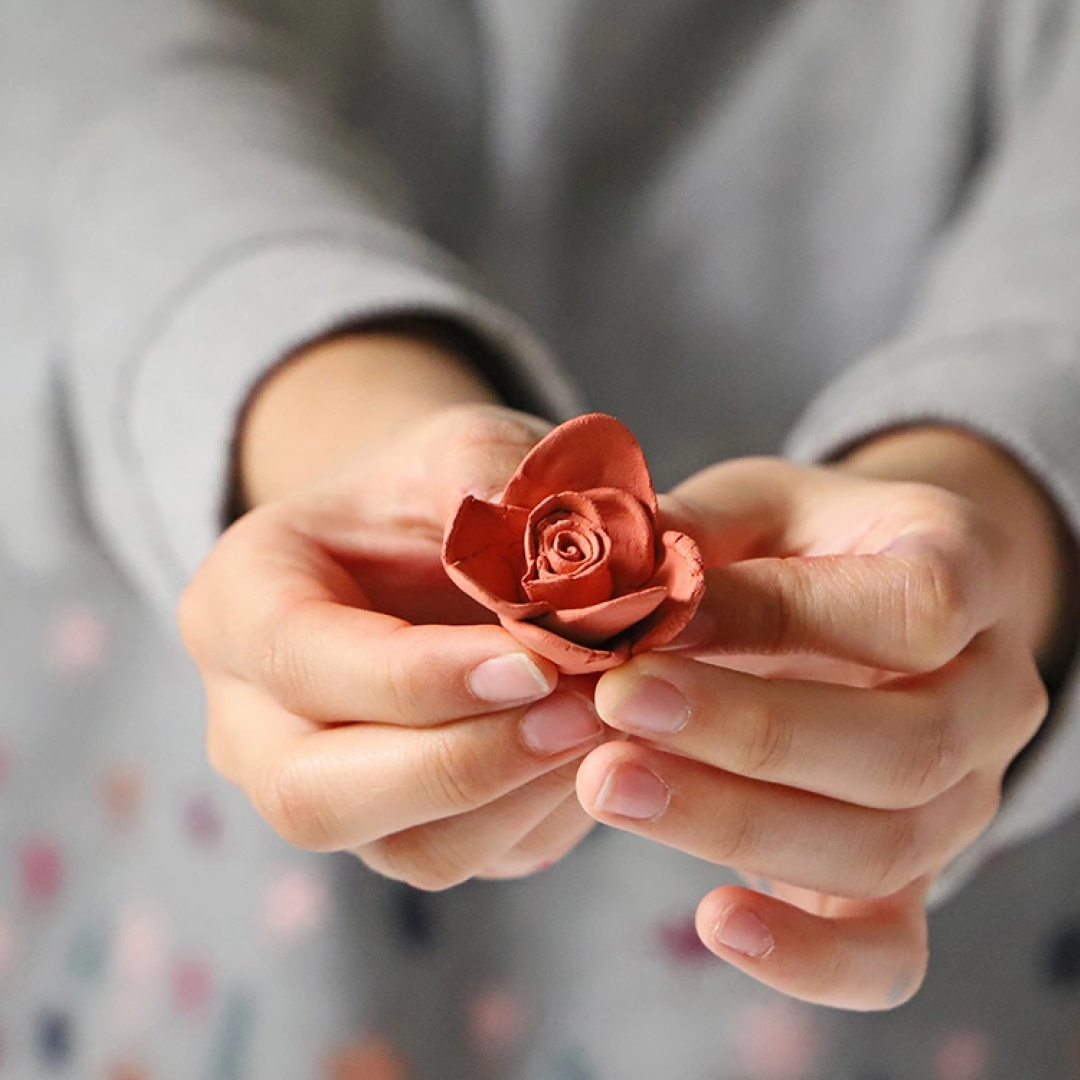
Air-dry clay is a fantastic material for beginners and it’s not particularly difficult to create something that looks great! Here are some ideas:
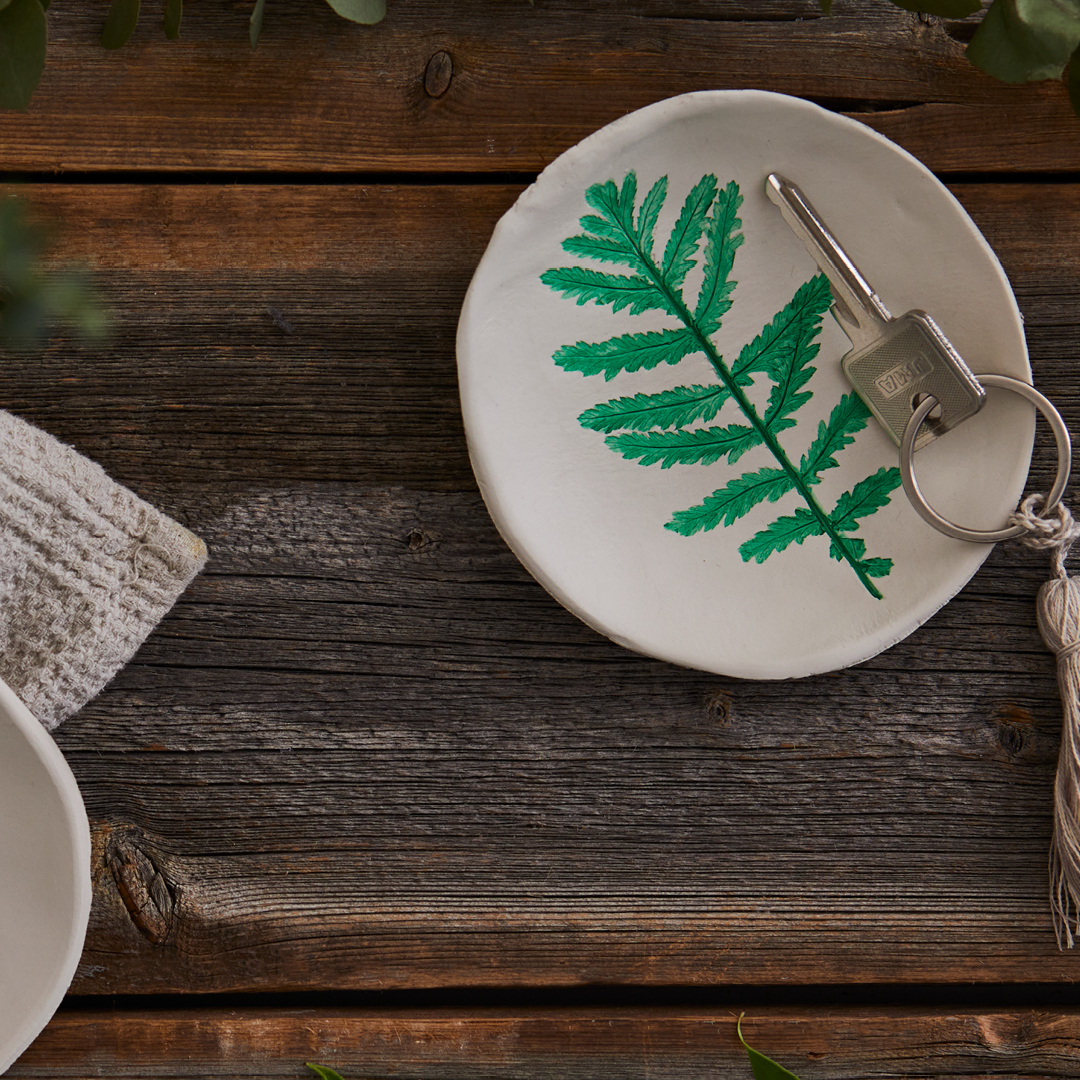
- Decorative bowls: Perfect for jewellery or small trinkets.
- Flower pots and vases: An excellent gift to bring along!
- Jewellery: Make your own earrings, charms, or bracelets with a personal touch.
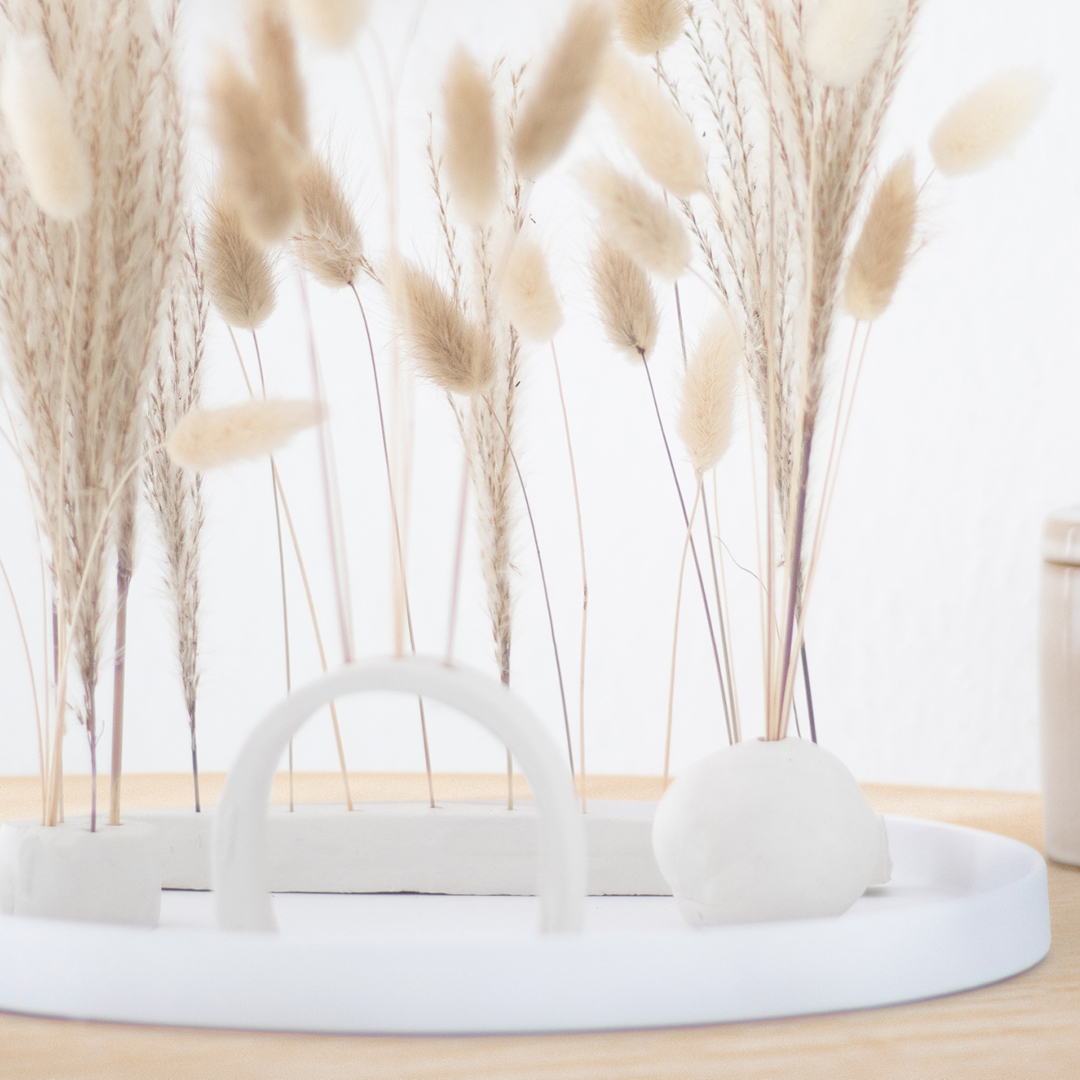
- Figures and sculptures: Shape small animals, faces, or abstract art pieces.
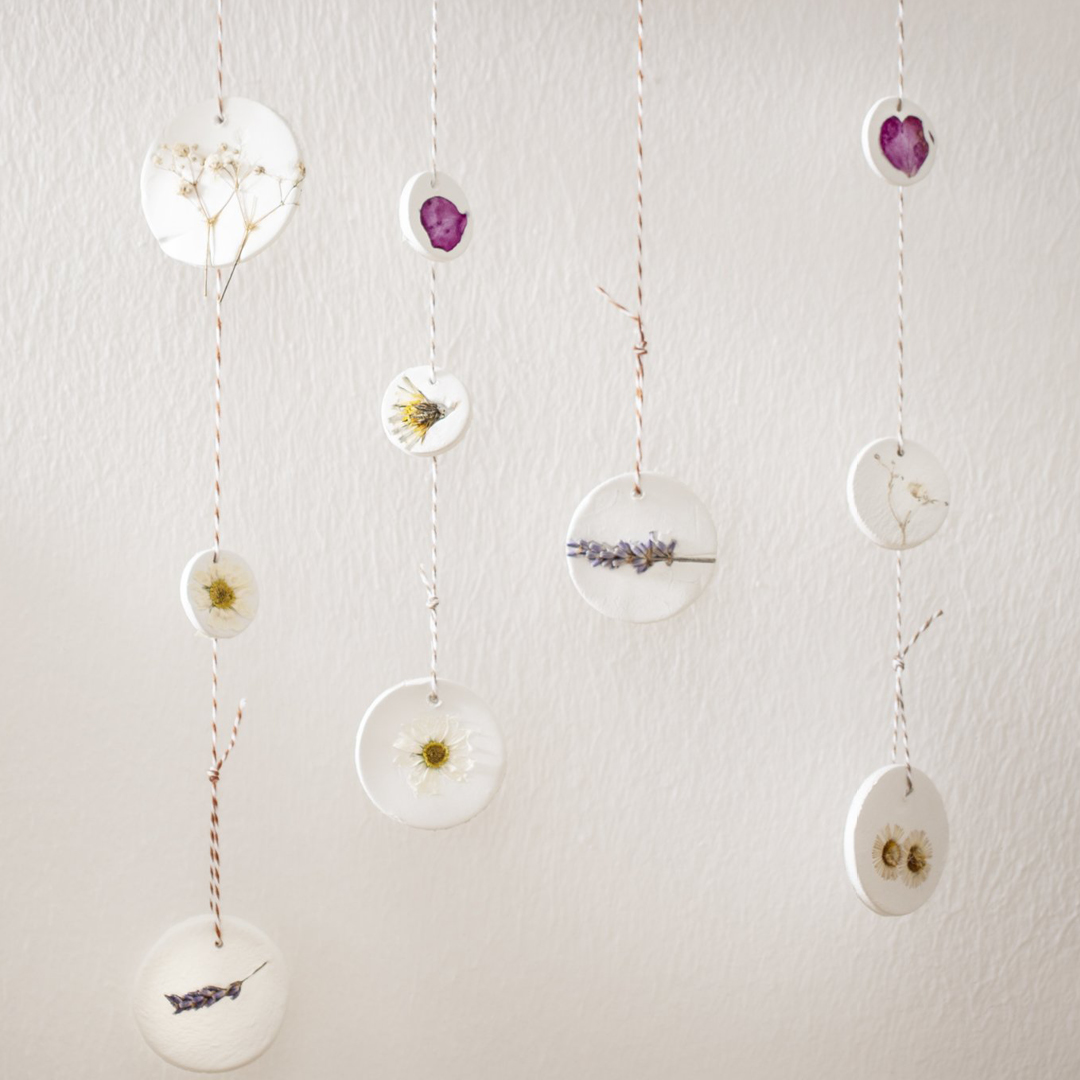
- Decorations: Stars, hearts, and other shapes to hang on the Christmas tree or Easter twigs.
Still unsure what to make? Click the link below for some trendy projects to sink your teeth into.
6 Ideas for Creating with Air-Dry Clay →
What Types of Air-Dry Clay Are There?
Most air-dry clays look and feel quite similar in the hand. However, the composition and properties can vary slightly between brands.
Here are some of the most popular brands and product ranges of air-dry clay:
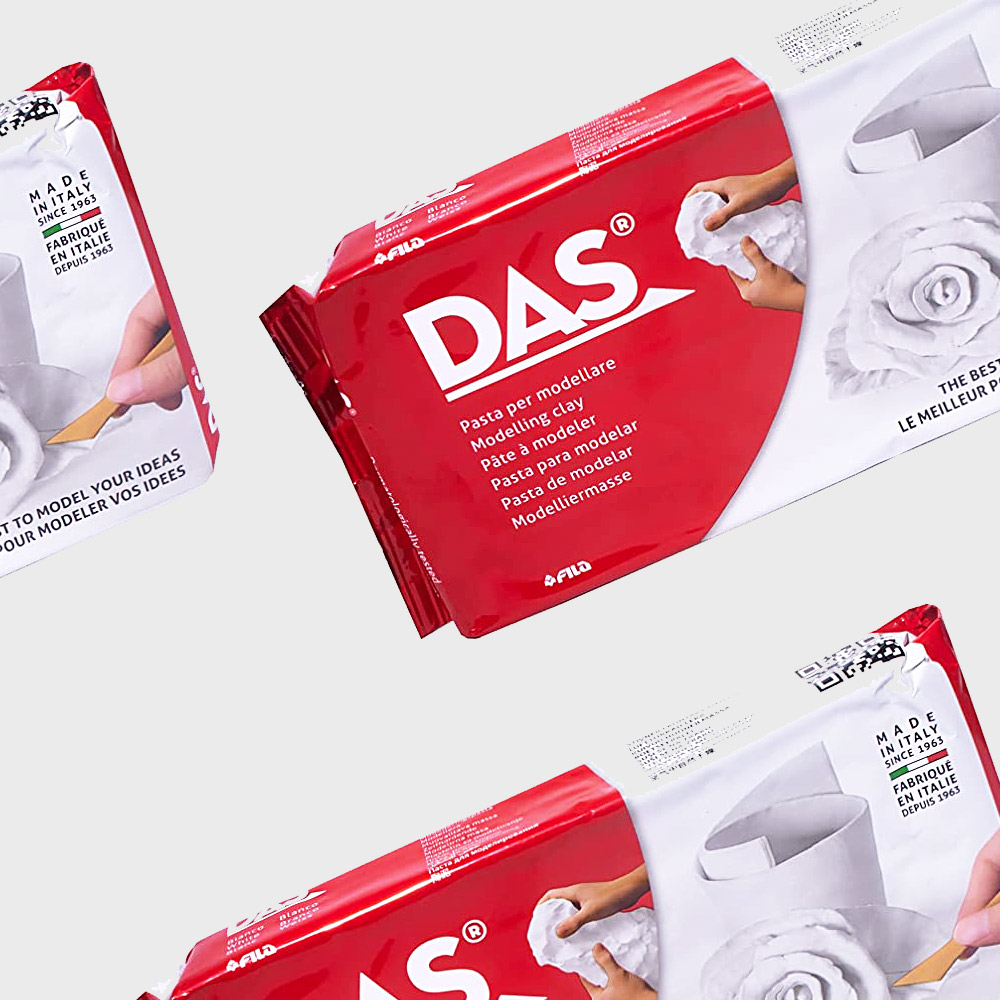
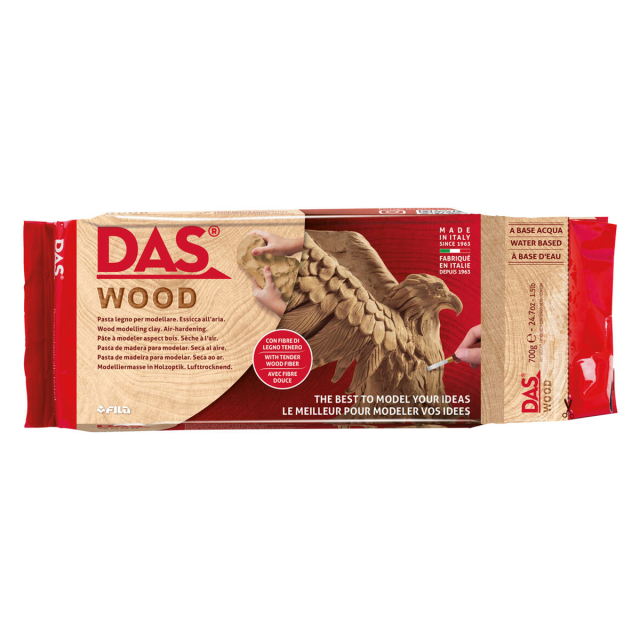
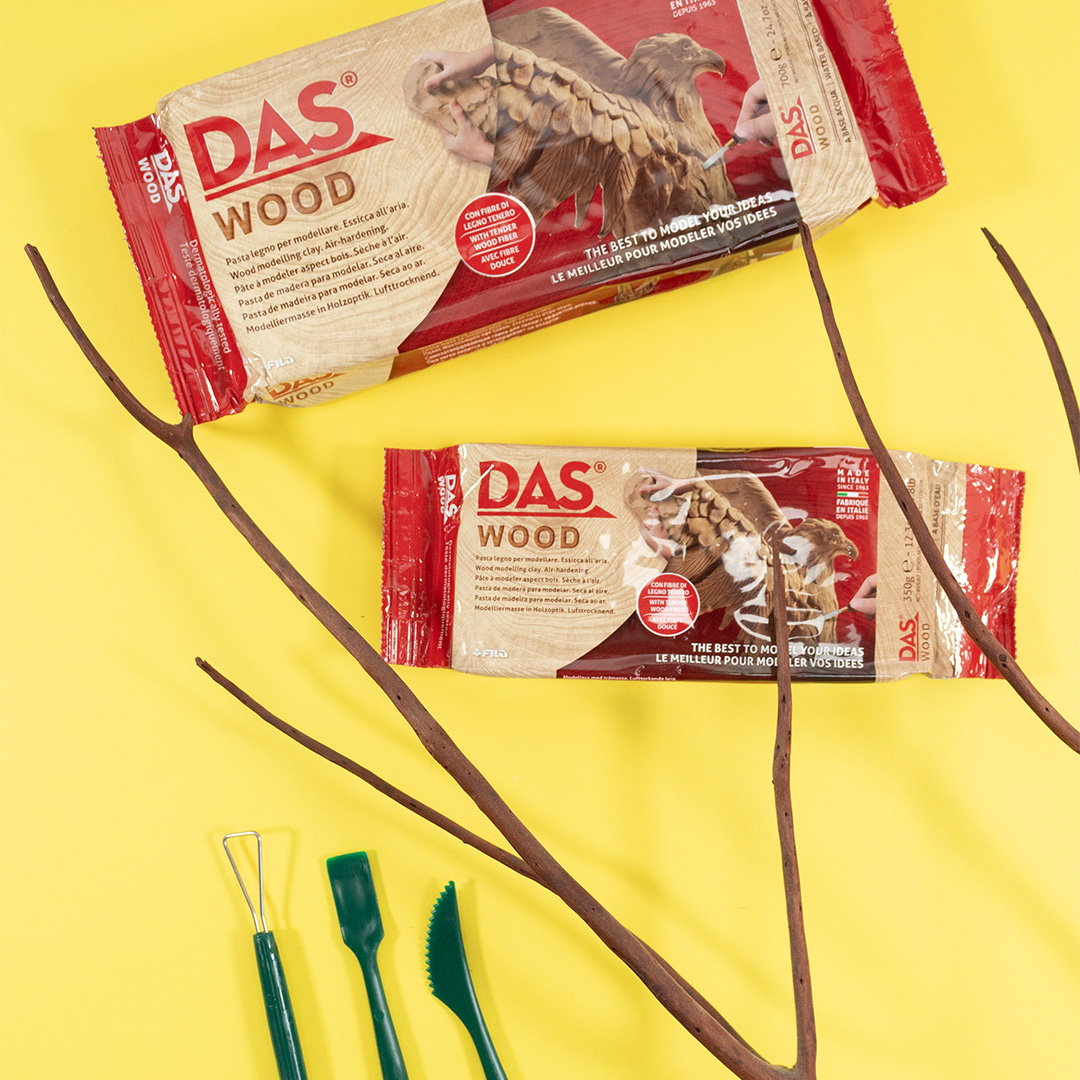
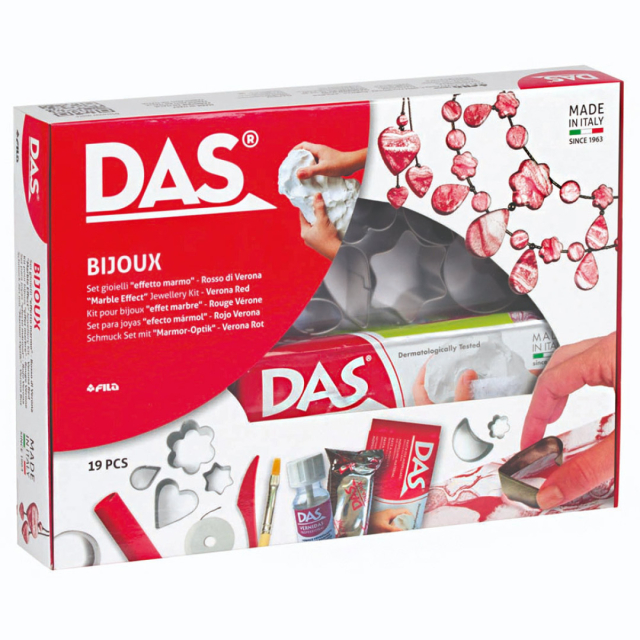
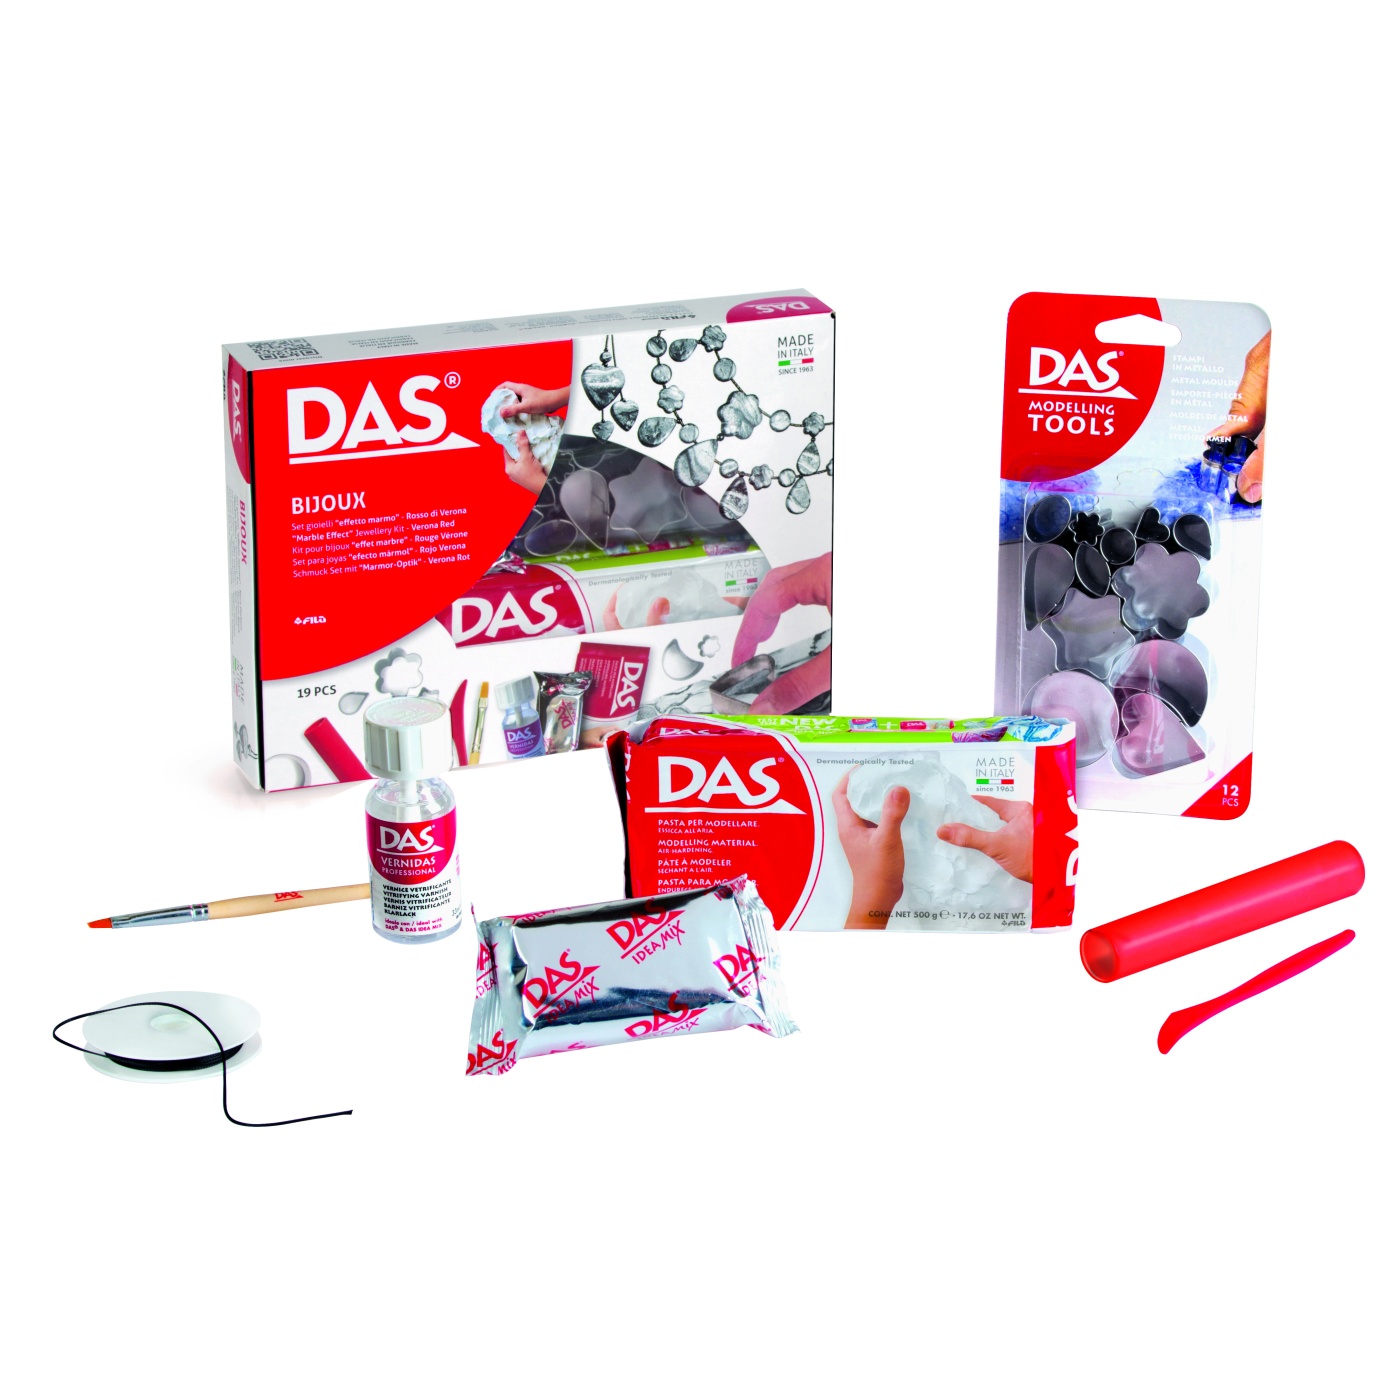
- DAS Air-Dry Clay: A leader in the air-dry clay segment with many variations and accessories.
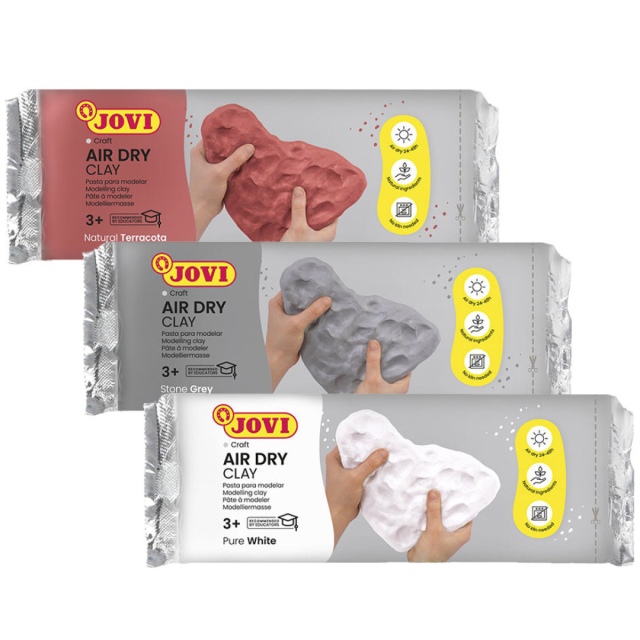
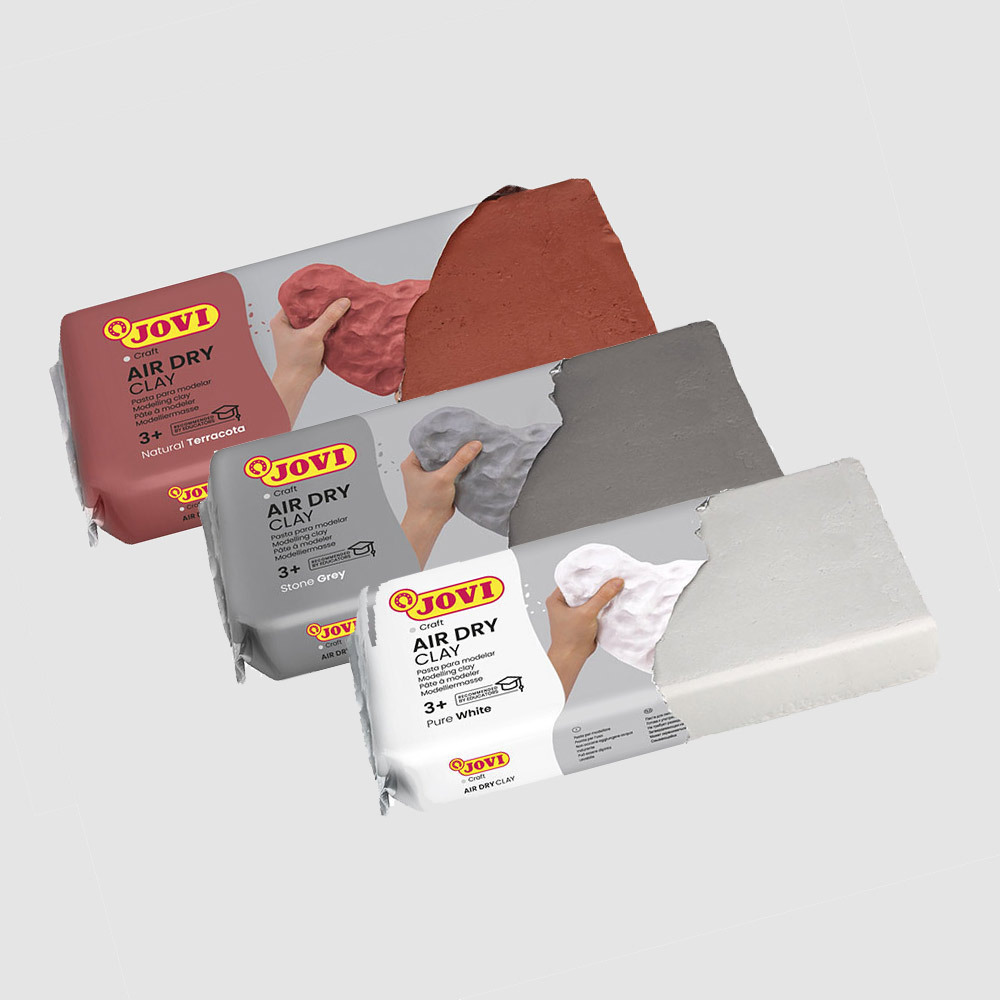
- Jovi Air-Dry Clay: Odourless and allergy-friendly, making it especially suitable for children.
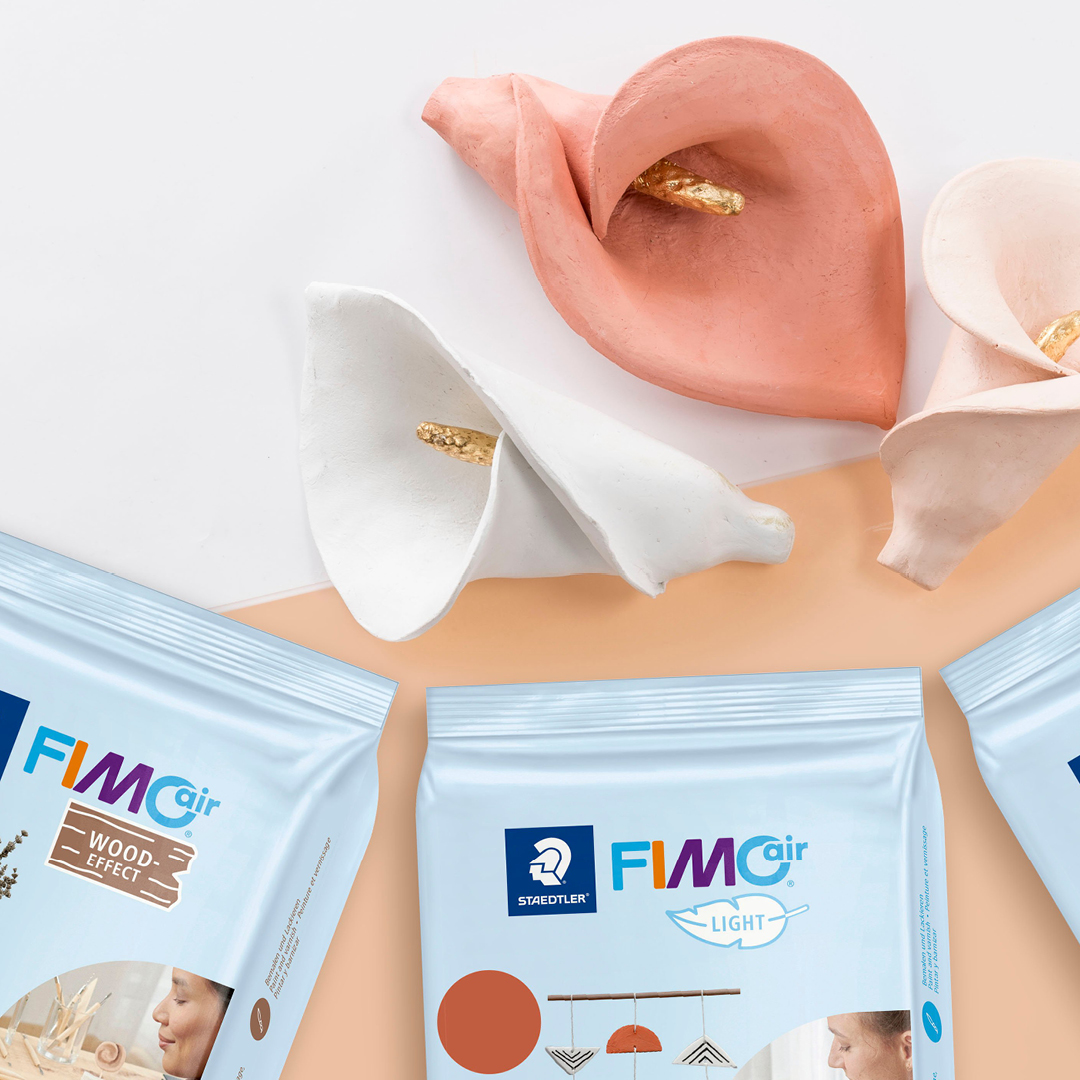
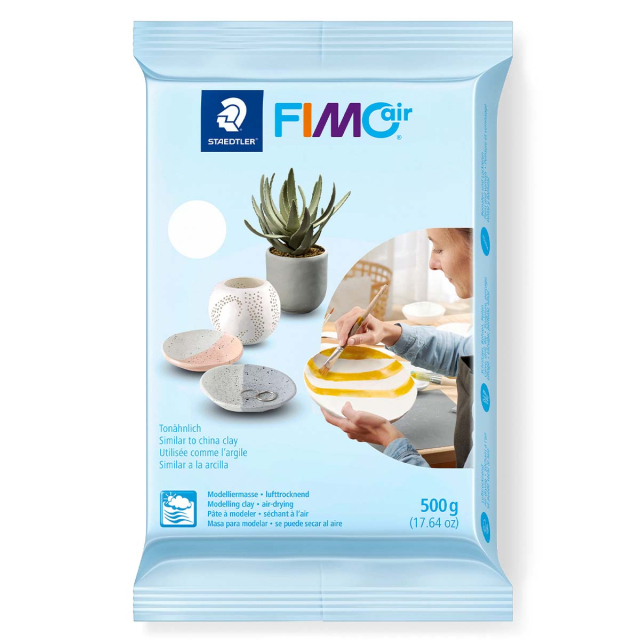
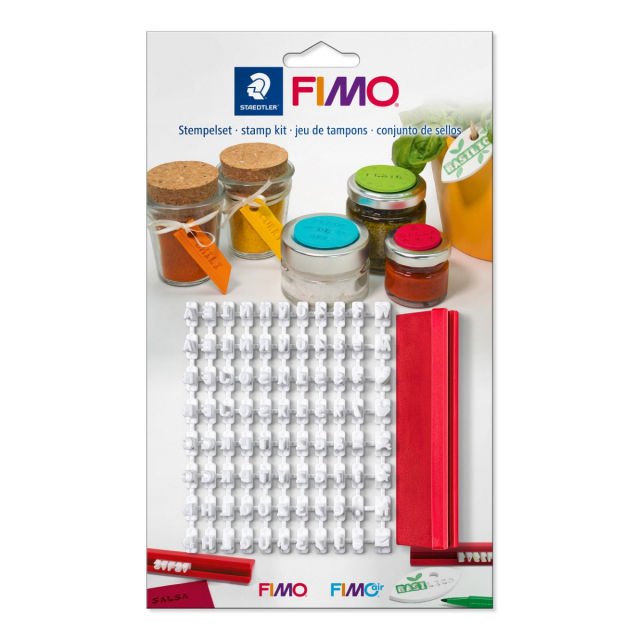
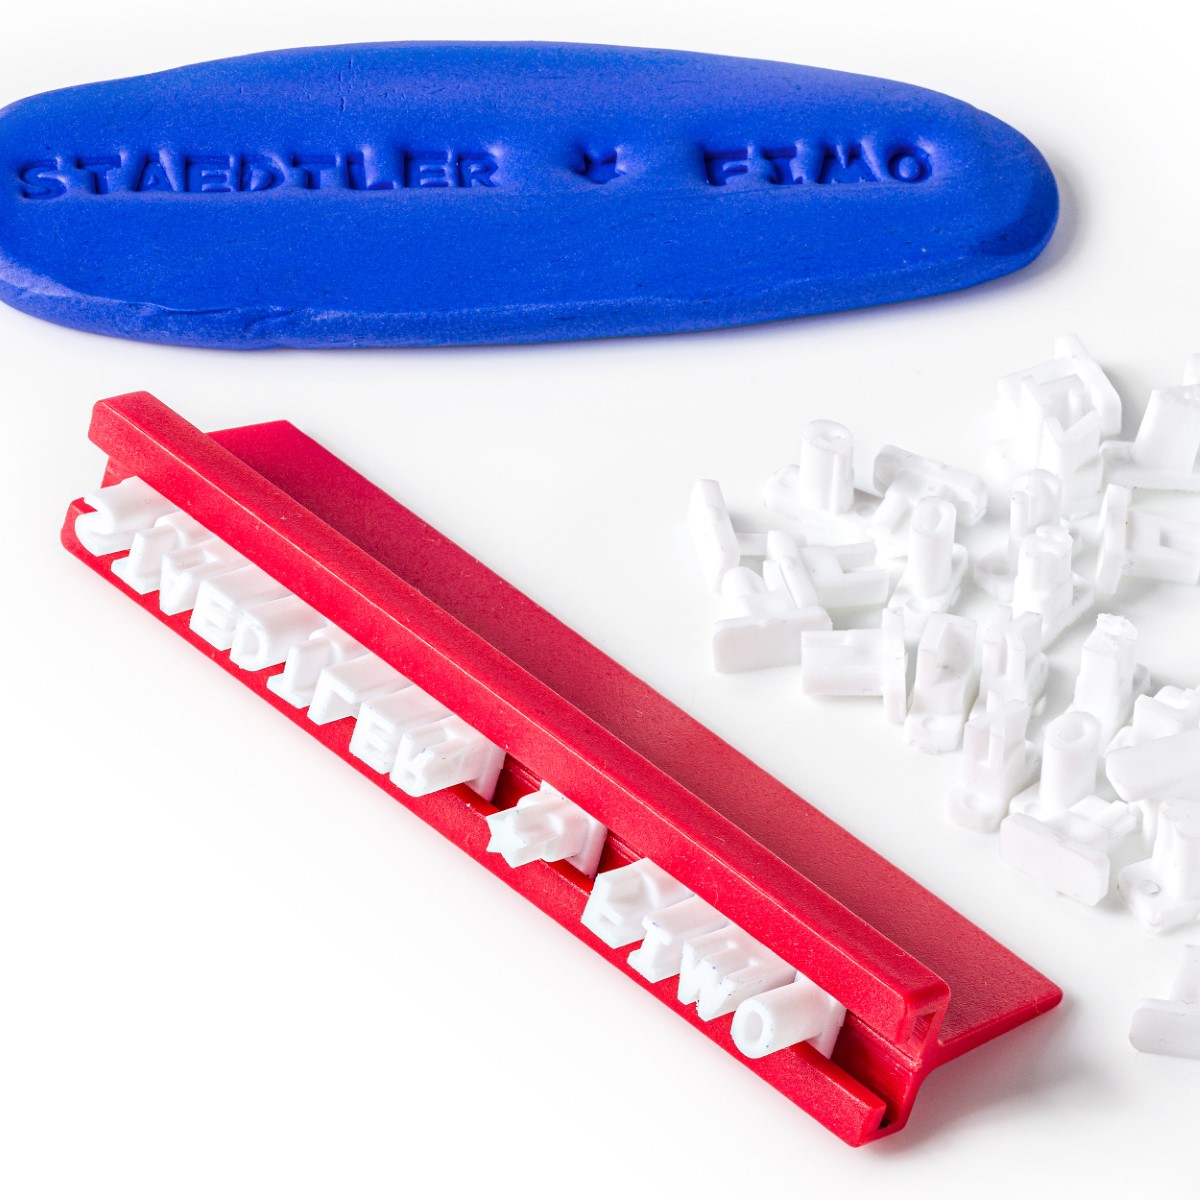
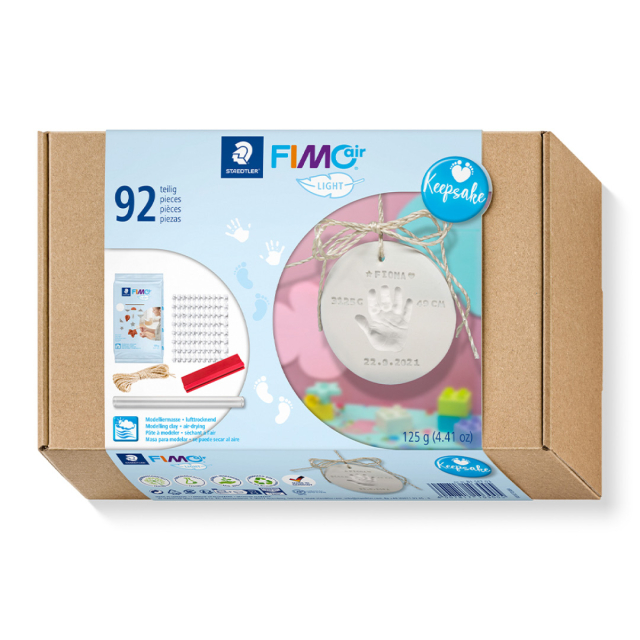
- Staedtler FIMO Air Basic & Light: Choose Basic for a good standard clay and Light for lightweight creations.
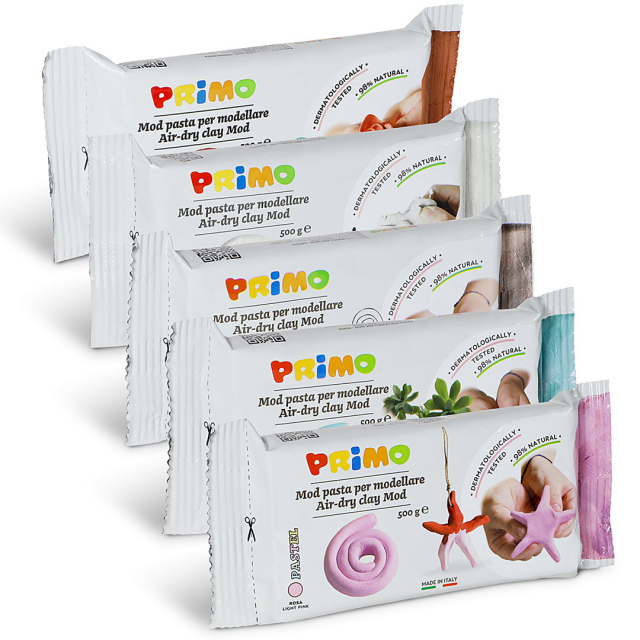
- Primo Air-Dry Clay: Available in several colours, including pastel green and pink.
Not sure which clay is right for you? We can help you choose in our buying guide:

Pros of Air-Dry Clay
Air-dry clay has truly found a place in the hearts of many creative people, and here’s why:
- Perfect for beginners: Easy to use and requires no prior experience.
- No special equipment needed: No kiln or firing required, the clay dries on its own.
- Easy to paint and decorate: Once dry, you can easily add colour and varnish to your creation.
- Great for small projects: Perfect for making jewellery, decorations, and figures.
Cons of Air-Dry Clay
Just like any creative material, air-dry clay comes with both pros and cons. Here are a few things to keep in mind before you start creating:
- Time-consuming: The clay can take up to 24–48 hours to dry completely, depending on thickness.
- Not as durable as ceramic clay: Air-dry clay is more fragile and can easily crack if dropped.
- Not waterproof: Not suitable for items that need to withstand moisture, such as plates or drinking glasses.
- Can be damaged during drying: Thicker creations may crack or become misshapen as they dry.
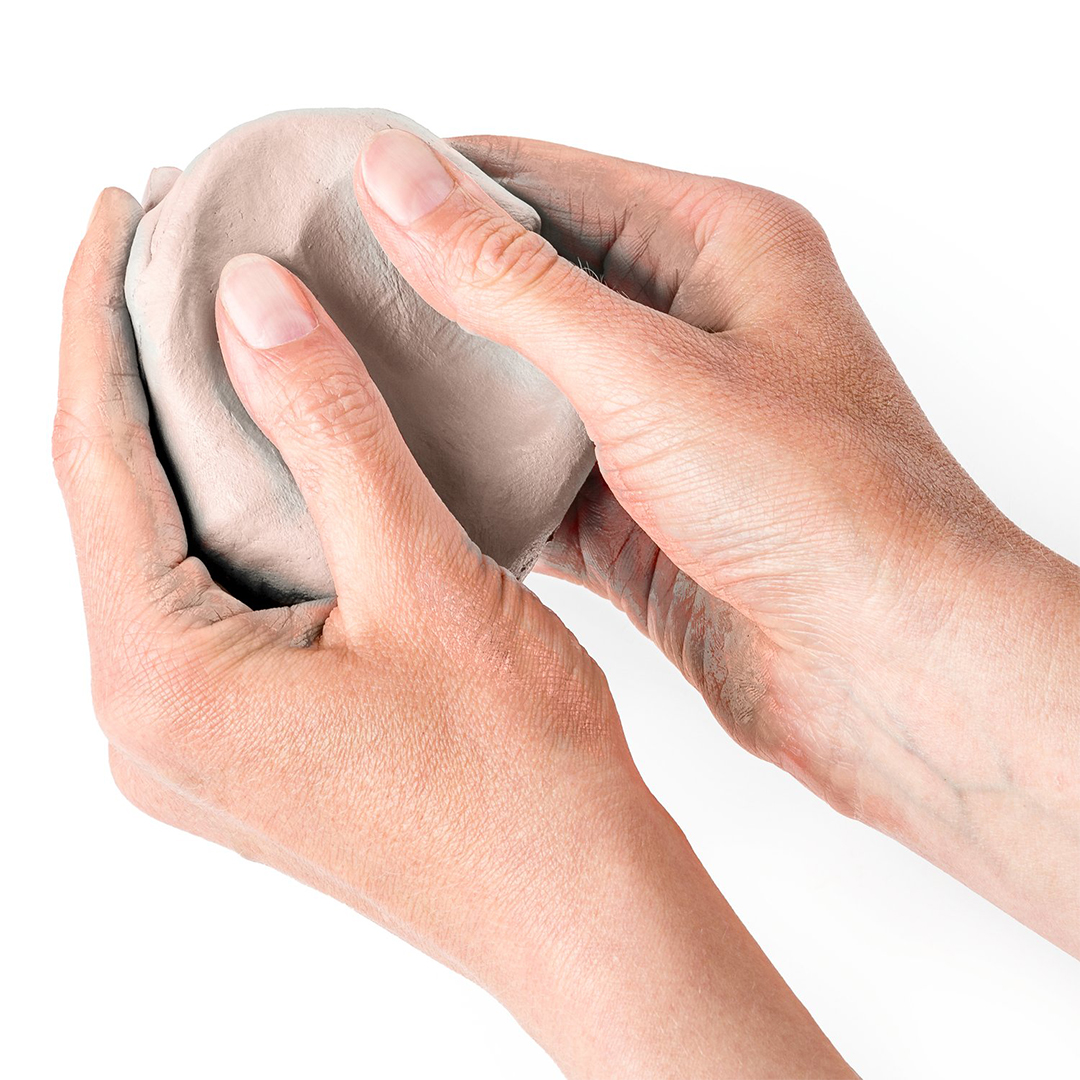
Creating with Air-Dry Clay: Step by Step
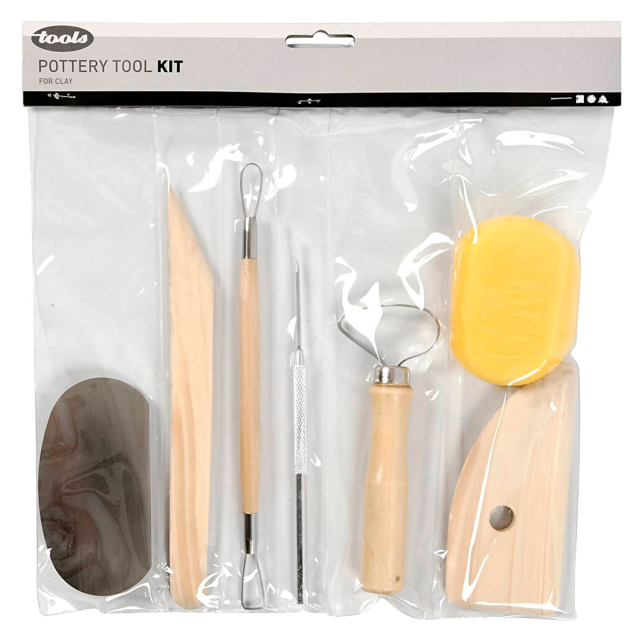
Working with air-dry clay is simple and requires no special equipment. In short, here’s how to do it:- Prepare a clean workspace and have water and the tools you want to use ready. Make sure the surface is free from dust, dirt, and small particles that could stick to the clay. Clay can be sticky, so a wax cloth or silicone mat can be a good idea.
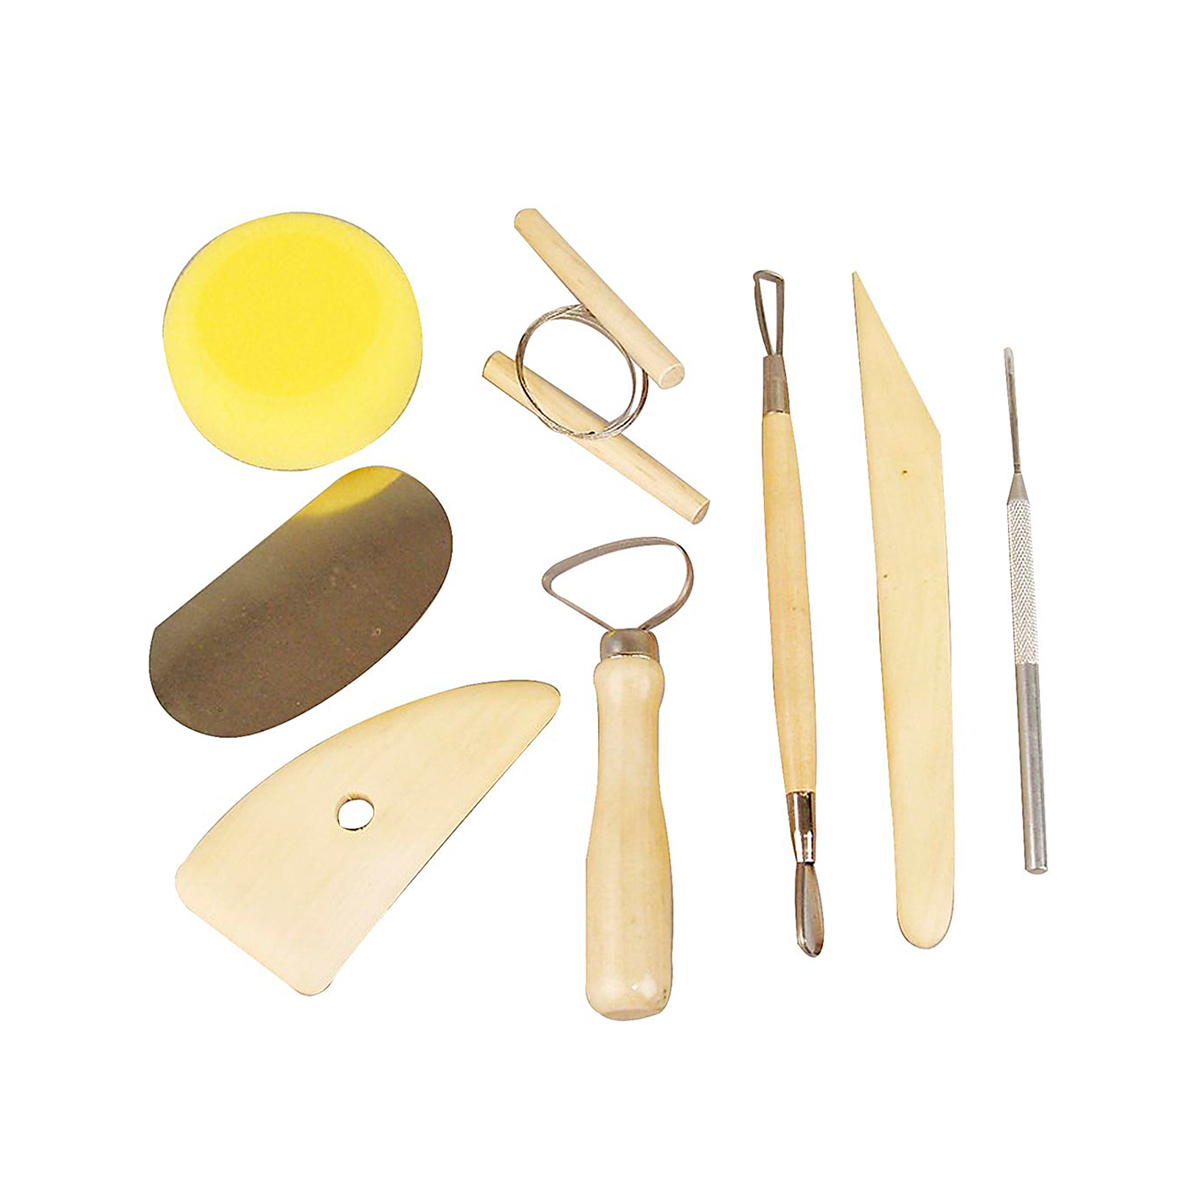
- Shape the clay with your hands or use tools to create details and effects. If you want to join two pieces together, roughen the surfaces of both and use a little water as glue. When you’re happy with the shape, let your creation dry slowly on a flat surface, away from draughts and direct sunlight.
- Once the clay has dried completely, from the inside out, you can paint and varnish it. Acrylic paint or other water-based hobby paint works perfectly. When the paint is dry, finish with a protective varnish.
Want to see the full process in more detail? Here we break down each step for you:

How to Store Air-Dry Clay
To keep your air-dry clay soft and workable for as long as possible, proper storage is key. Follow these steps to make sure it’s ready for your next creative project!
- Wrap the clay tightly in cling film to keep out as much air as possible. The less air that dries out the clay over time, the better.
- Place the package in an airtight container of some sort. If you don’t want to buy a container for this purpose, check your food storage boxes and pick one with the tightest-fitting lid.
- Store in a cool, dark place. Avoid direct sunlight and heat, as these can speed up the drying process.
If your clay has started to dry but isn’t completely hard yet, you can try rehydrating it by kneading in a few drops of water or wrapping it in a damp cloth and sealing it in a container overnight.
For more tips and advice on storage and reviving clay, follow the link below.
How to Store Air-Dry Clay →

Air-dry clay →
Oven-bake clay →
Tools for clay →